family photos
What’s your take on family photos??
I personally, abso-freaking-lutely LOVE them!! It’s so fun to look back on all the years and see the changes, we are a very blended family and have 4 kids, and my older kids get so excited about the family photos each year. I love that.
These photos were taken the summer of 2022, we do our family photos every year but this year felt different. It was me and my husband’s tenth wedding anniversary AND our oldest daughter was graduating, all the feels. So when thinking of what I wanted for this years photos- the first thing that came to mind this year is big, and well, whats bigger than Vegas. Enter the Neon Museum, it was perfect, all the funk, colors, and completely unique (not many people in Montana have family photos at the Neon Museum). All the old retro signs made for the perfect backdrop! The only thing I would have switched up was the time of the year we went. However, our window of opportunity to make these picture perfect family photos come to life was in July, and let me tell you in the words of Alan Jackson “it gets hotter than a hoochie coochie” when you’re visiting the desert in July. I’m pretty sure in some of the photos you could see the sweat running down our faces, I believe the temperature that day was 113 degrees F.
Straight. Up. Miserable.
Let’s just give a shout out to my family right now, for making this mama’s dreams come true. They really are the MVP’s here.
& here’s a photo straight from the snapchat with the degrees on it. So. Freaking. HOT.
Temperature aside tho, I really do love these phots. I think they will be the best artwork on our walls once our house is built.
Location: Neon Museum
Photographer: Jessica Maddela
I hope you found inspiration for your next family photos!
cheers,
Paige
the start
Here we are, at the very beginning of our journey. I typically enjoying keeping things short and to the point.. however, there is nothing short and sweet about the processes of building your dream home. Not the way we did it anyway.
We wanted to be our own builder… except that is really hard to do if your are getting a loan on your new build. This is were things got pretty tricky. Originally, we tried using a lender who was known for “opportunities” and allowing self builds- if you have the knowledge. We have an extensive list of projects we have tackled ourselves, along with some really close friends who are in the building and construction industry, and it still wasn’t enough.
When you get told “no” its discouraging but we went to the next. We talked to another lender and easy peasy, we got approved for the project. We did end up getting a builder to over-see the project for a flat fee. This helped the approval process and still having the option to contract out the jobs for the new build, and still tackle the ones we could do our selves. It also allowed us to save a big percentage that a builder would typically charge. Doing the roofing, siding, paint, flooring, trim work, landscaping, and hacking into some major savings on our kitchen allowed us to save money and use it in other areas of our budget.
“The secret to getting ahead, is getting started.”
Ready to get started?
Here is the list we started with:
we got approved by our lender
buy land, make sure it’s approved to have a house built on it. This involves approval through city/county and the approval of the septic system (if you are not in city) through Riverstone health department. ***make sure you are always reading the covenants and restrictions that run with the land before purchasing, you don’t want to buy land to have chickens and animals to realize the covenants do not allow them***
started designing our house, we worked with an architect and designed every square inch of our house.
one of the biggest things that was overlooked was the HVAC system!! Getting hvac upstairs was a complete oversight, and unfortunately caused us to have to take up some room in one of the upstairs bedrooms. When designing the build, it’s important to take into consideration how you will get HVAC to all the spaces. I had read A LOT of blogs, listened to podcasts, watched youtube videos on building, and this was a quiet little tid-bit I didnt hear about, until it was to late to make adjustments for it. Take this one from me and don’t learn this mistake for yourself, its such a bummer!
do a soil test to determine what type of foundation you will need. you will contact a geotechnical engineer for the testing.
start getting quotes from the contractors.
surveyor (to mark where your house will sit on the land)
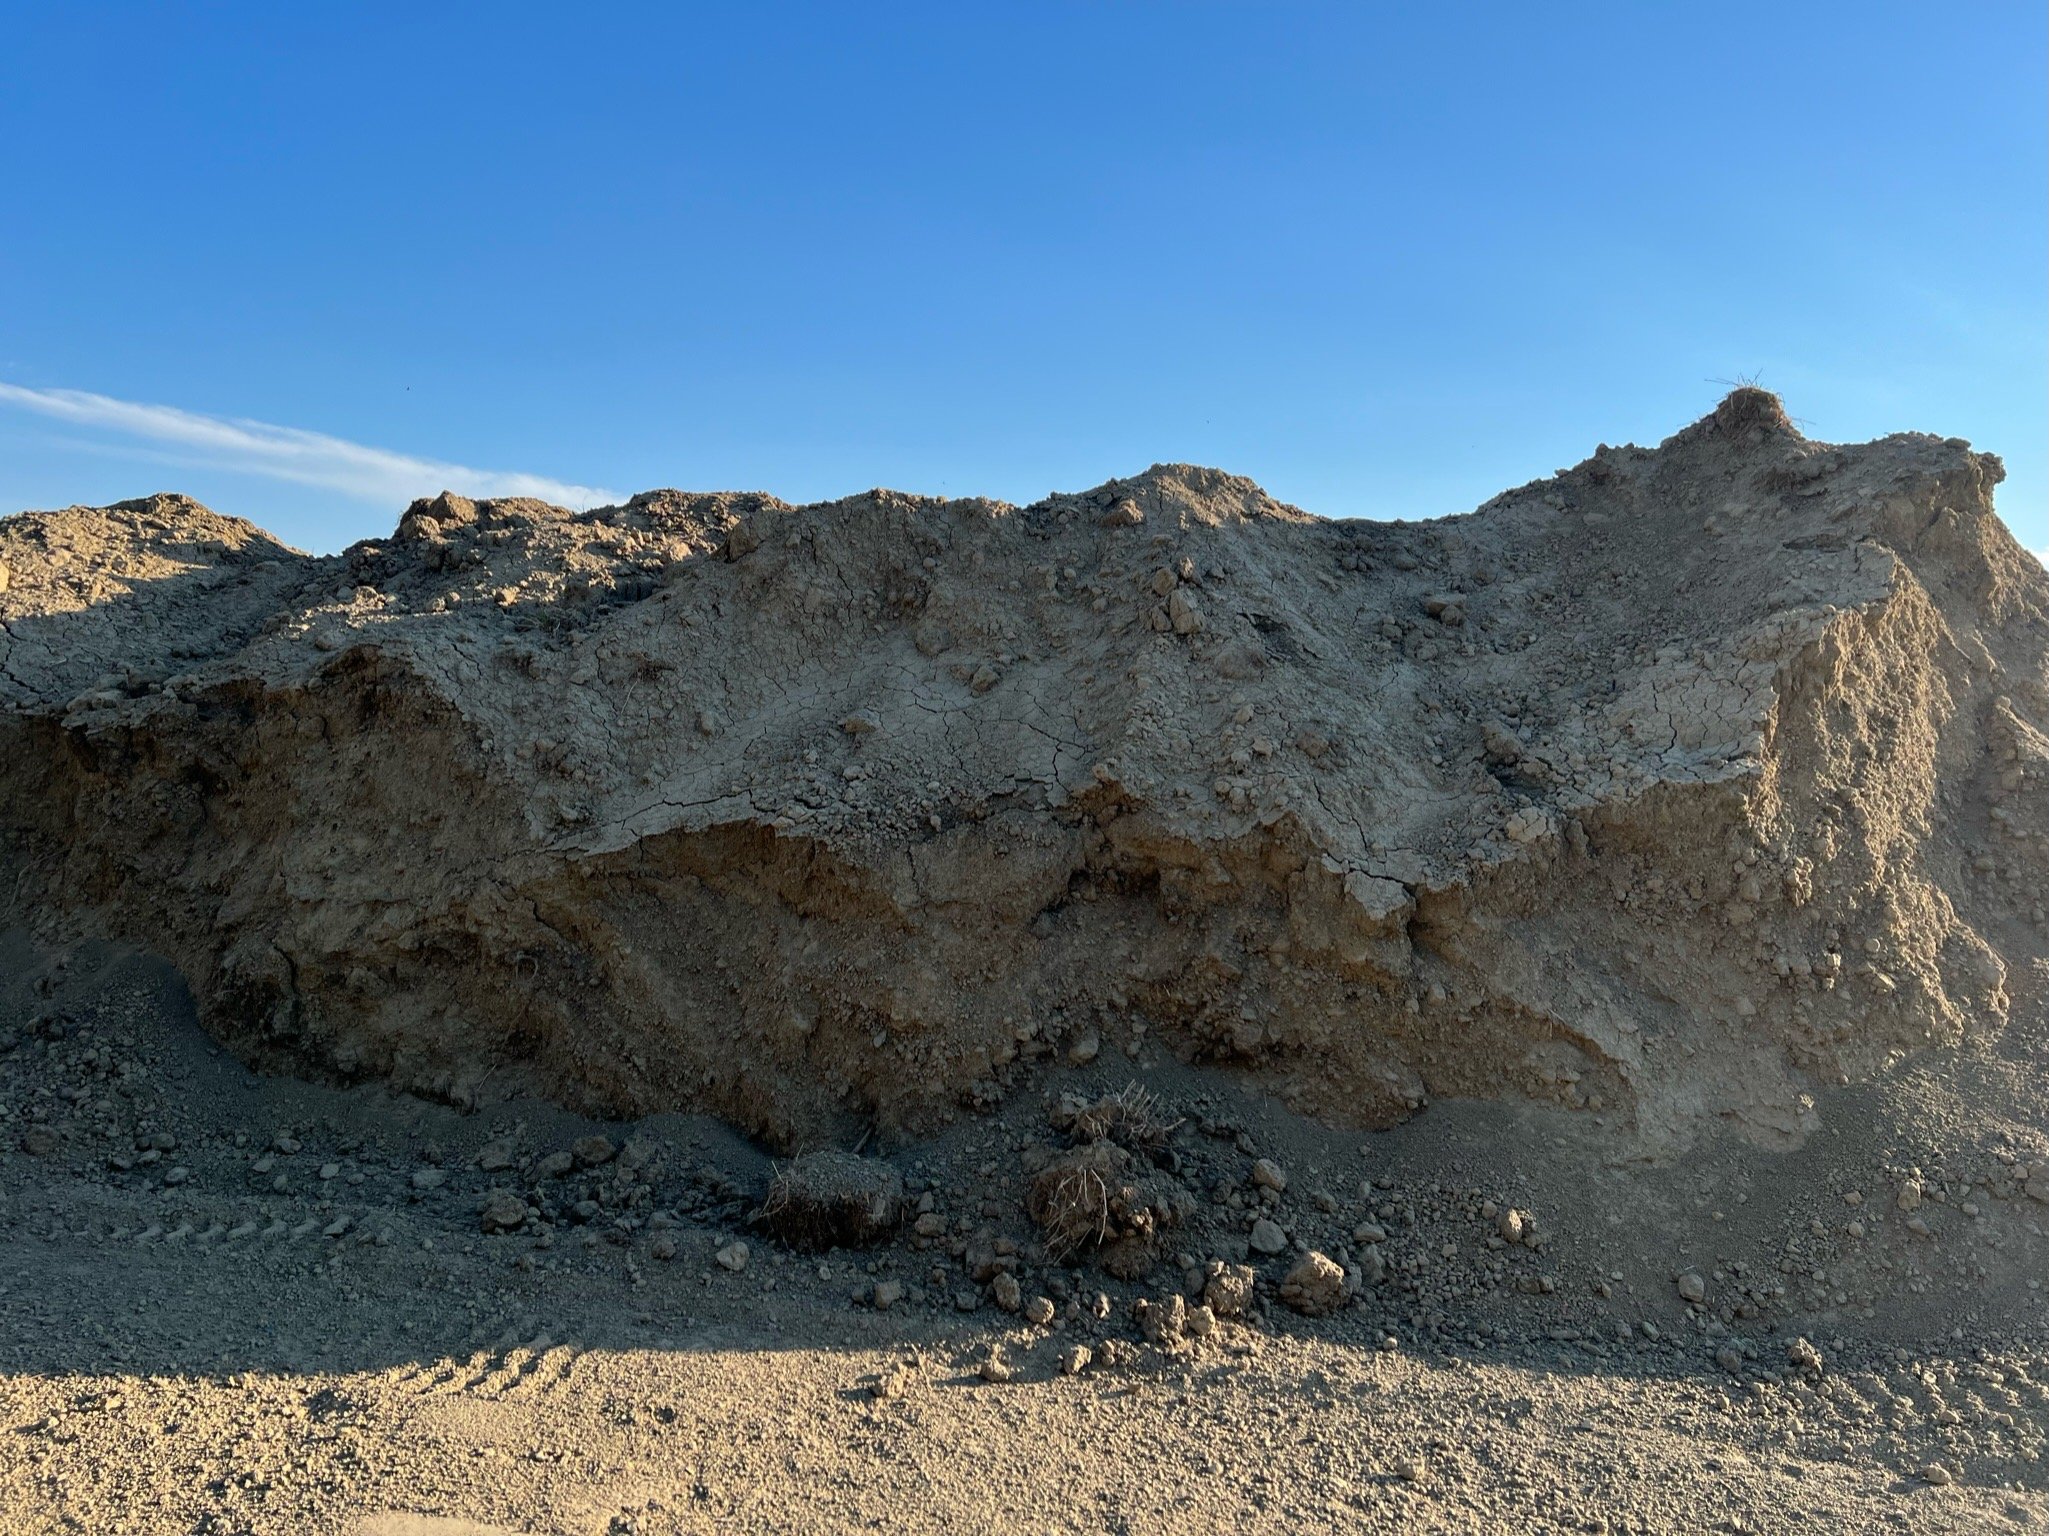
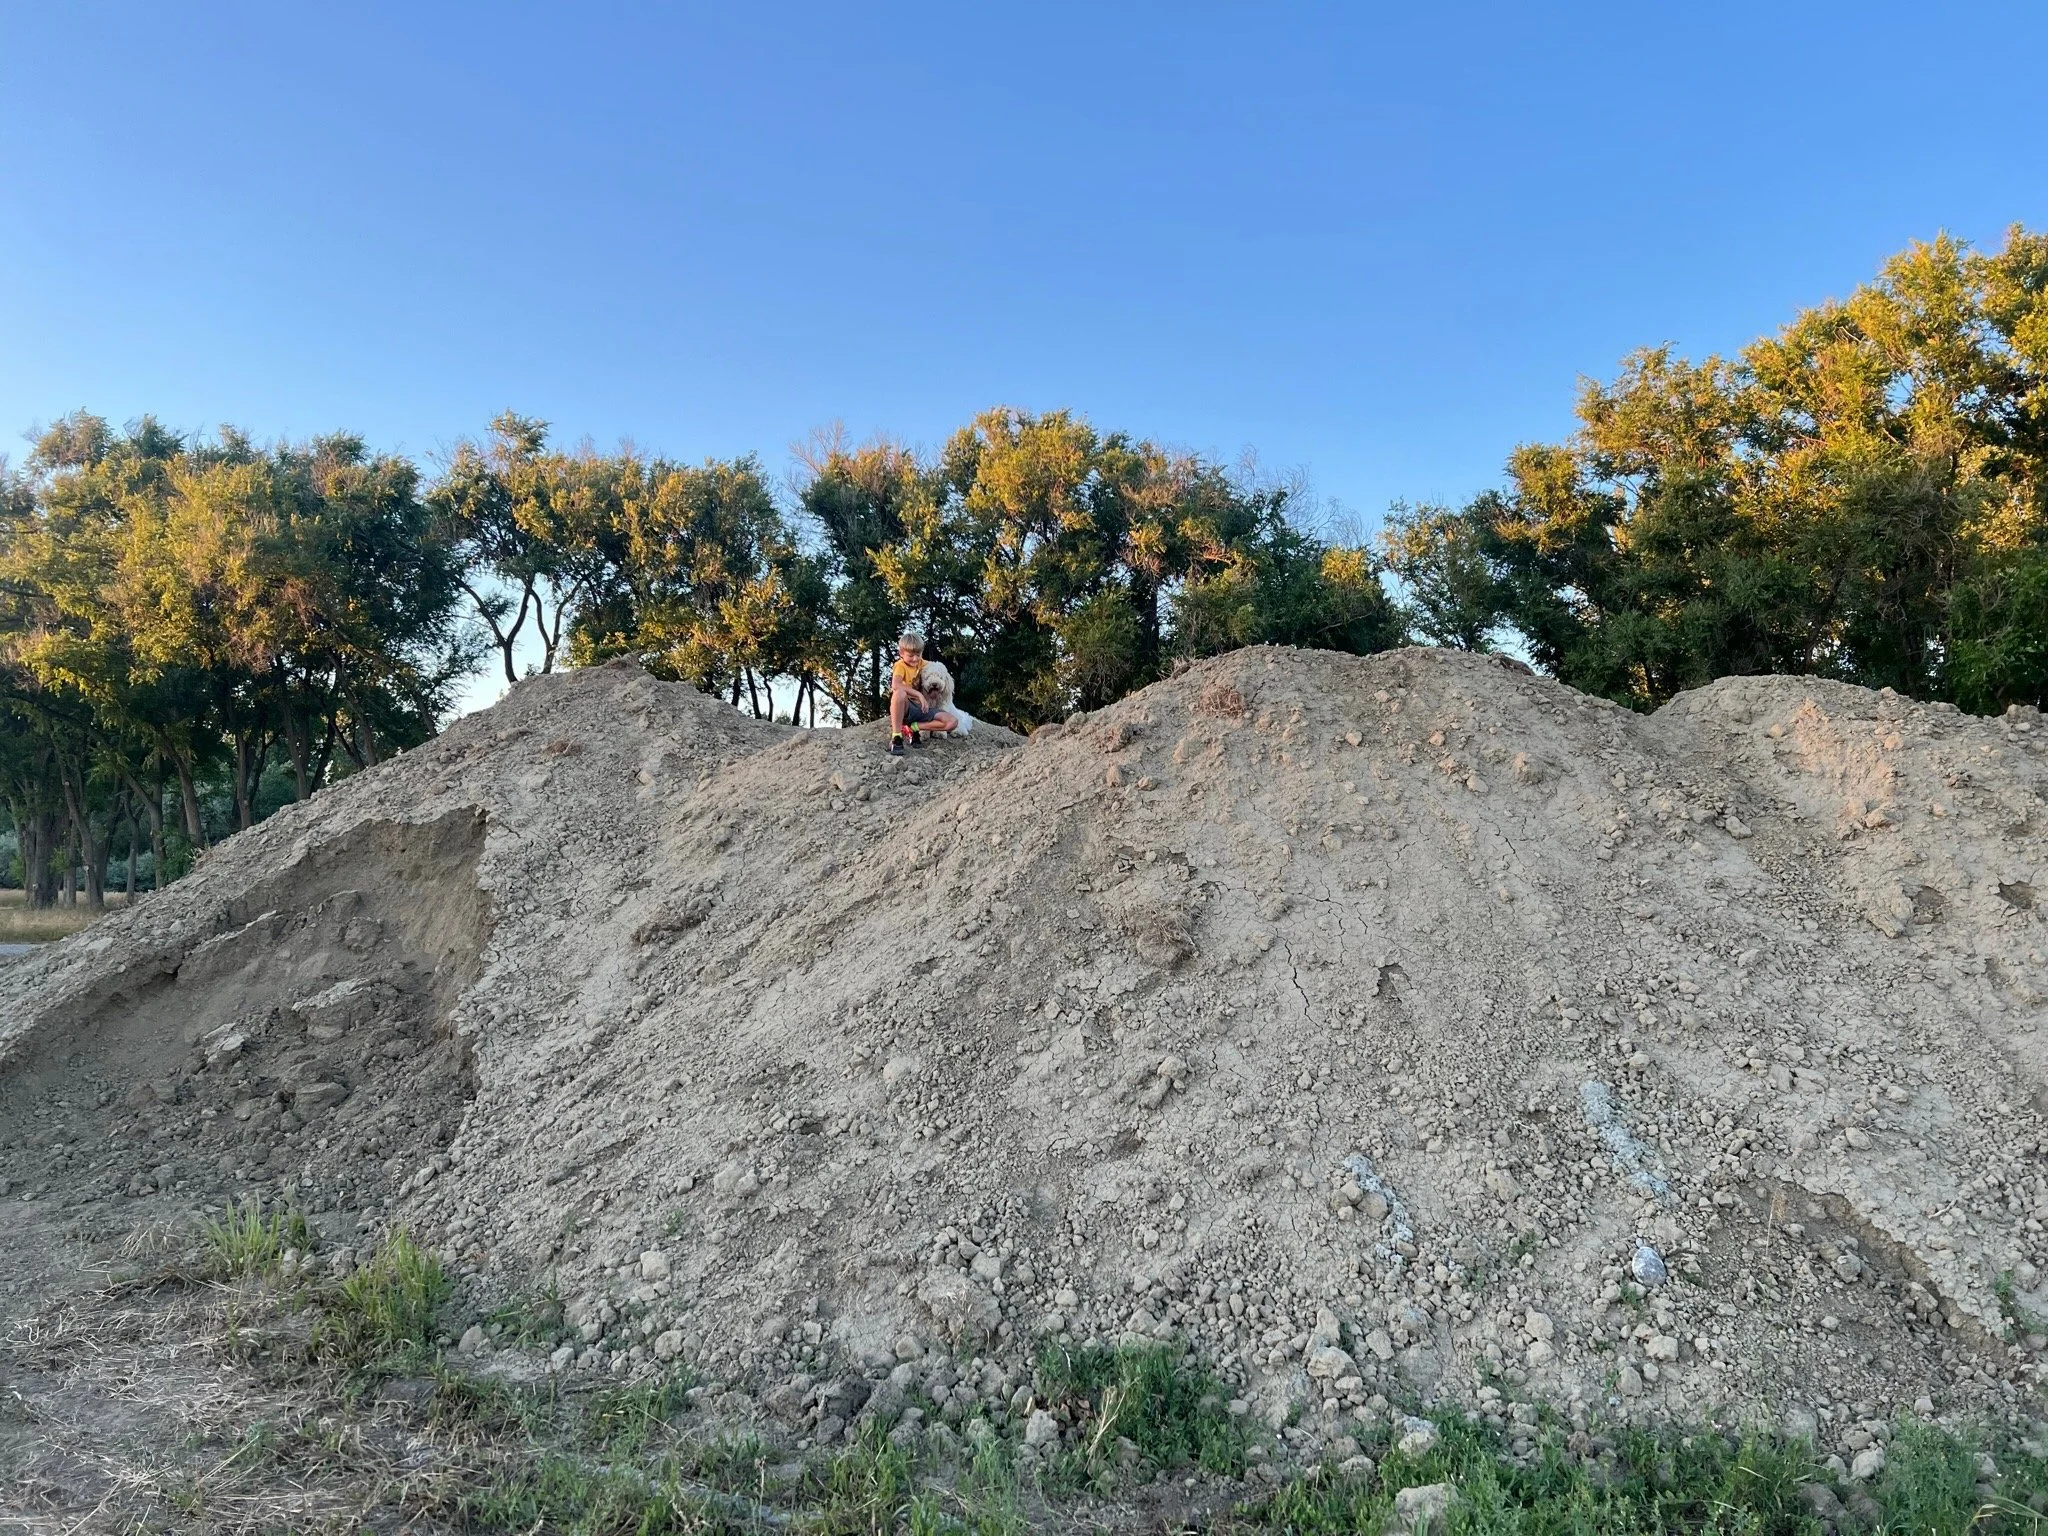
dirtwork
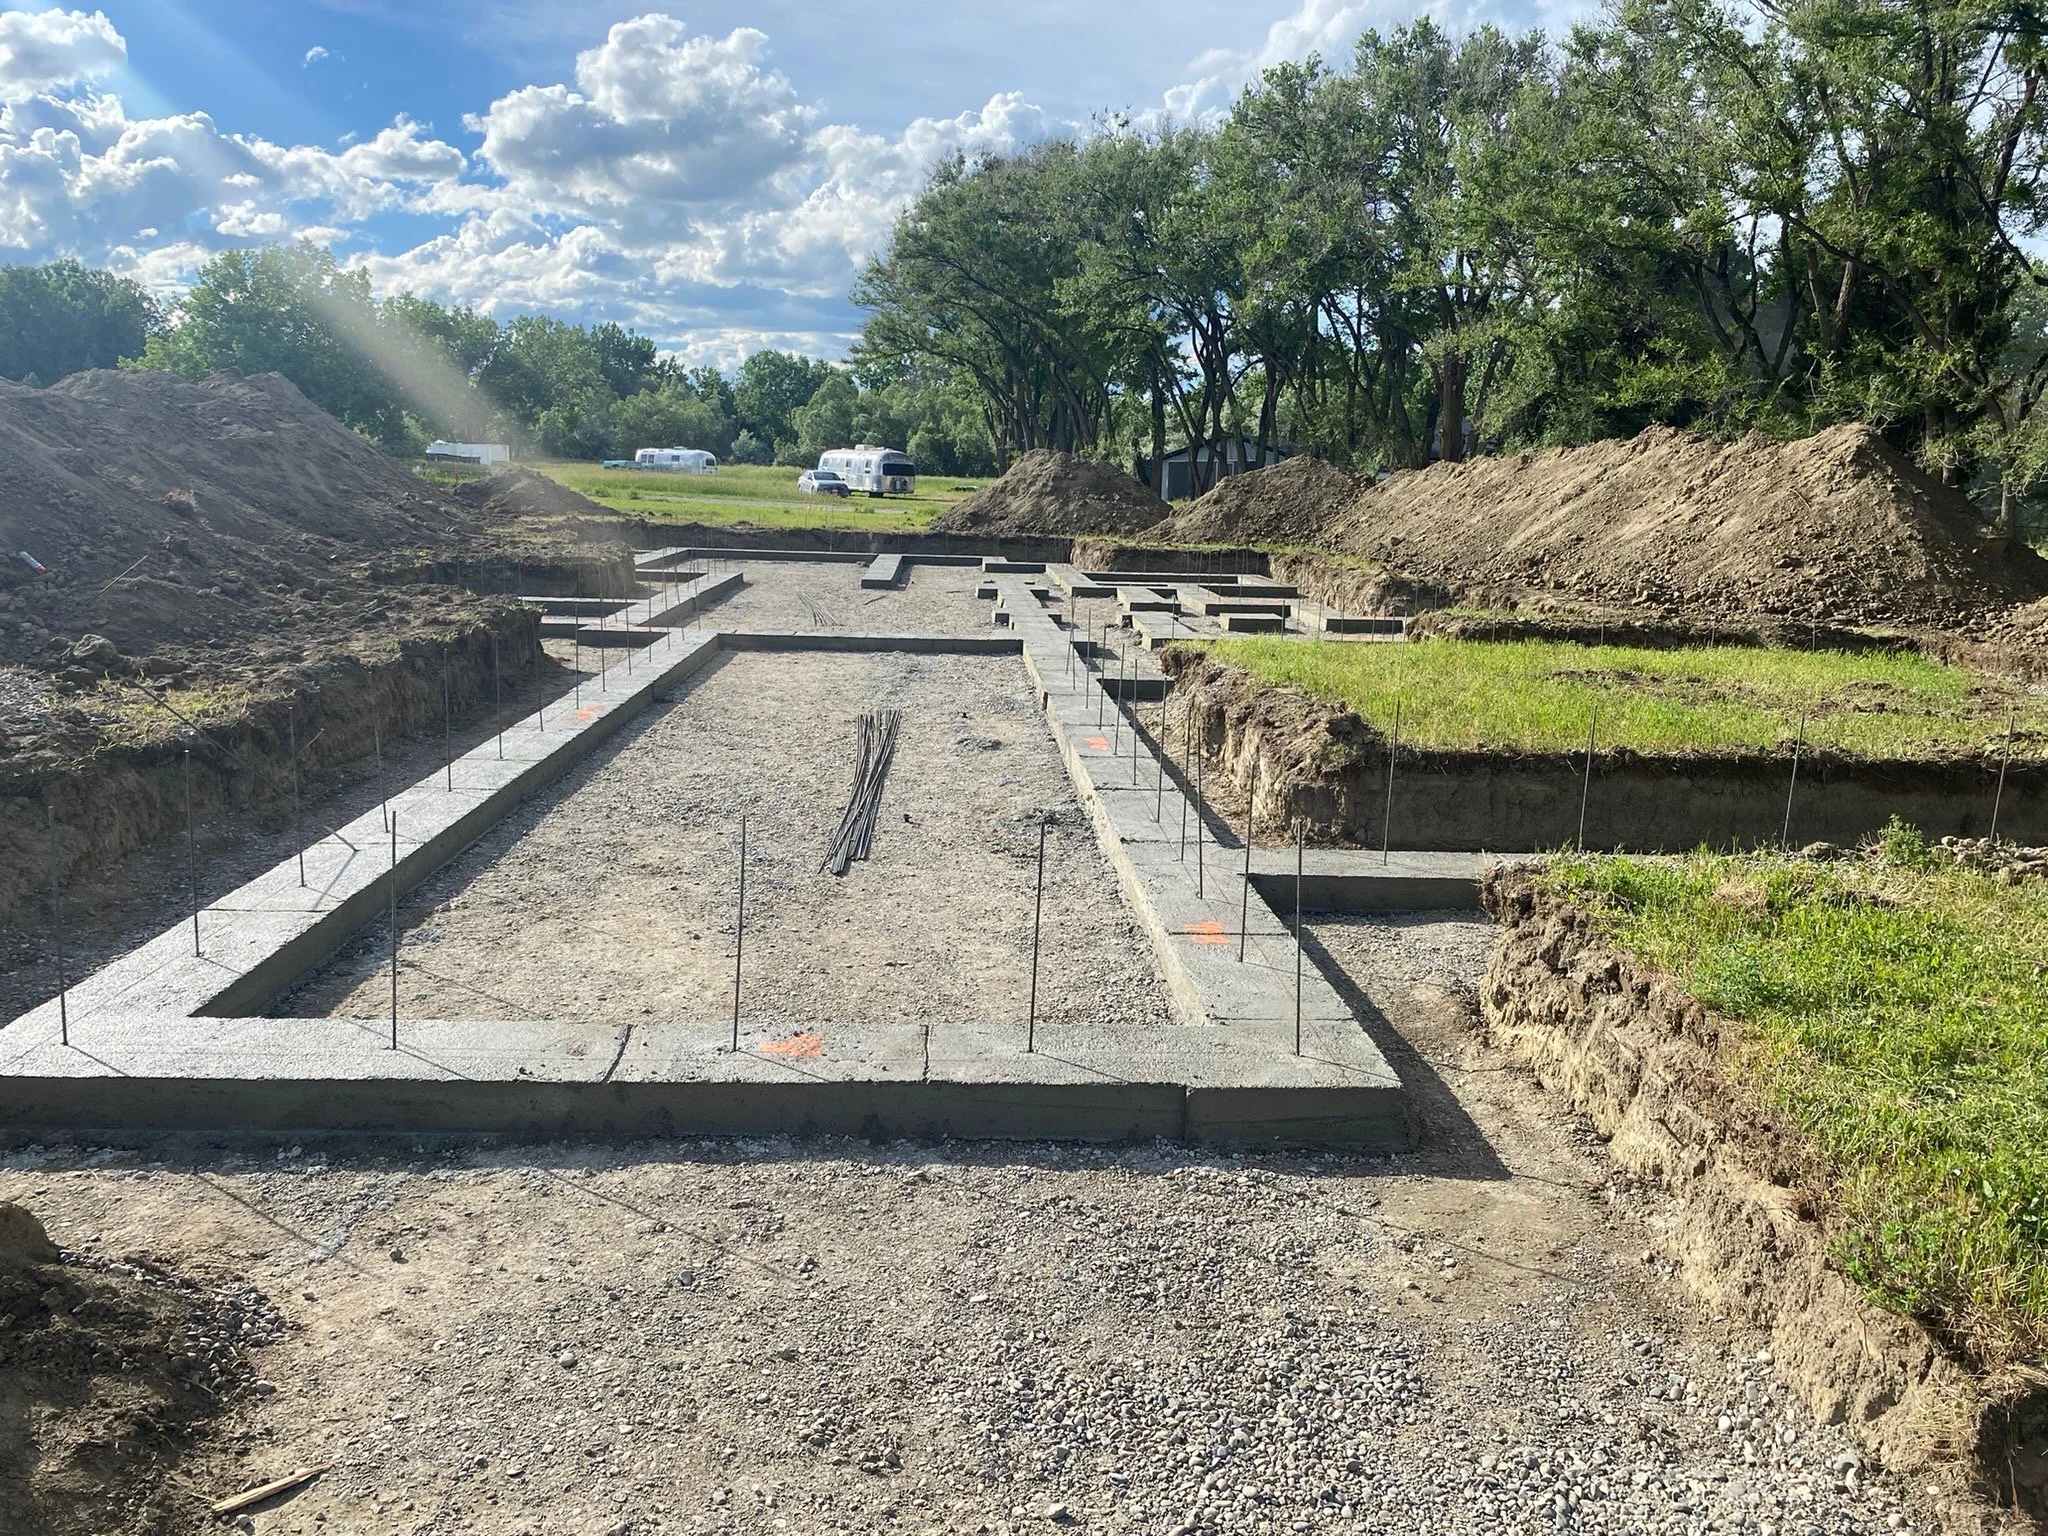
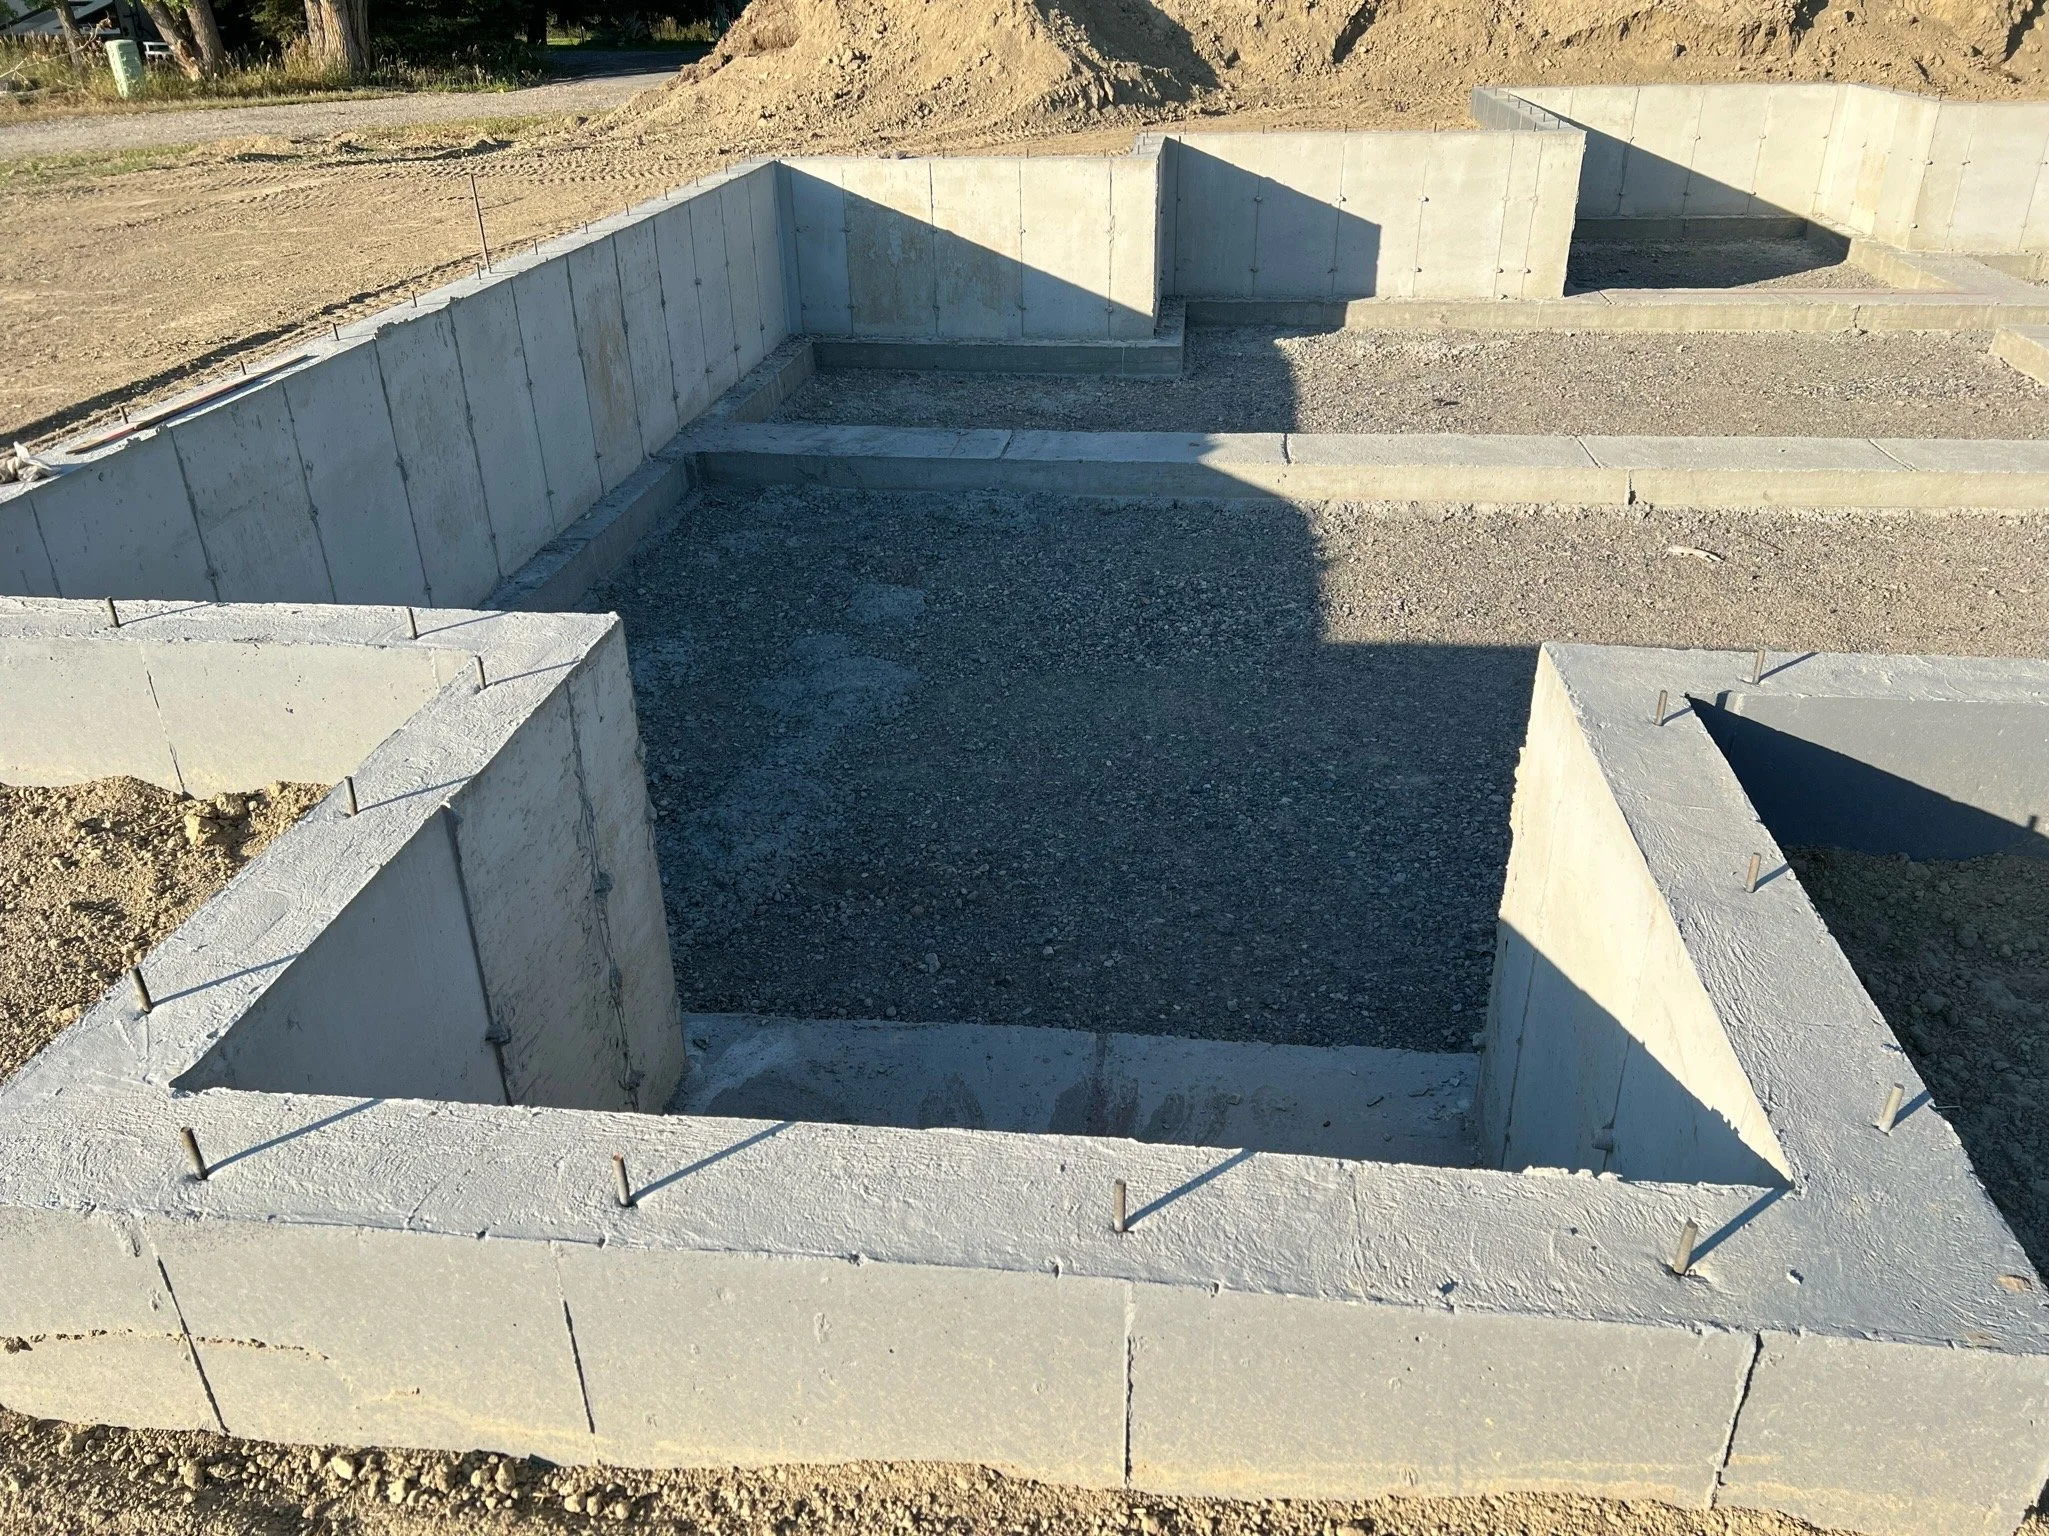
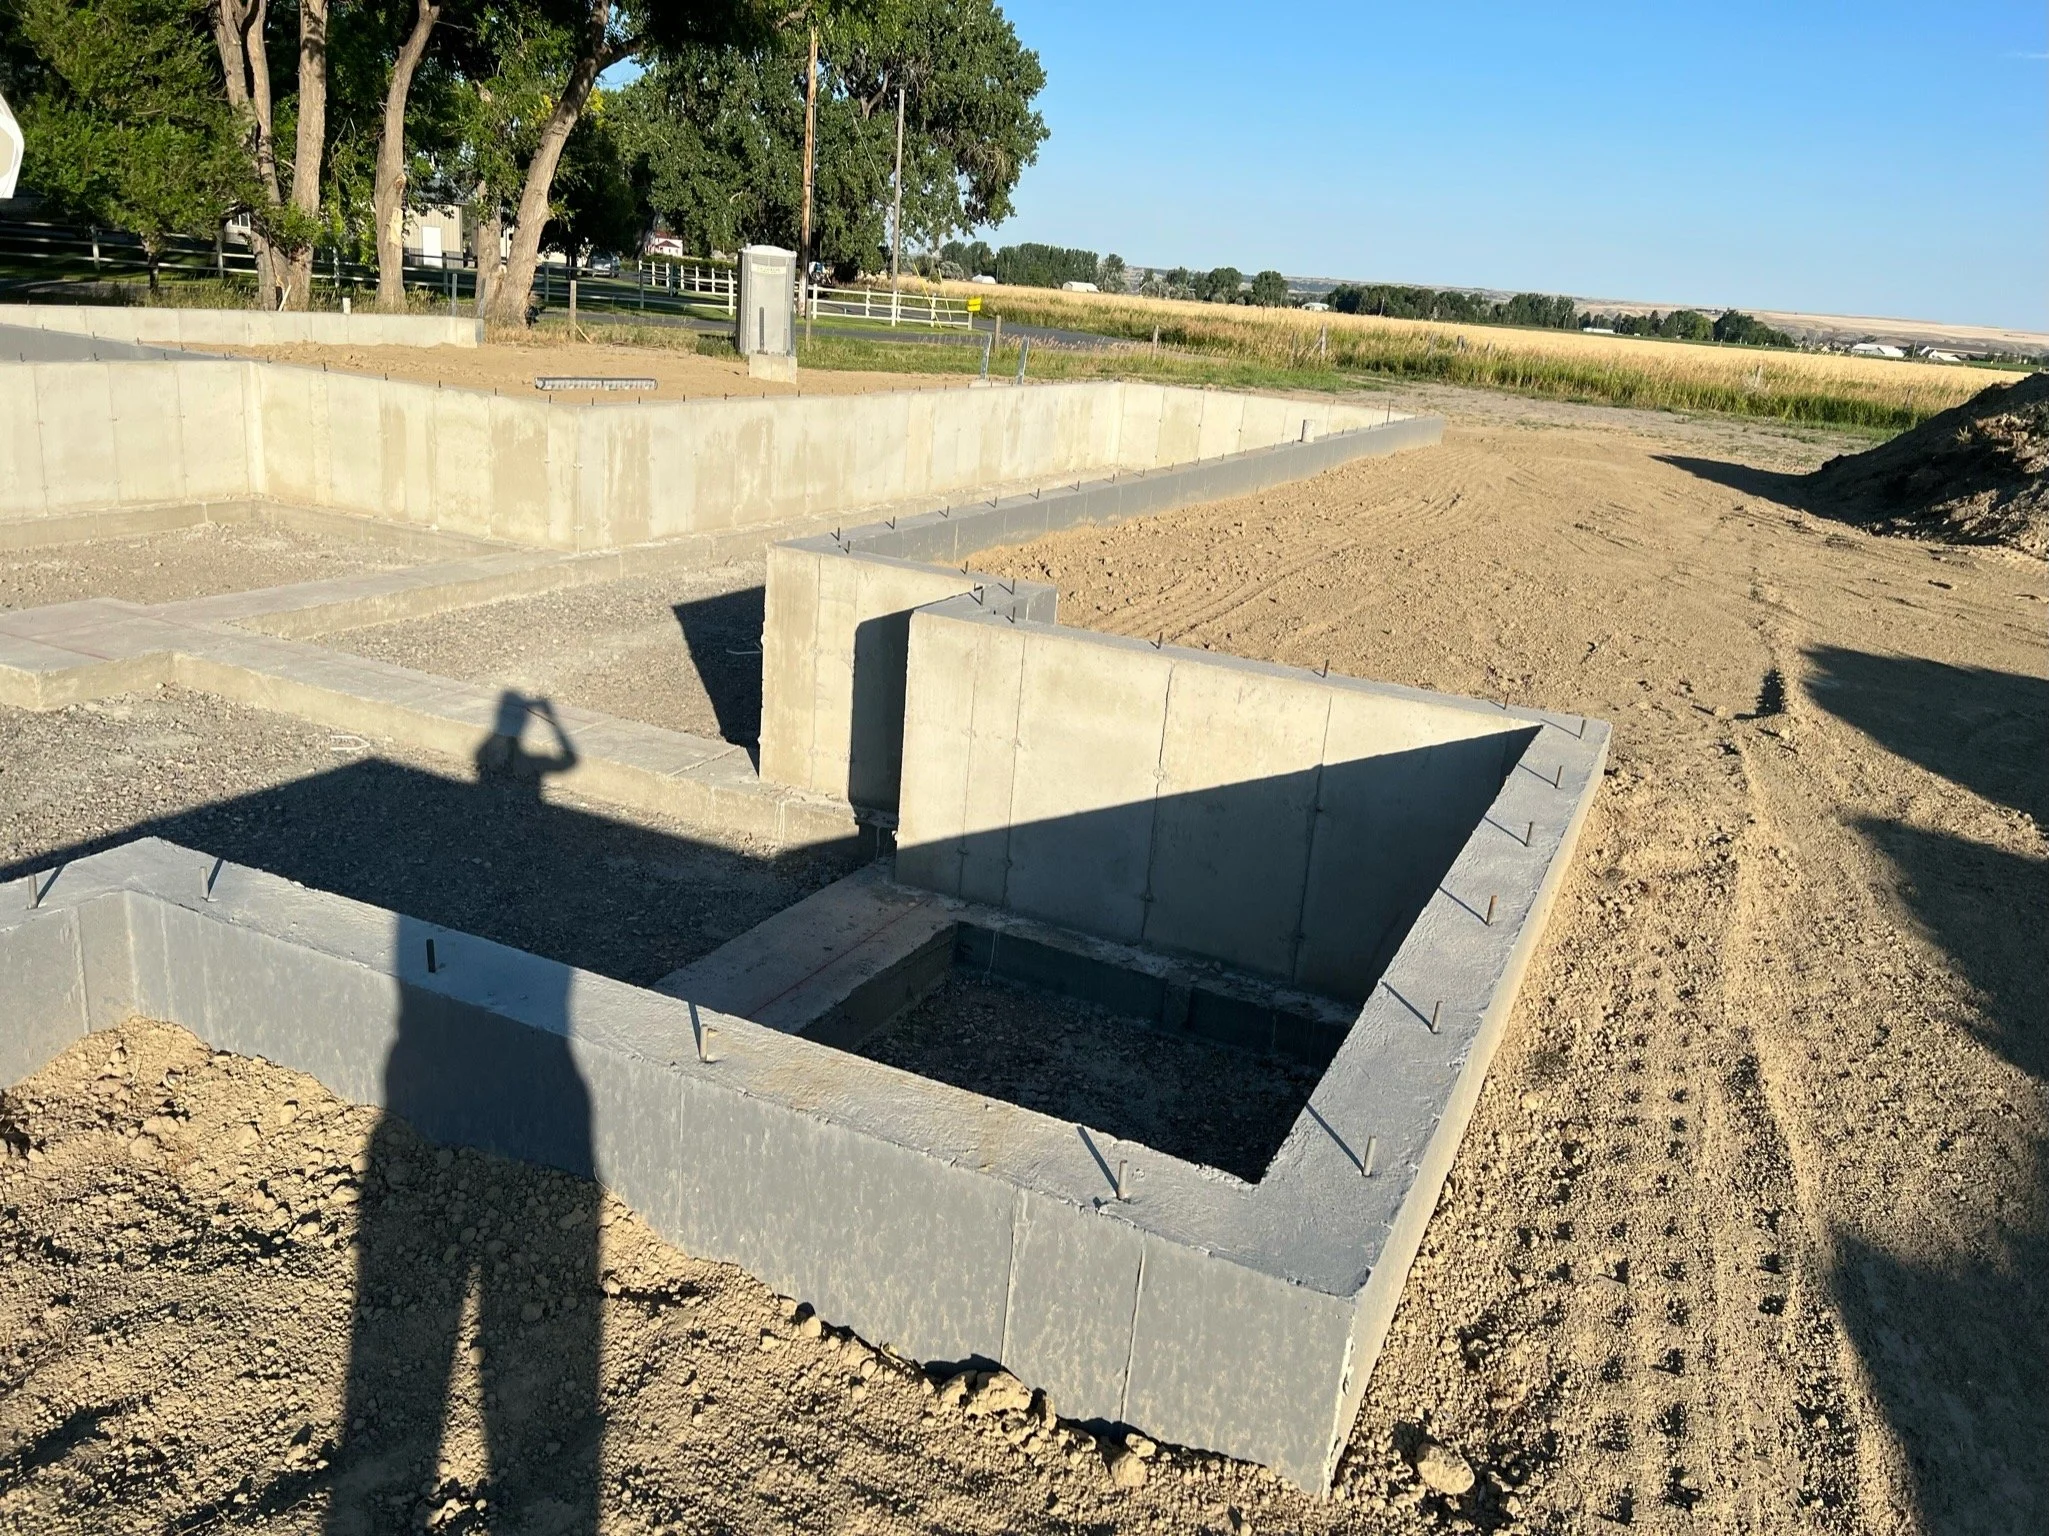
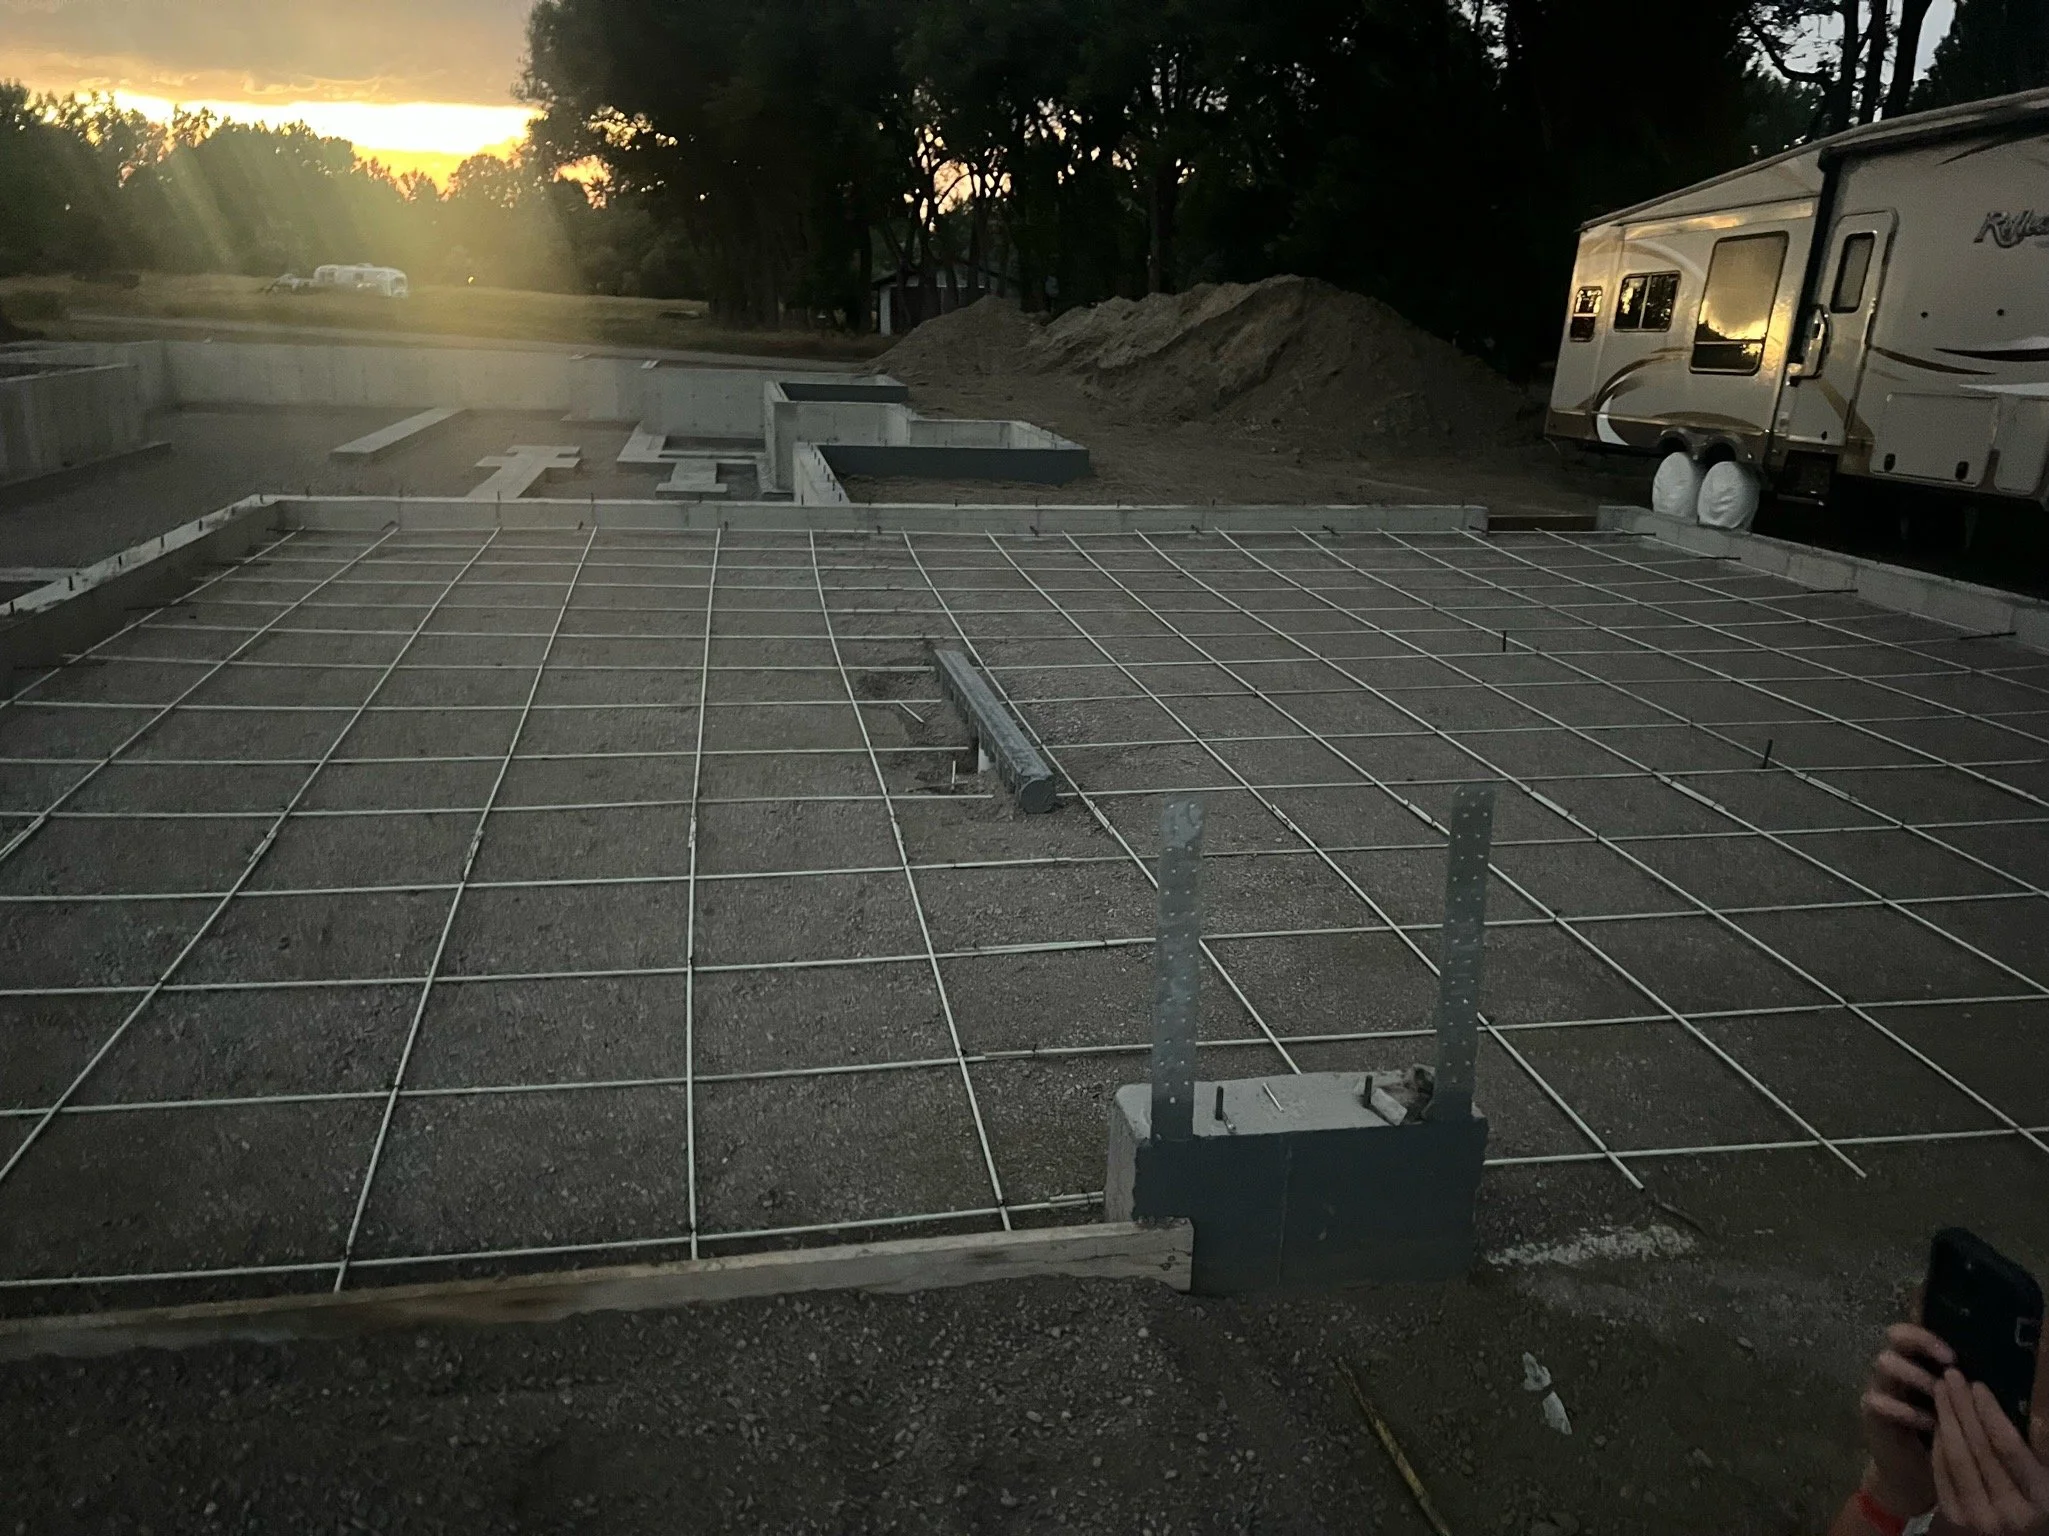
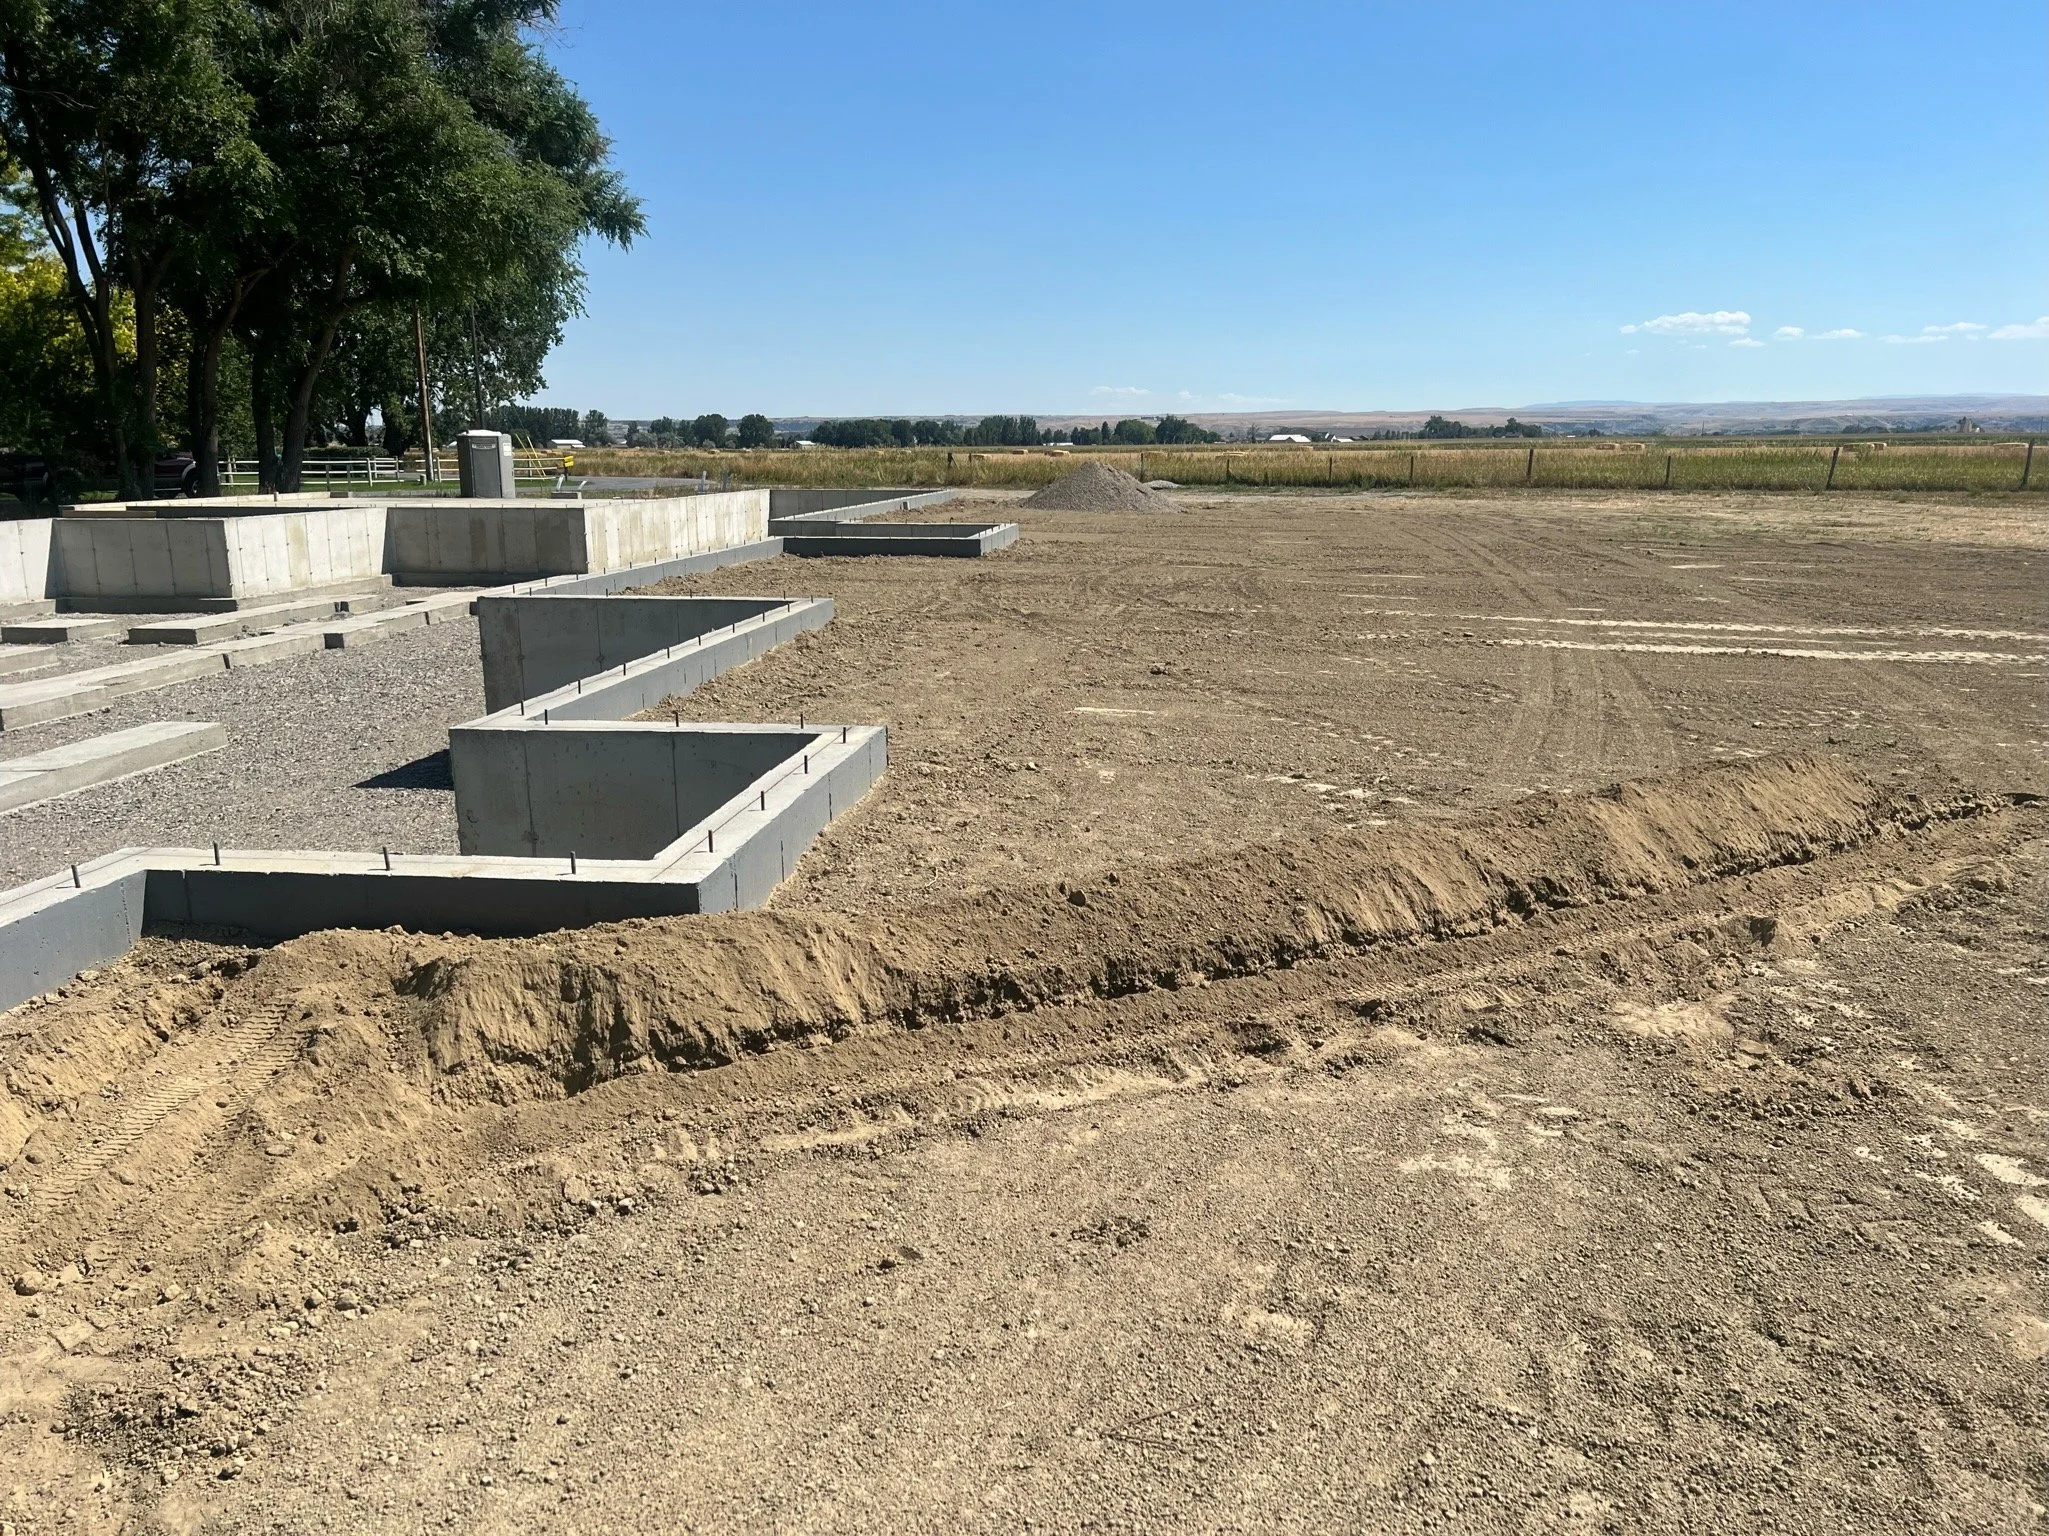
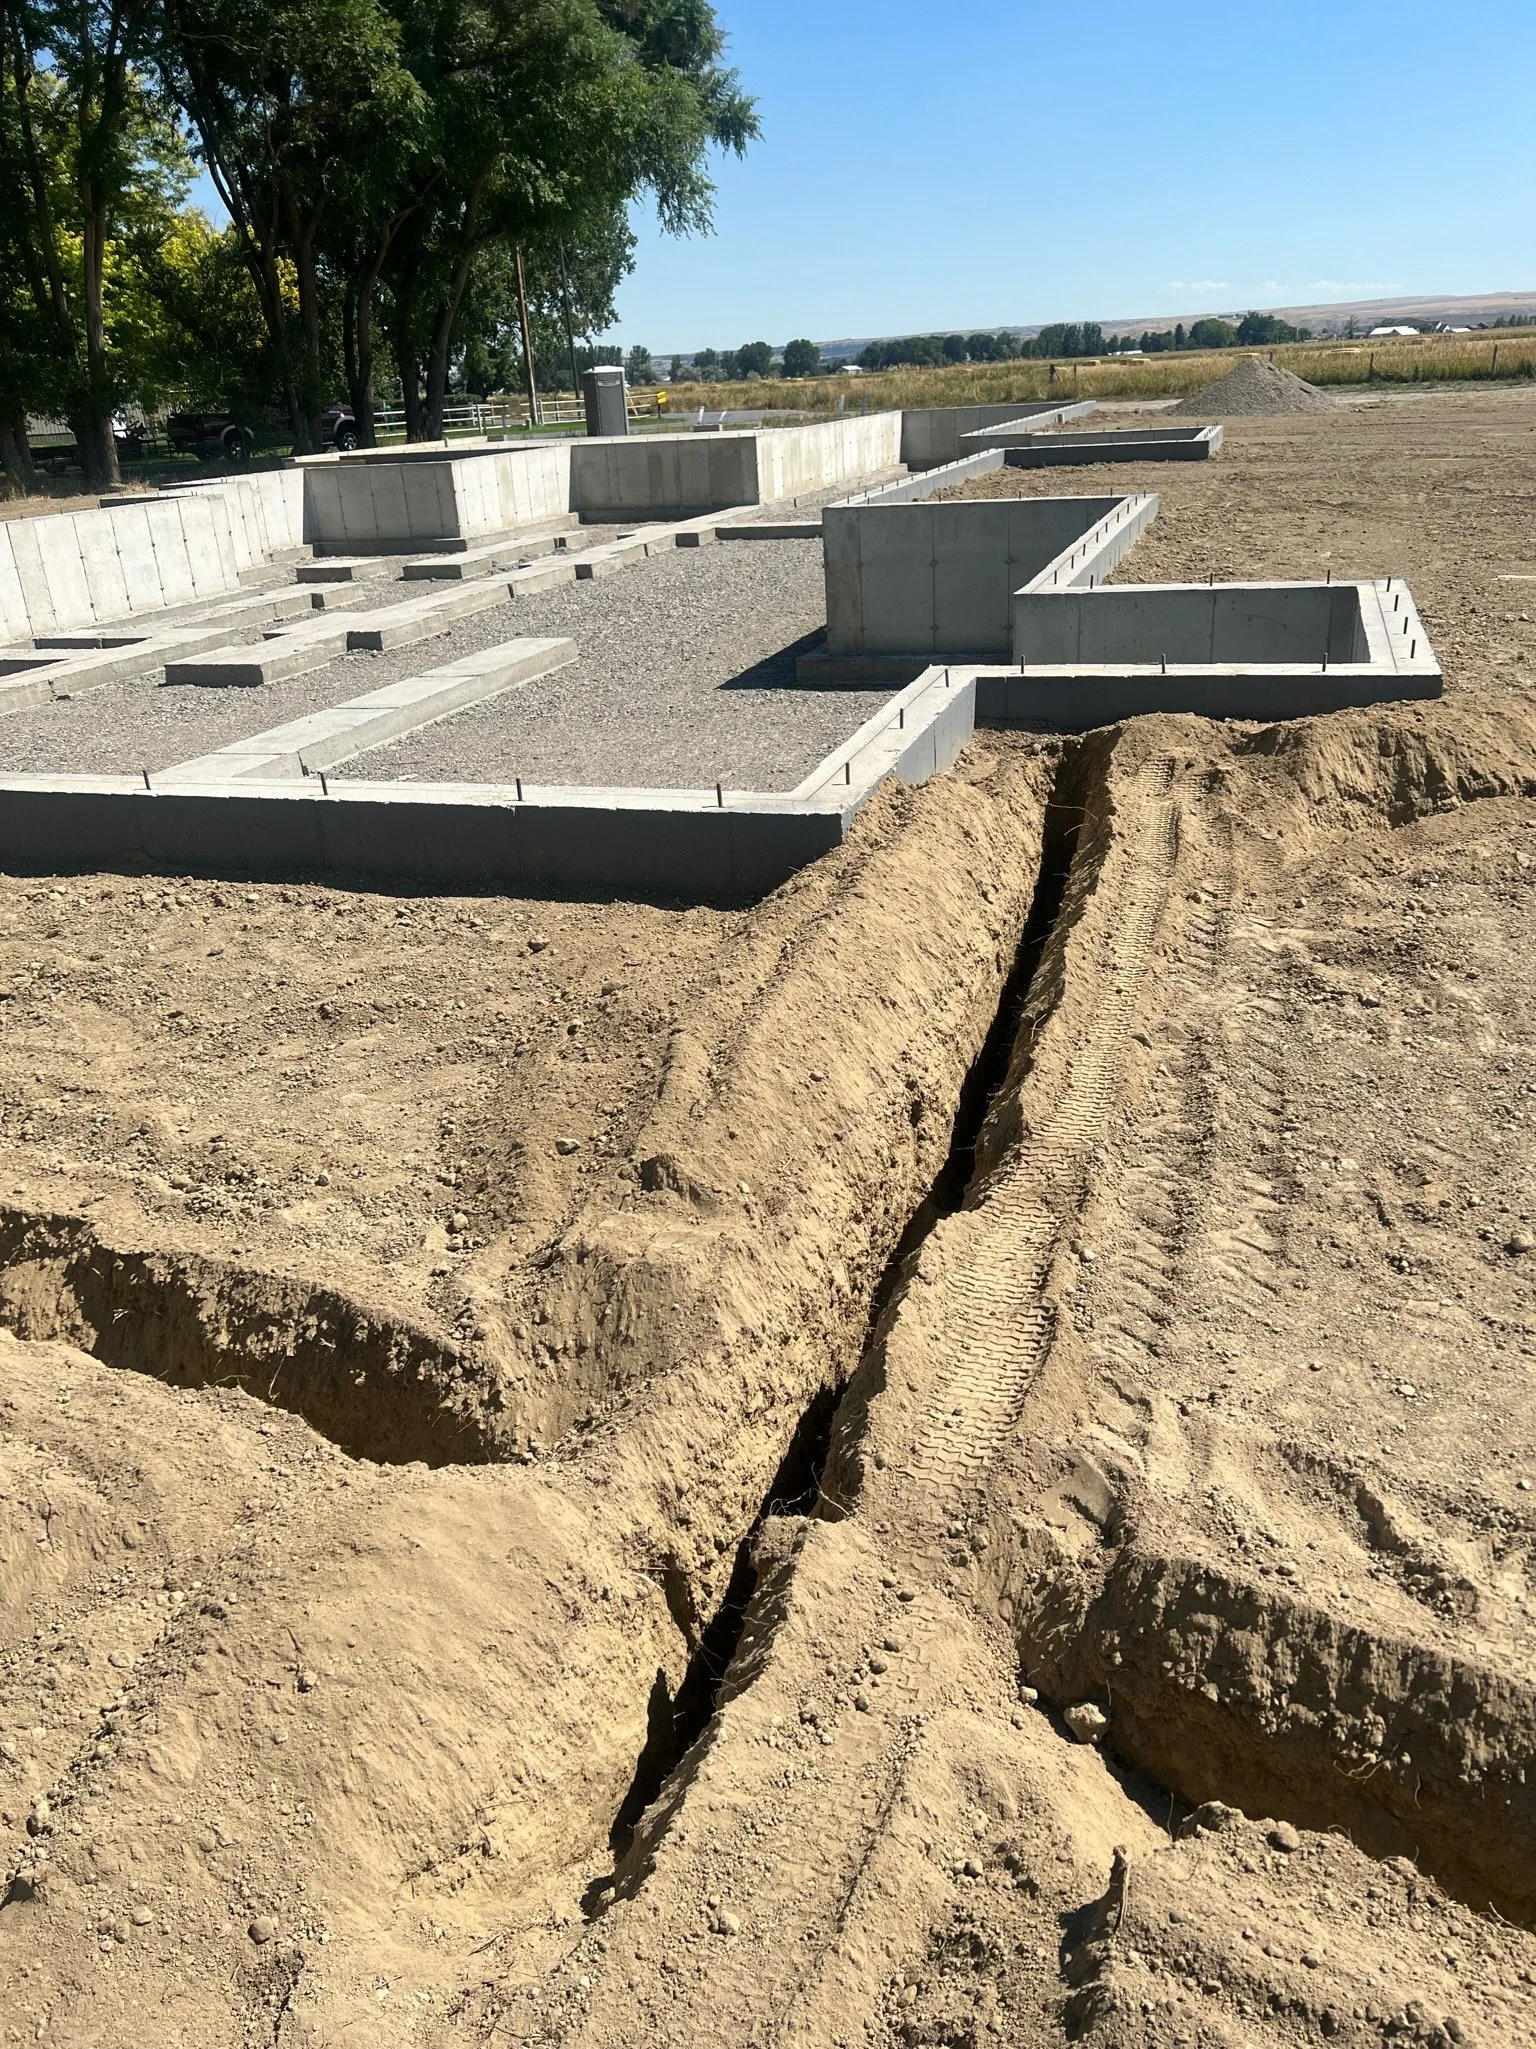
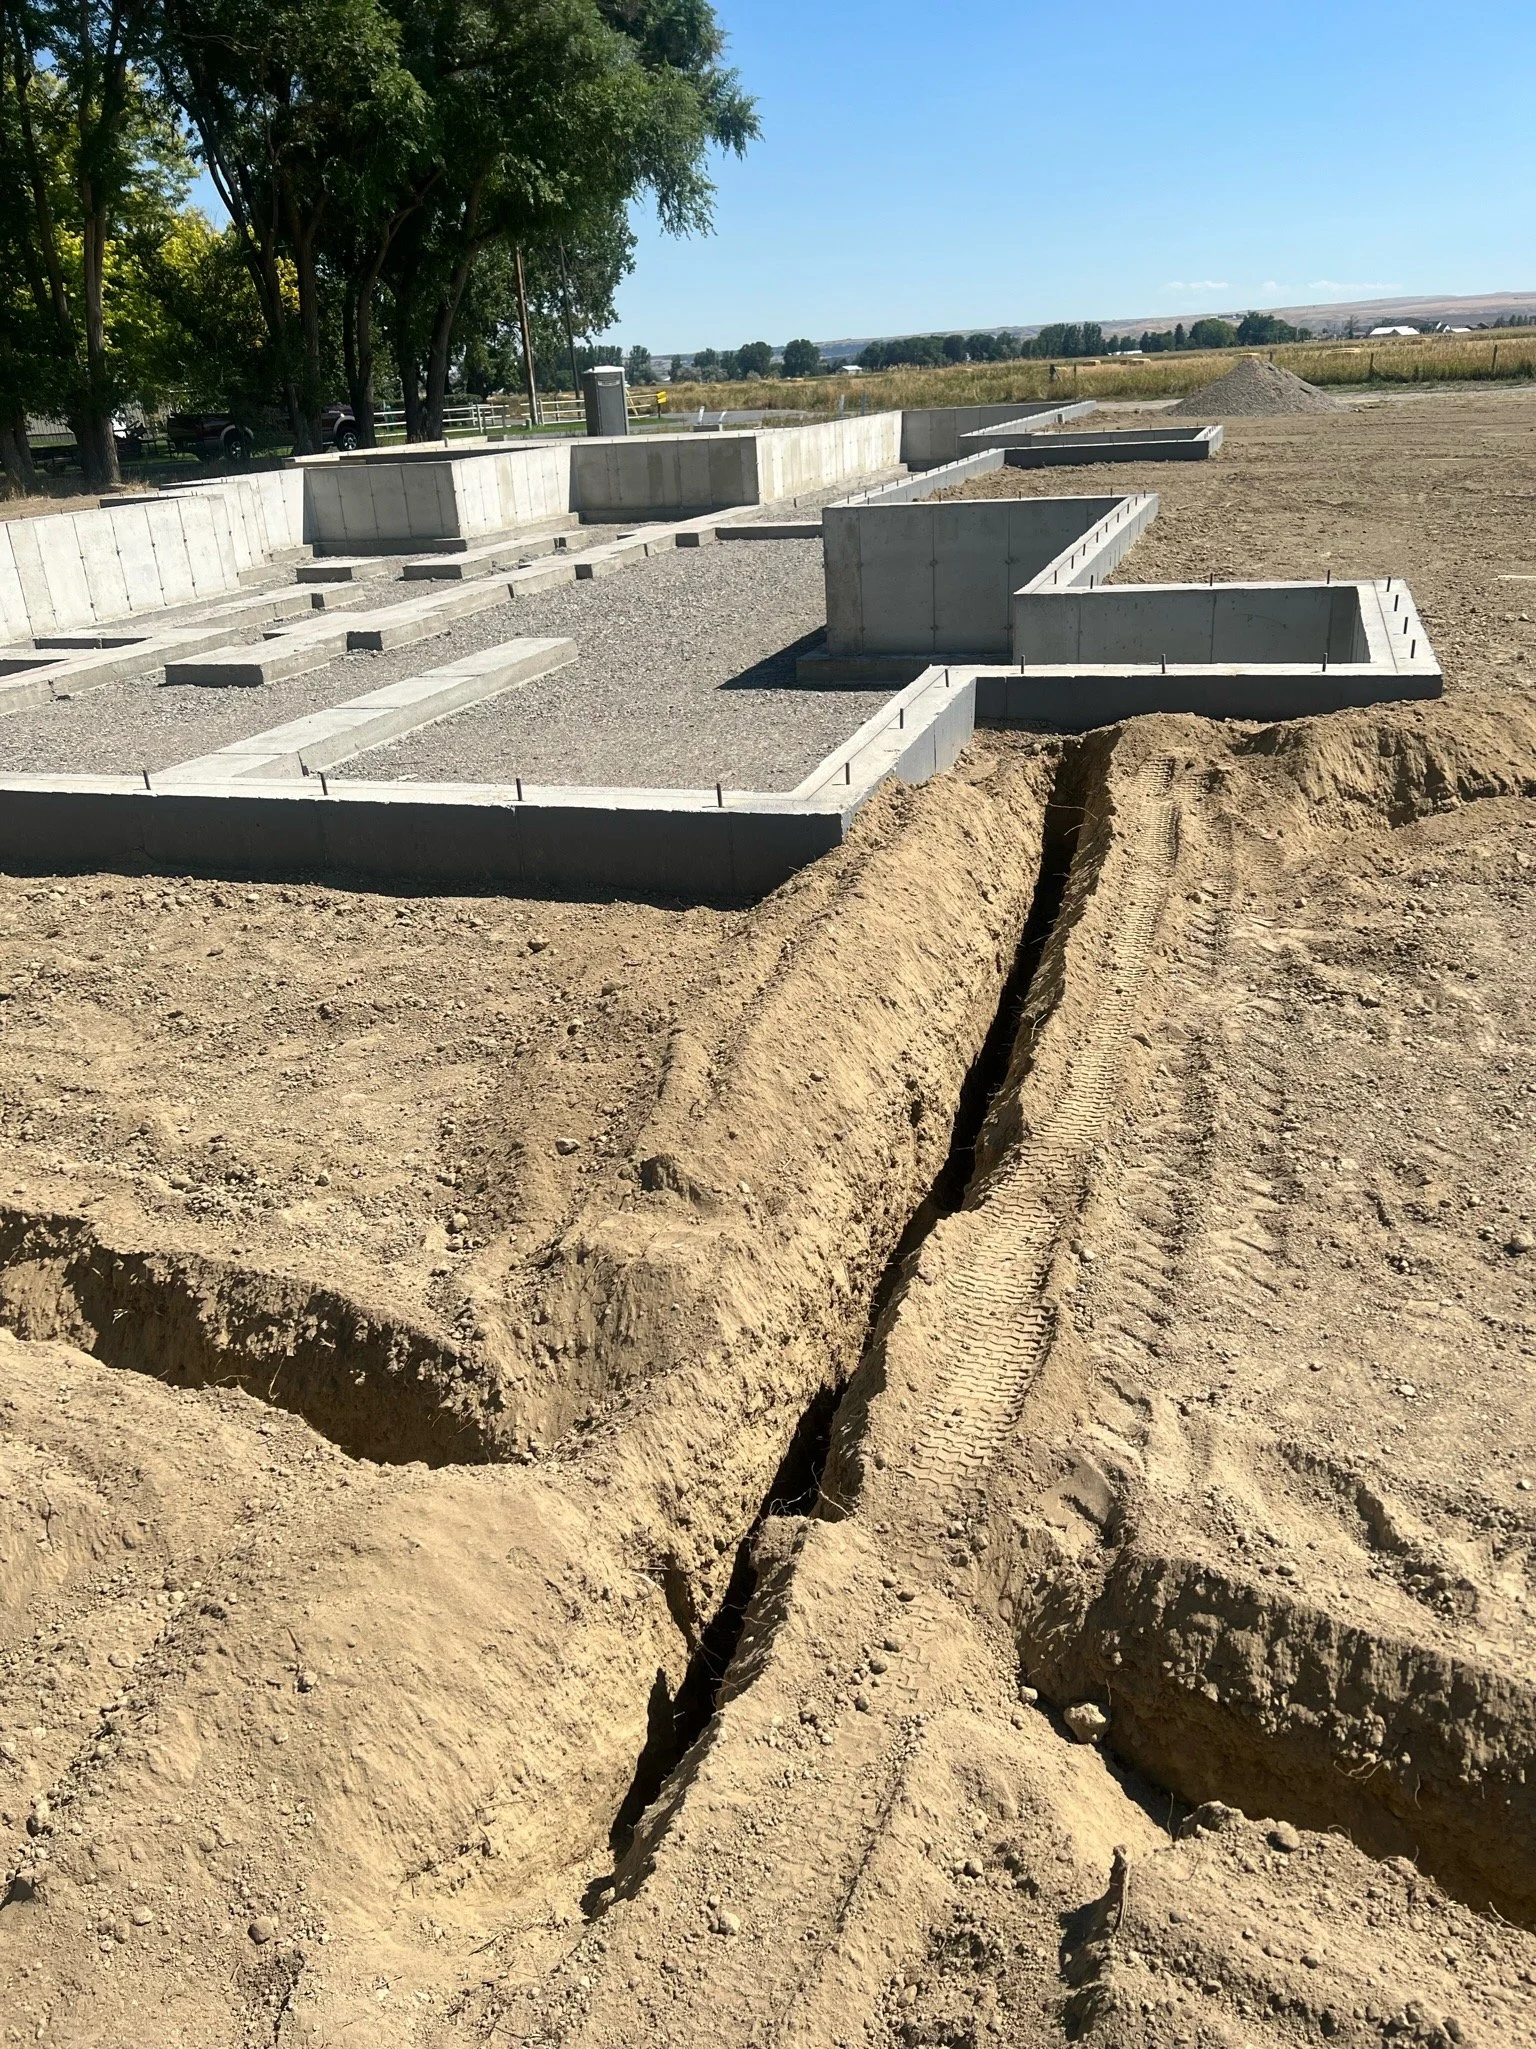
foundation:
there are different options for foundation, it is important to work closely with your geotechnical engineer who does the soil testing, and the structural engineer who is designing your structure for the foundation.
our options for foundations were: piers, over excavation, or a regular foundation pour. We did some research and found an option with a geomat. The geomat helps prevent movement with the soil. We decided to do an over excavation, where you excavate more soil than is needed and fill the cavity with a better soil that is brought in, along with the geomat.
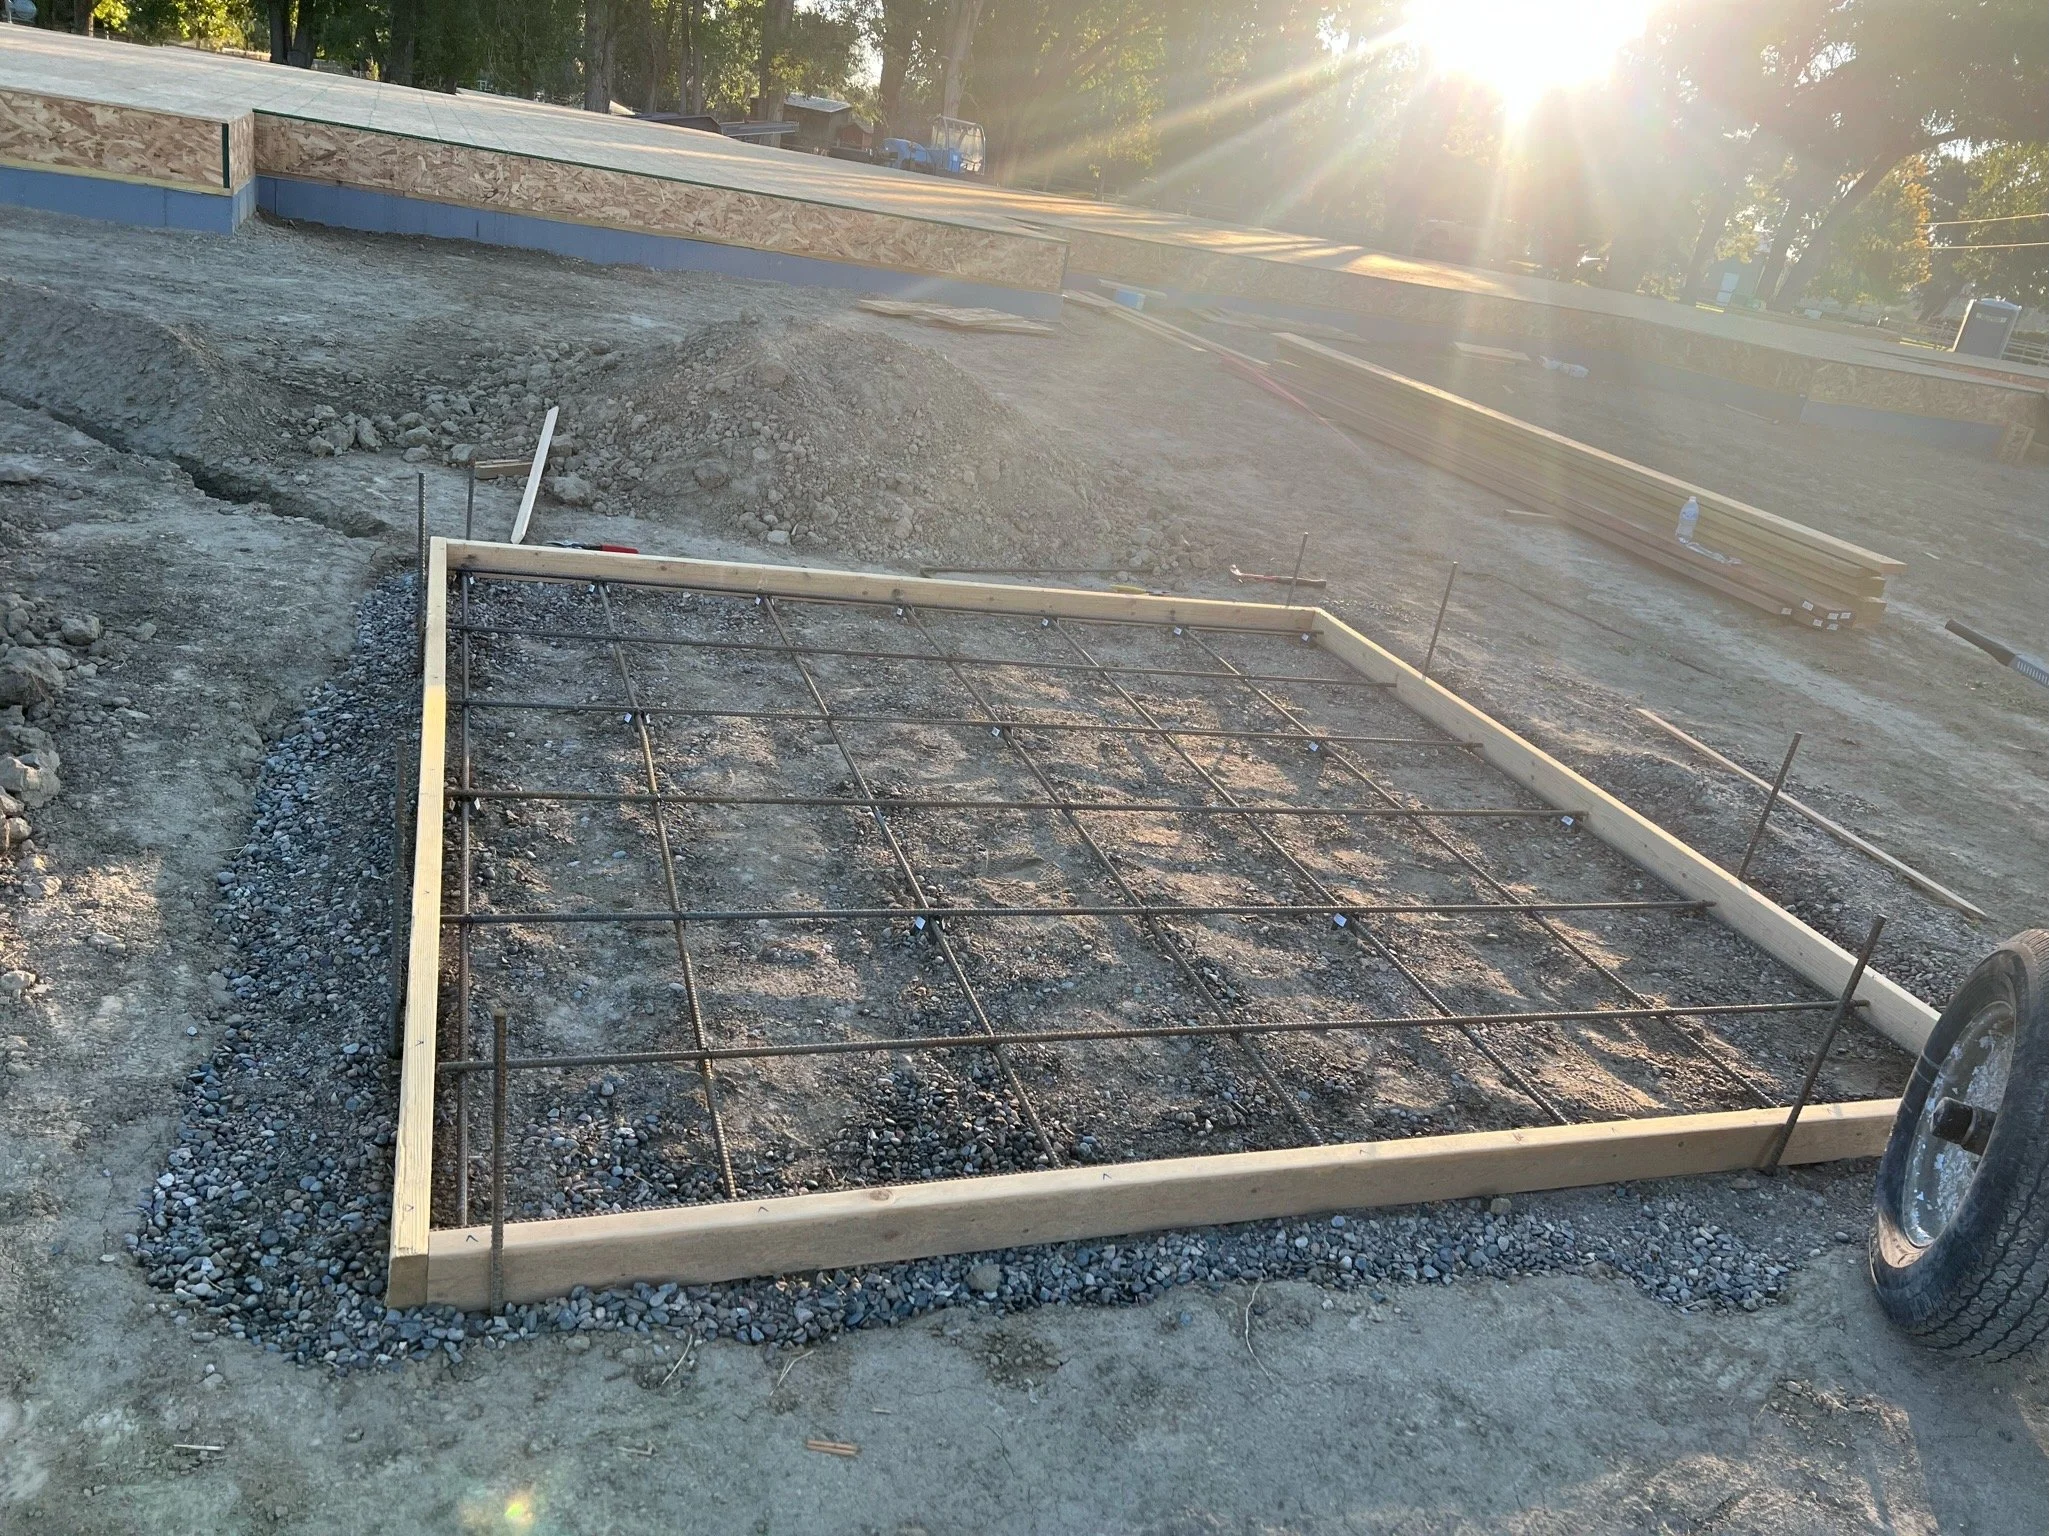
concrete flat work
septic
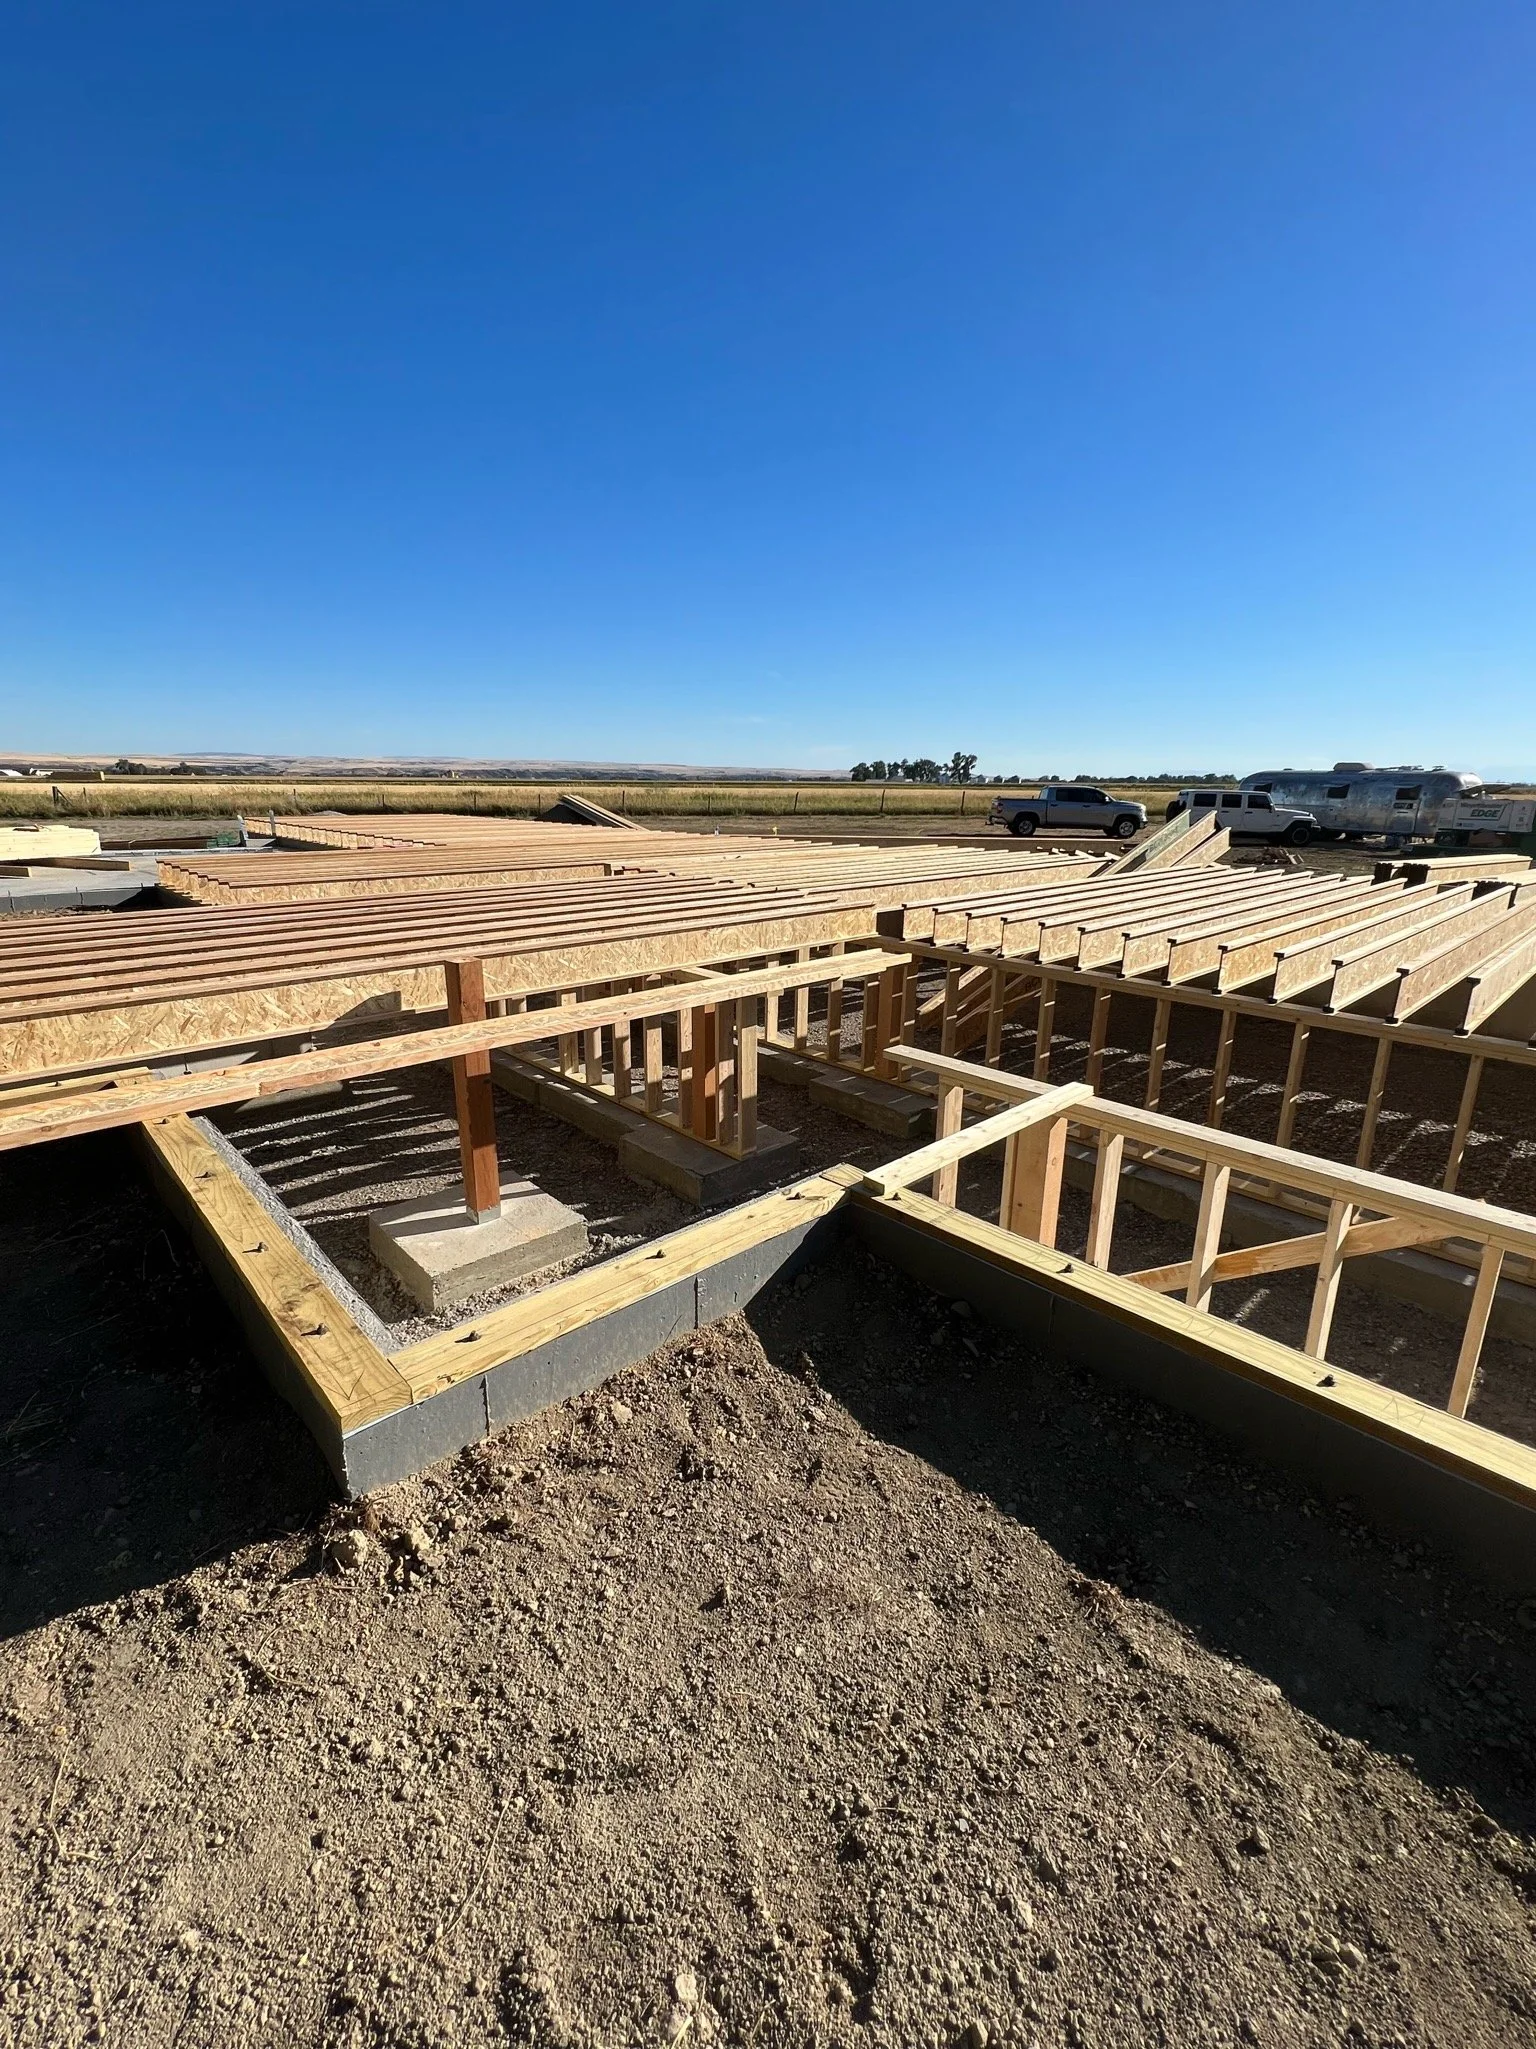
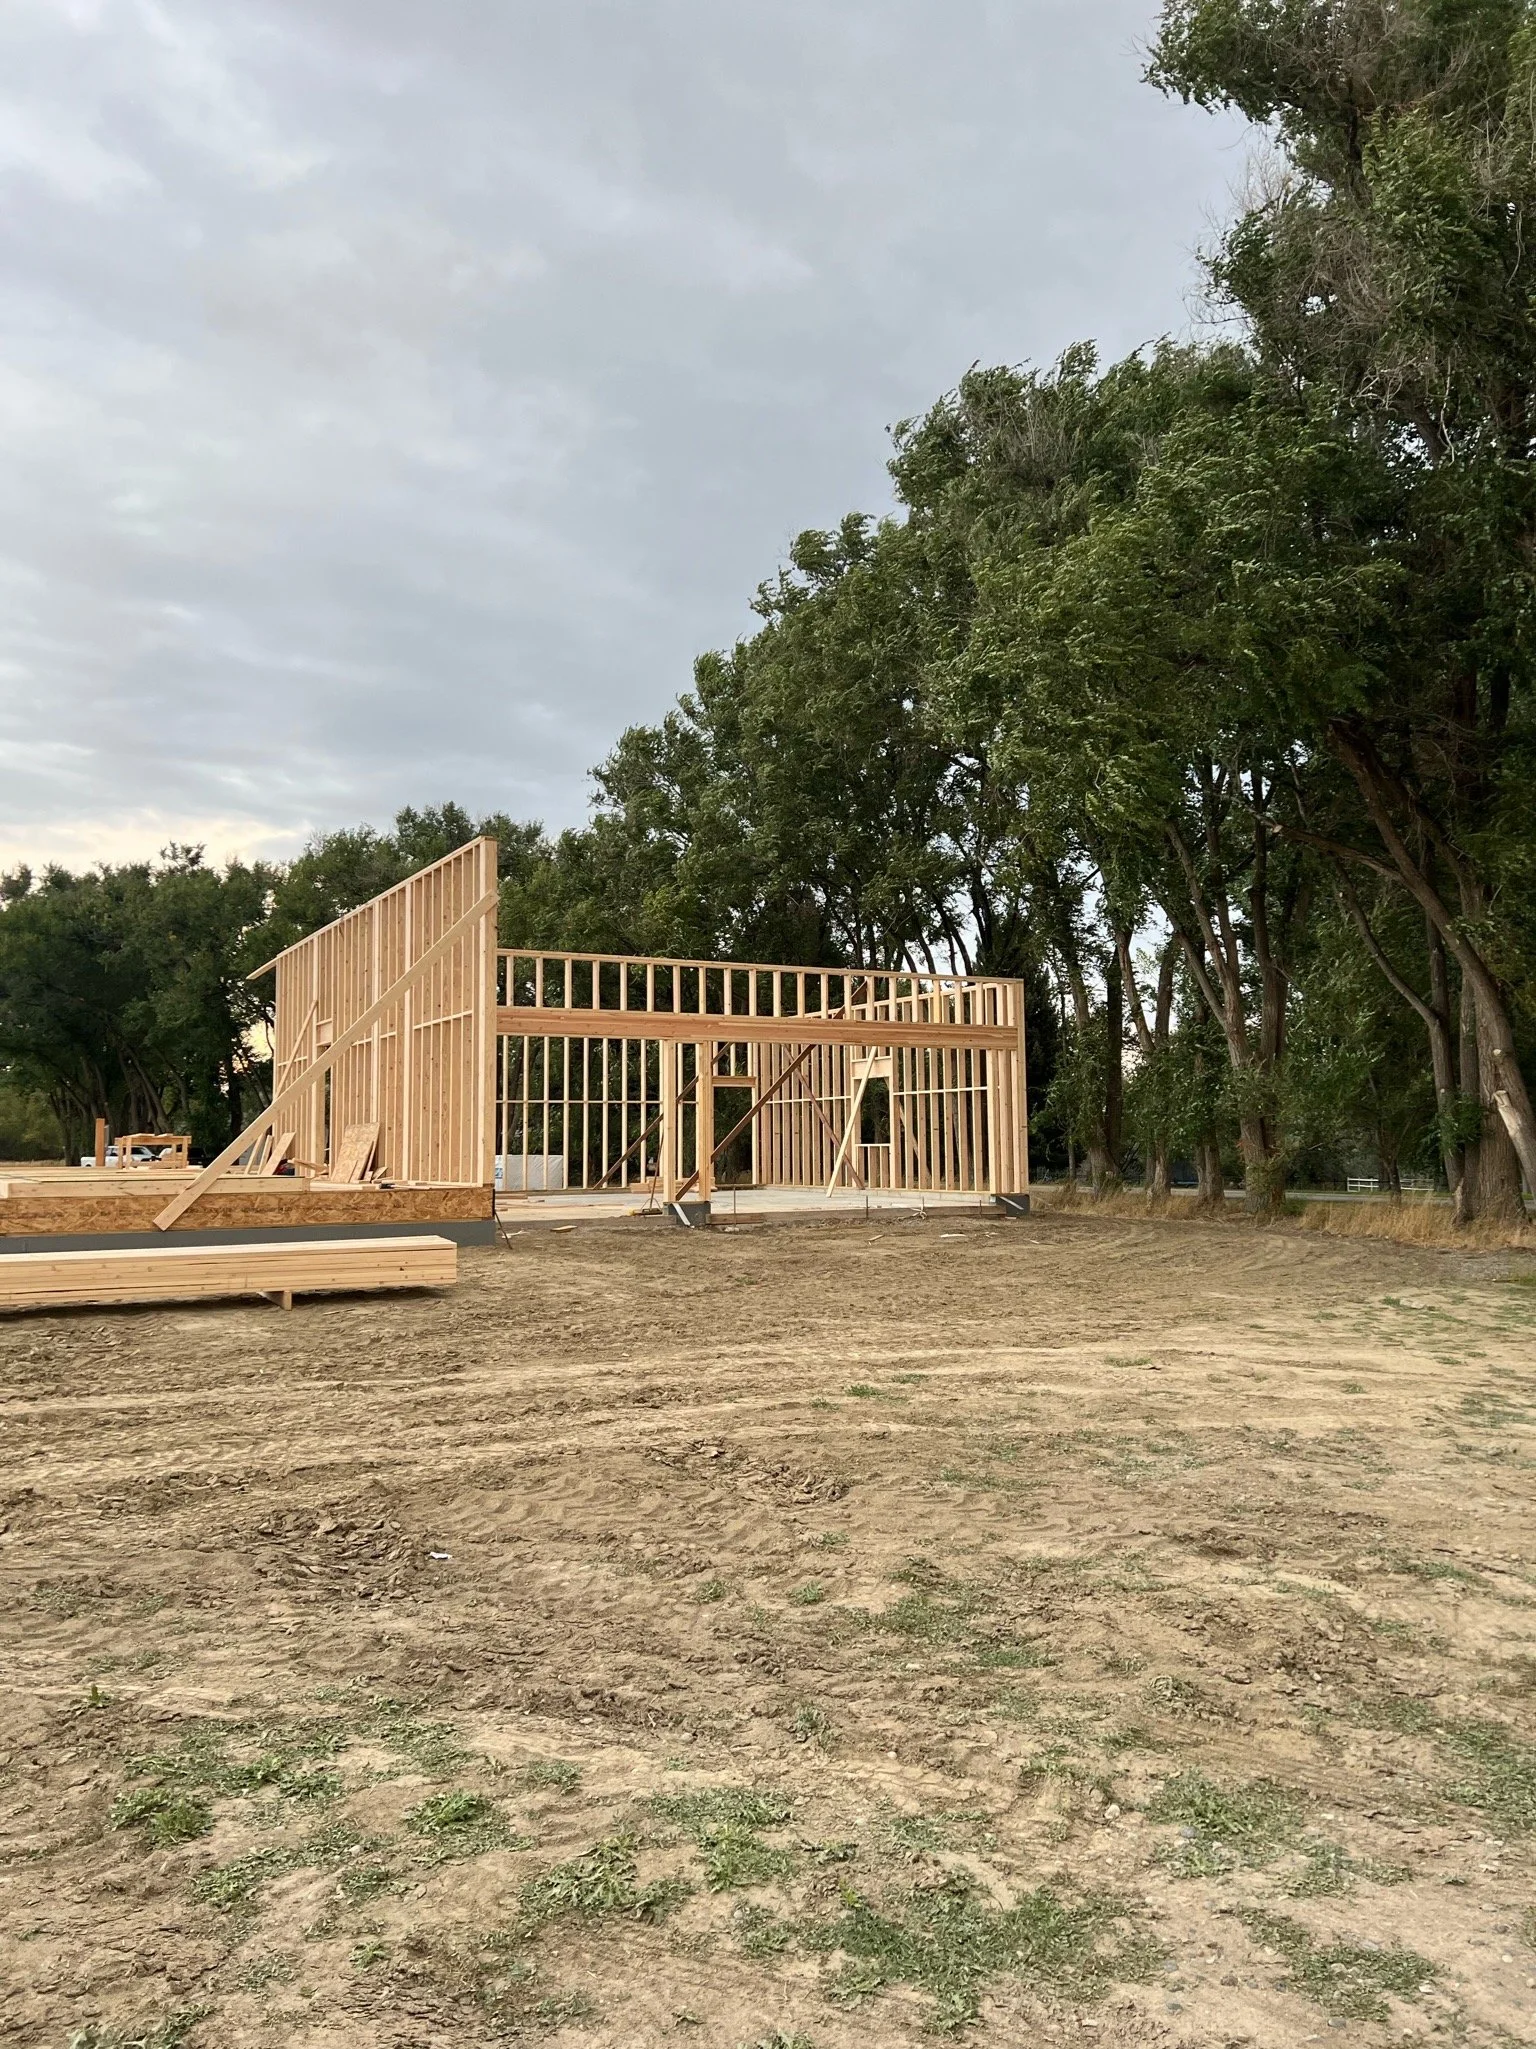
framing
wood costs (the wood was not included in the bid for the framing work)
cost of roof trust
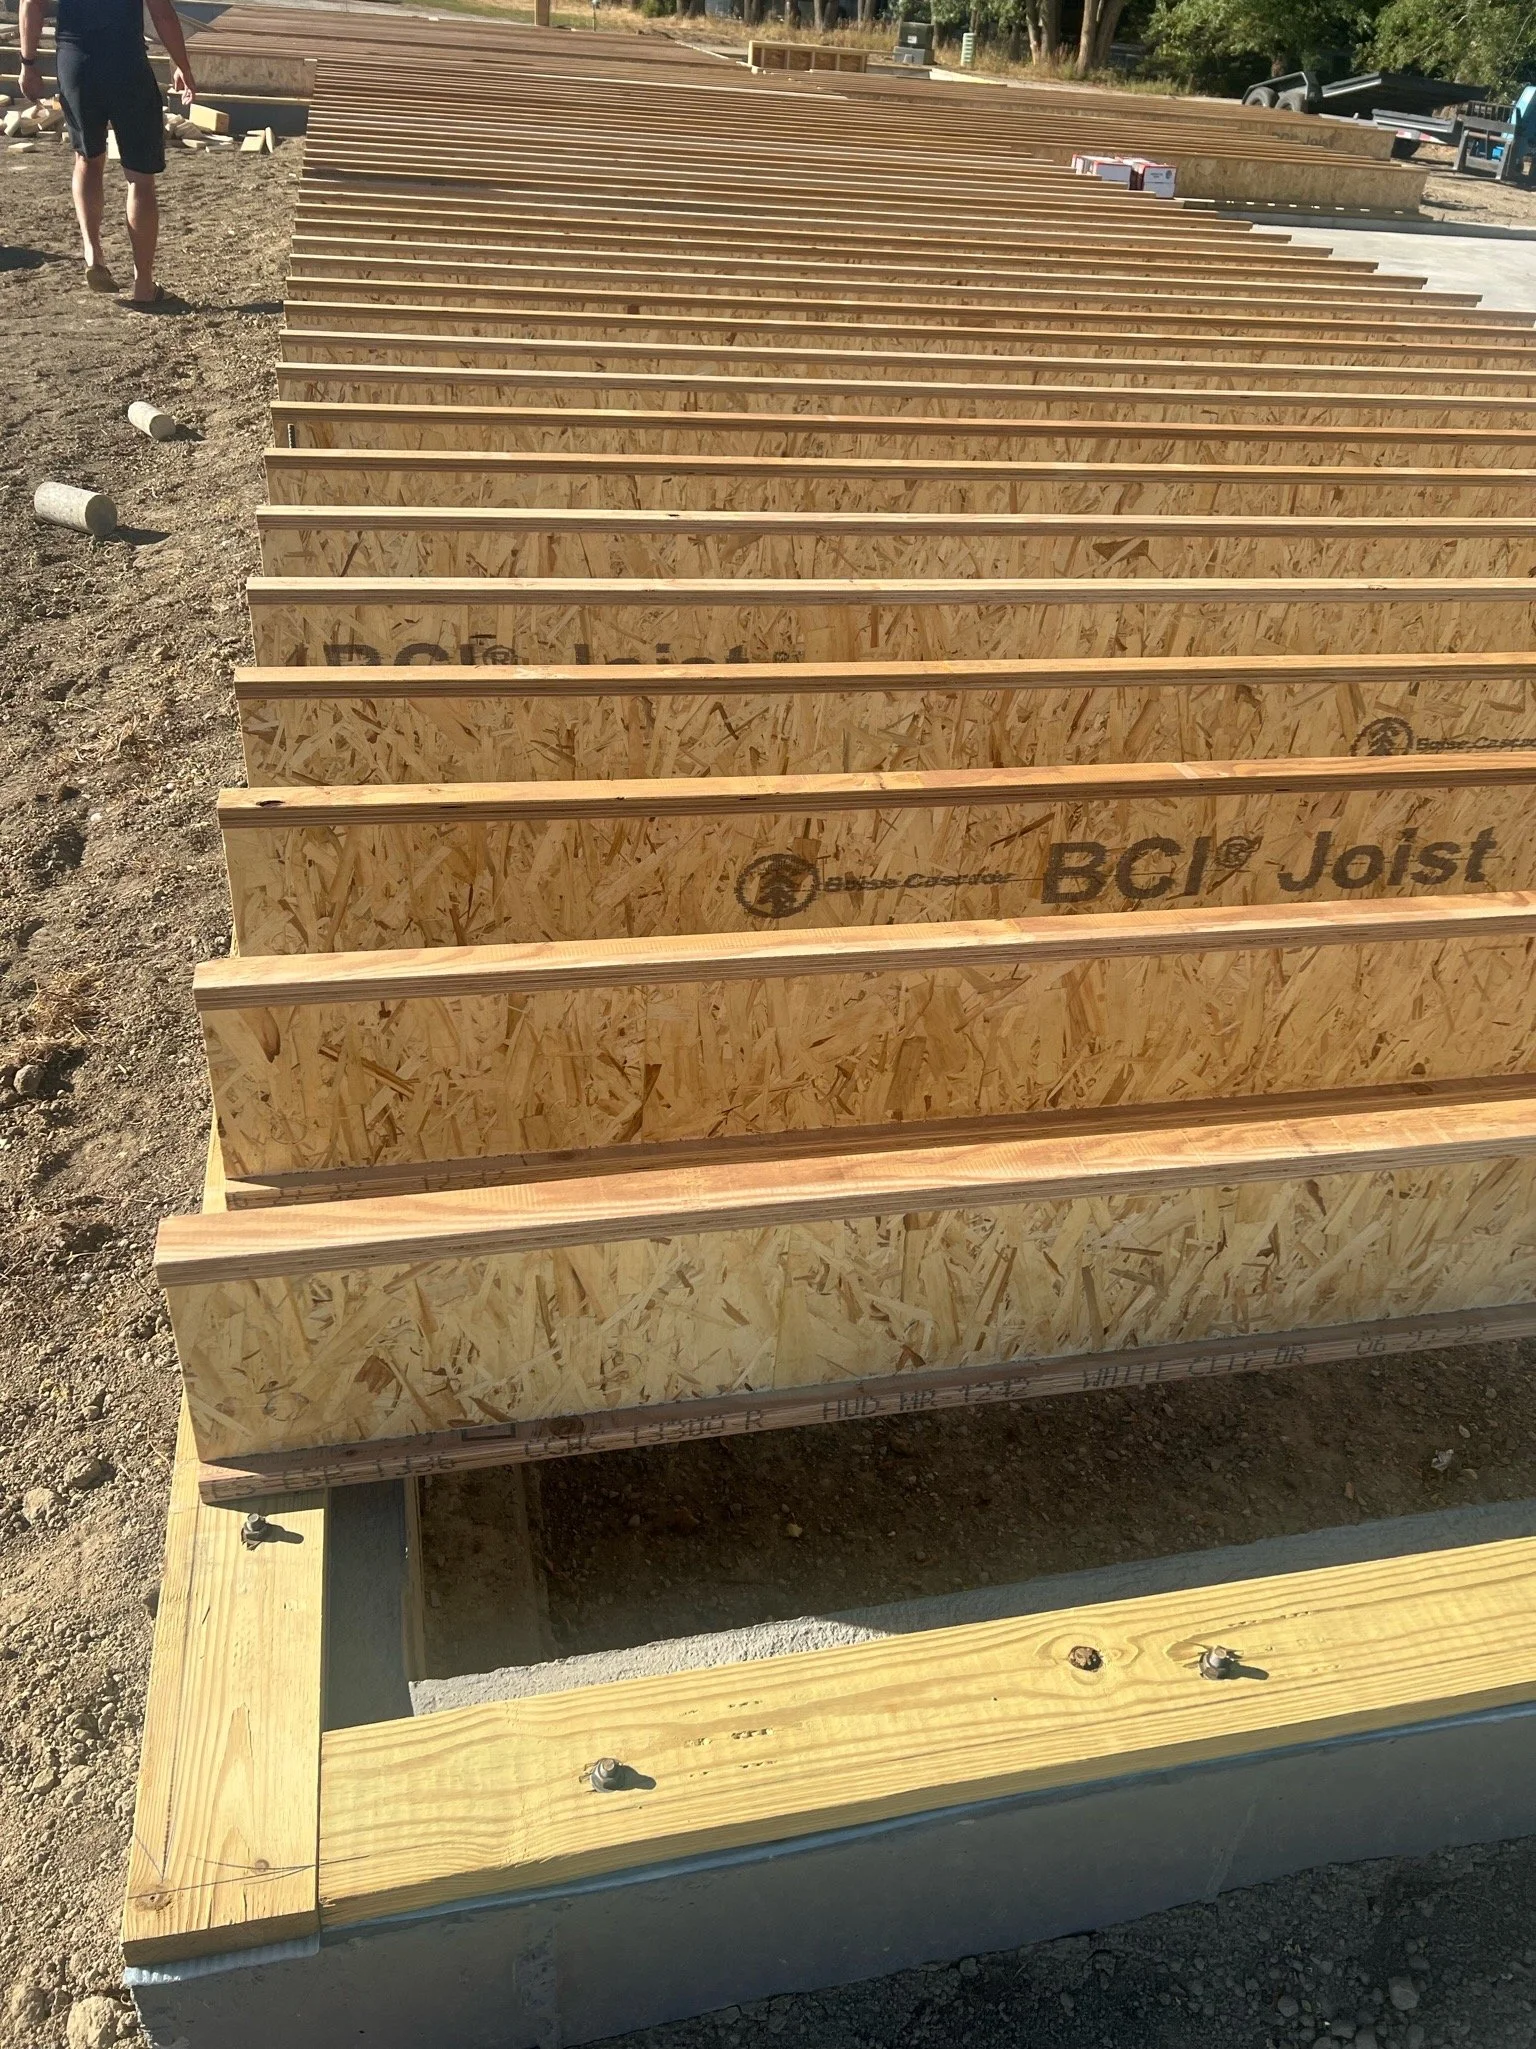
cost of floor joist (there are also different options, floor joist, bci joist, and also I-jiost were the ones we came across)
windows & exterior doors
costs of getting electrical & gas to site
roofing
siding
gutters
soffit
plumbing
electrical
insulation
kitchen
I will do an entire post dedicated to the savings in this area, because if you are willing to roll up your sleeves, there can be HUGE savings.
bathrooms
drywall
tape and texture
paint
flooring
interior doors
landscaping cost
***disclaimer: this is only my experience, my personal opinion on the steps we needed to take. Use my opinion stated at your own risk. ***
Ok, so this is just where we started. We got multiple bids for most of these items listed. You really want to do this, there were some major price differences. I will also say that the communication factor is typically what swayed us, you really want to be able to have open and good communication with your contractors.
We were able to survey our own property for placement of our house, with the help of my Dad! He has been surveying for over 30 years and it was so cool to work beside him, and learn to set up the survey instruments and how to shoot distances. Definitely a memory that i will forever hold on to.
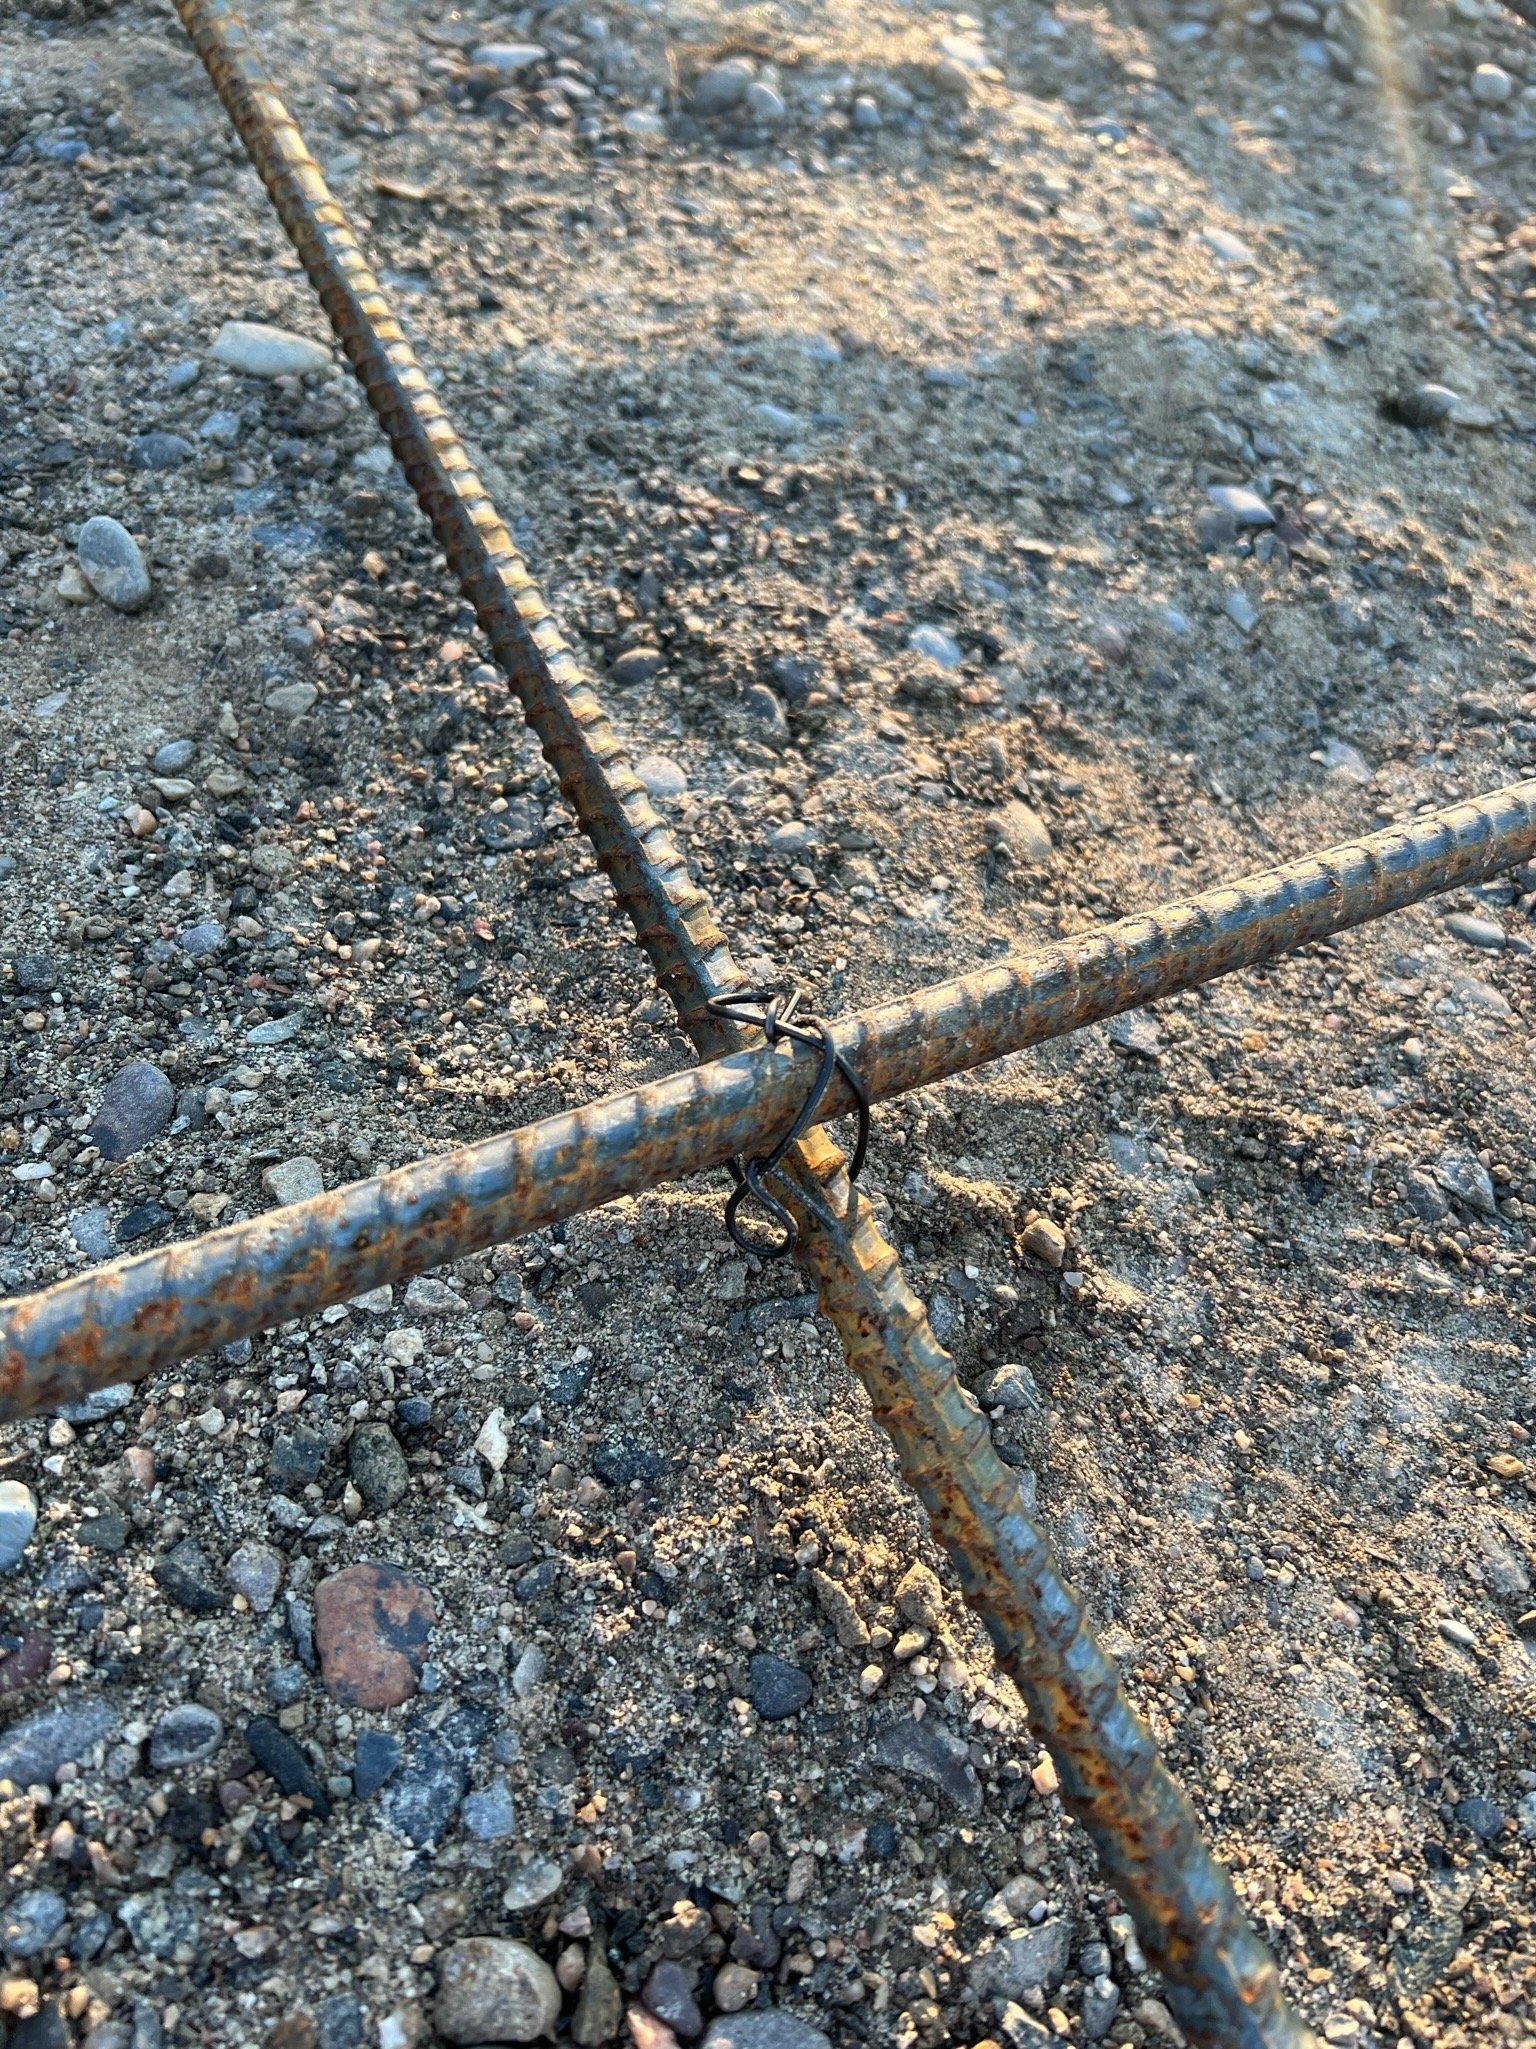
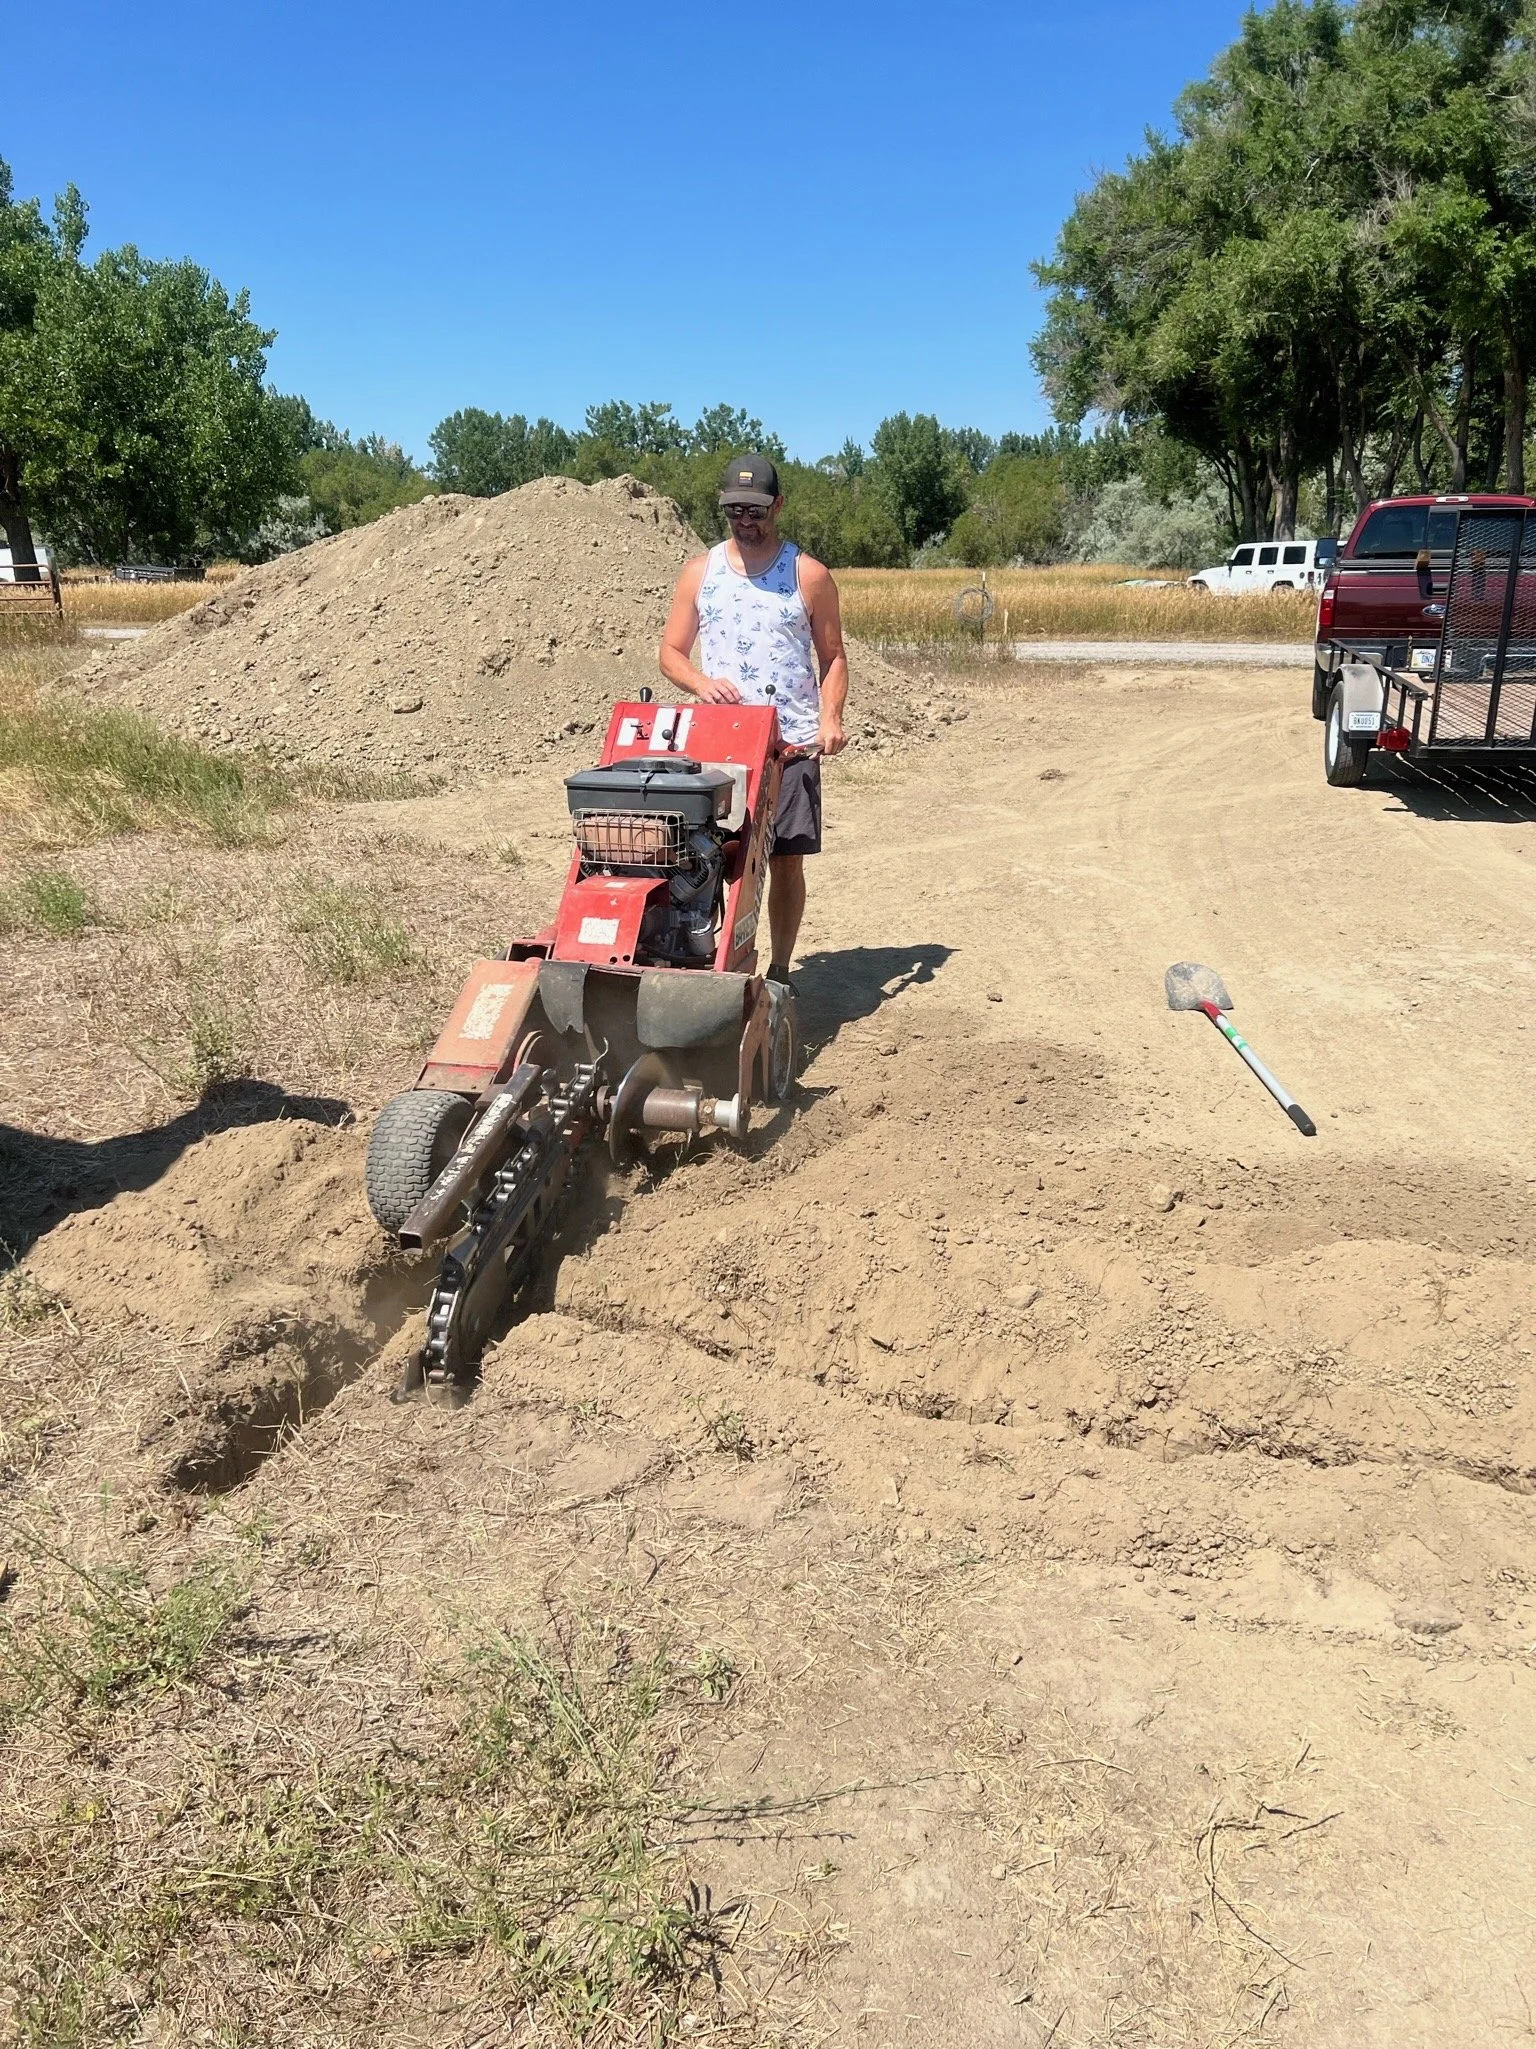
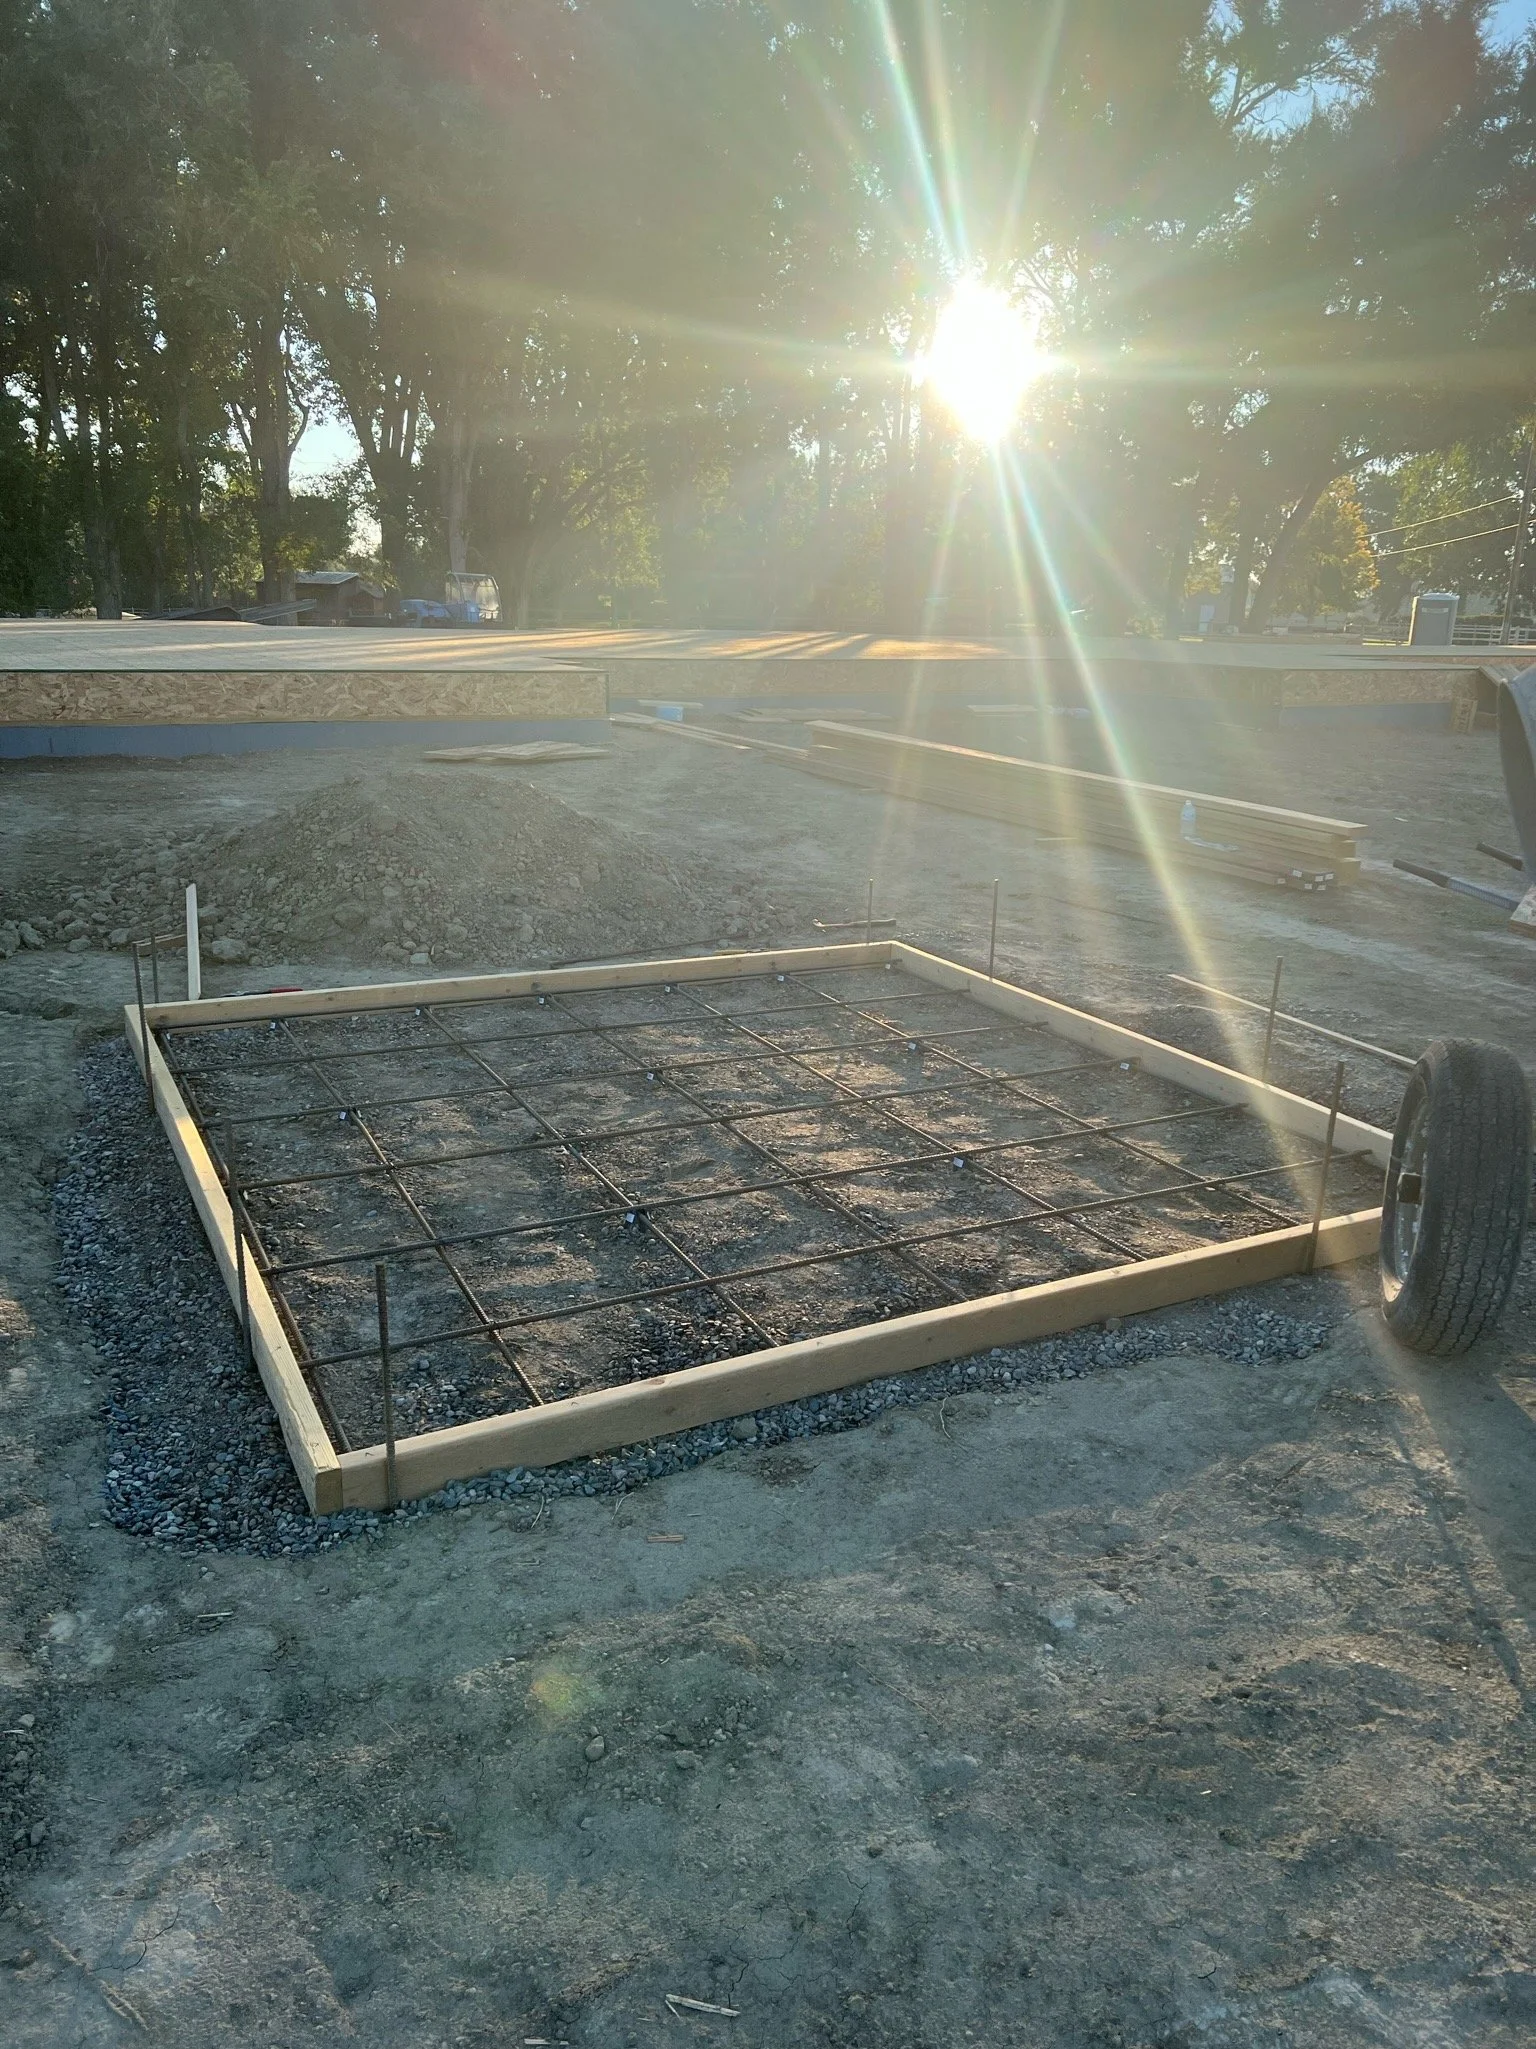
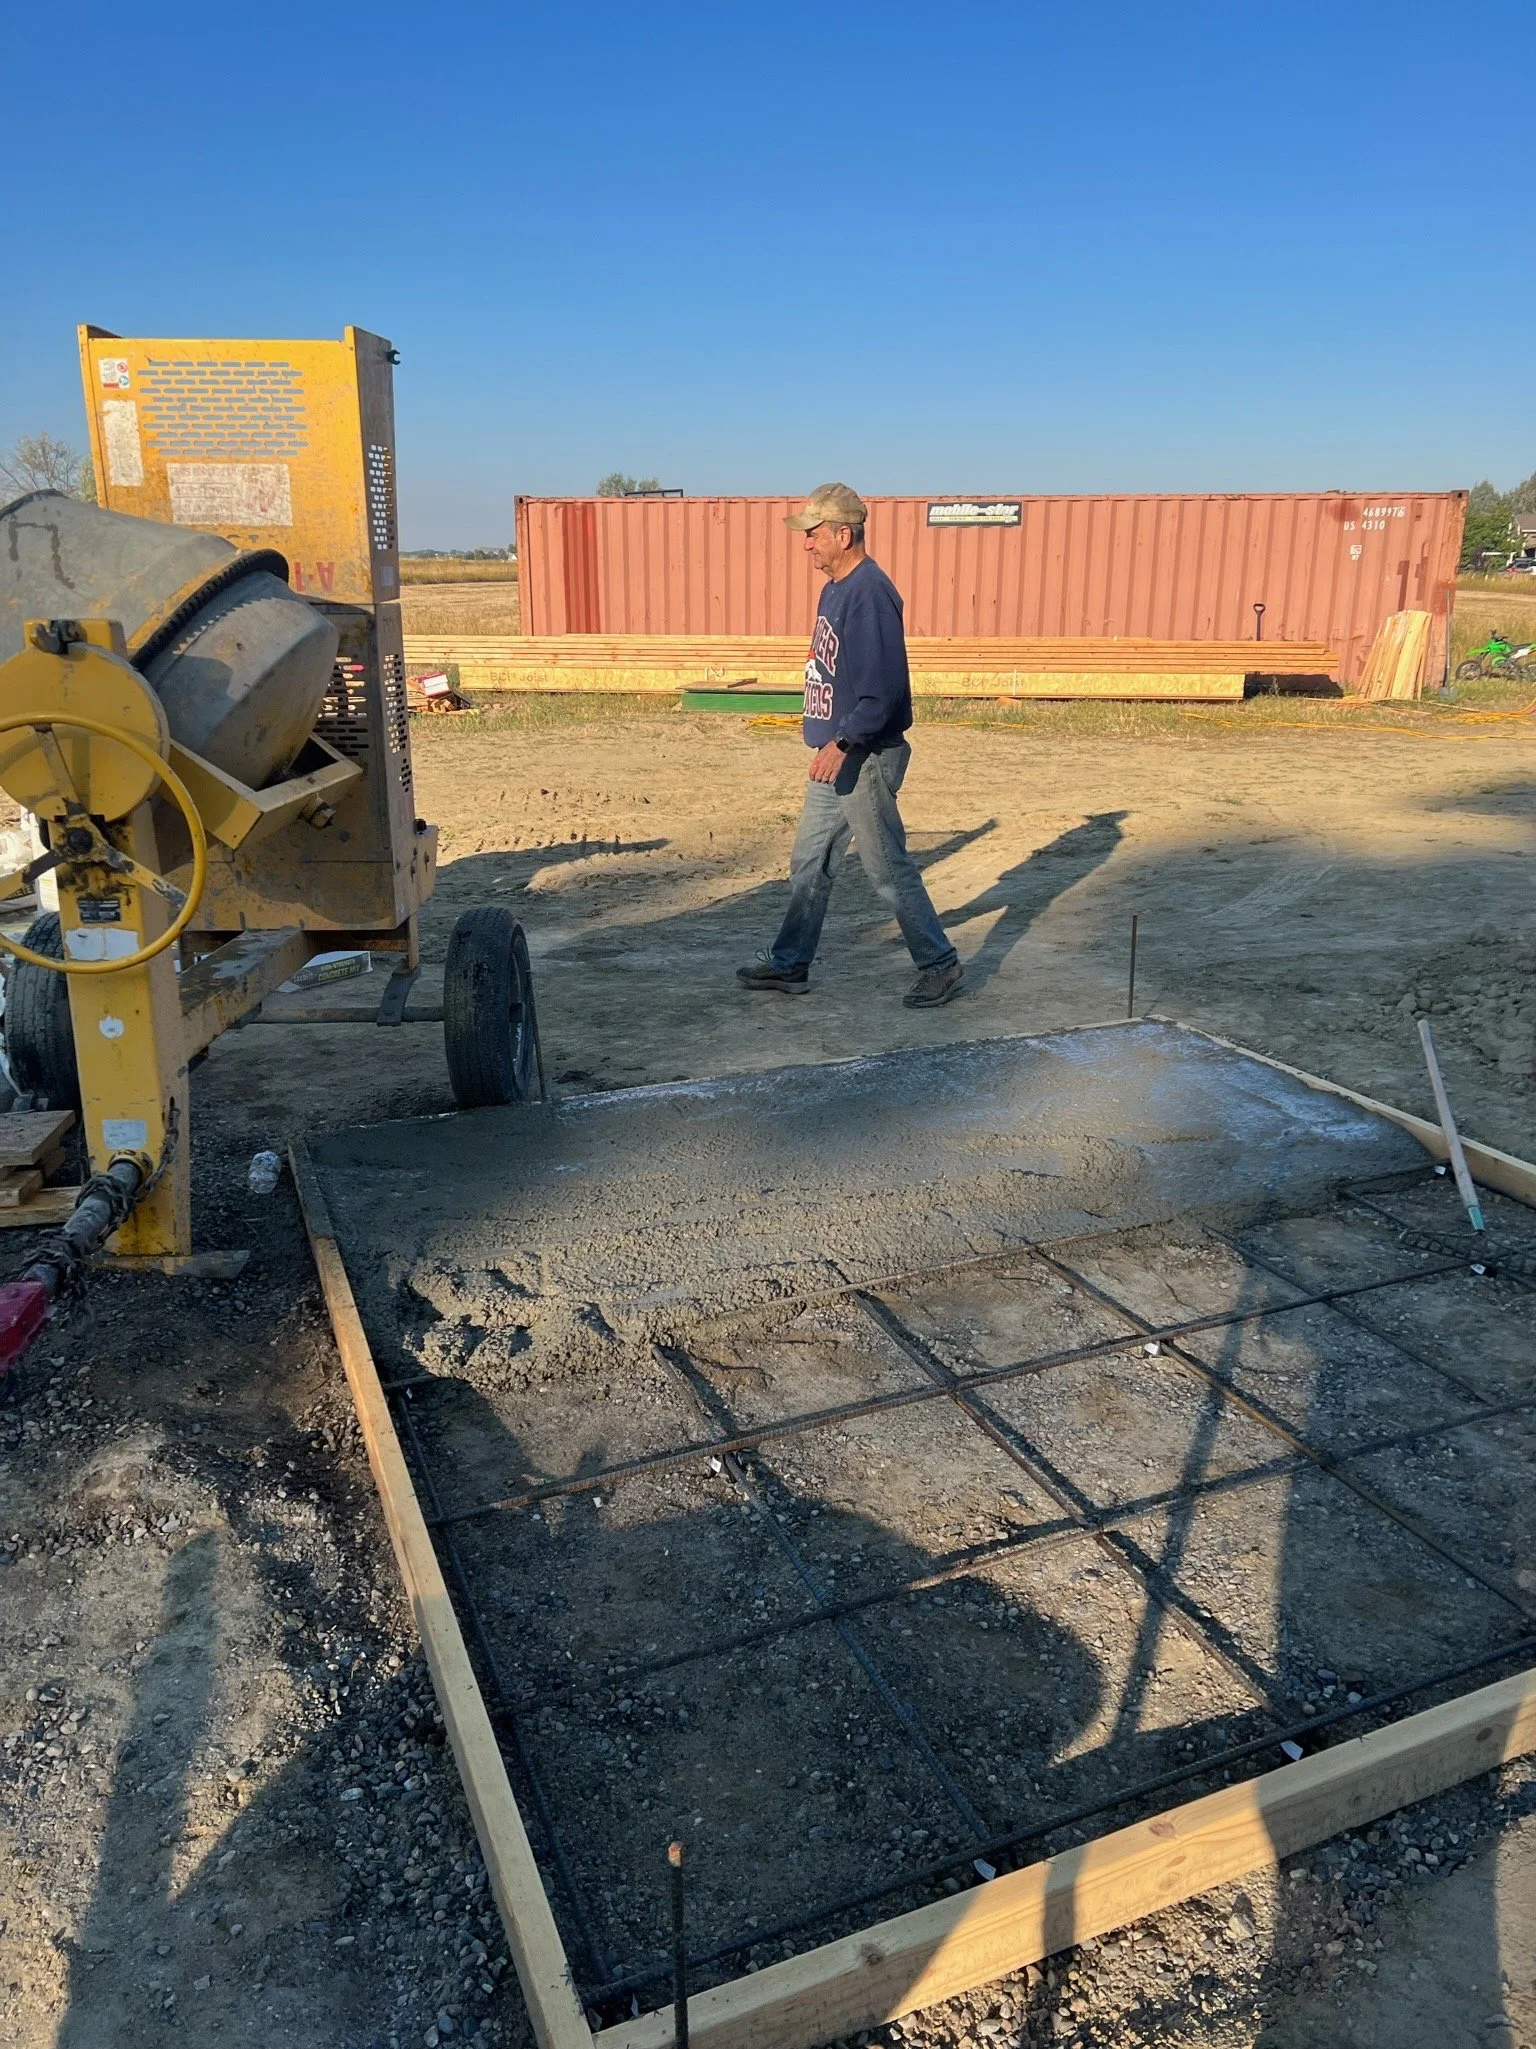
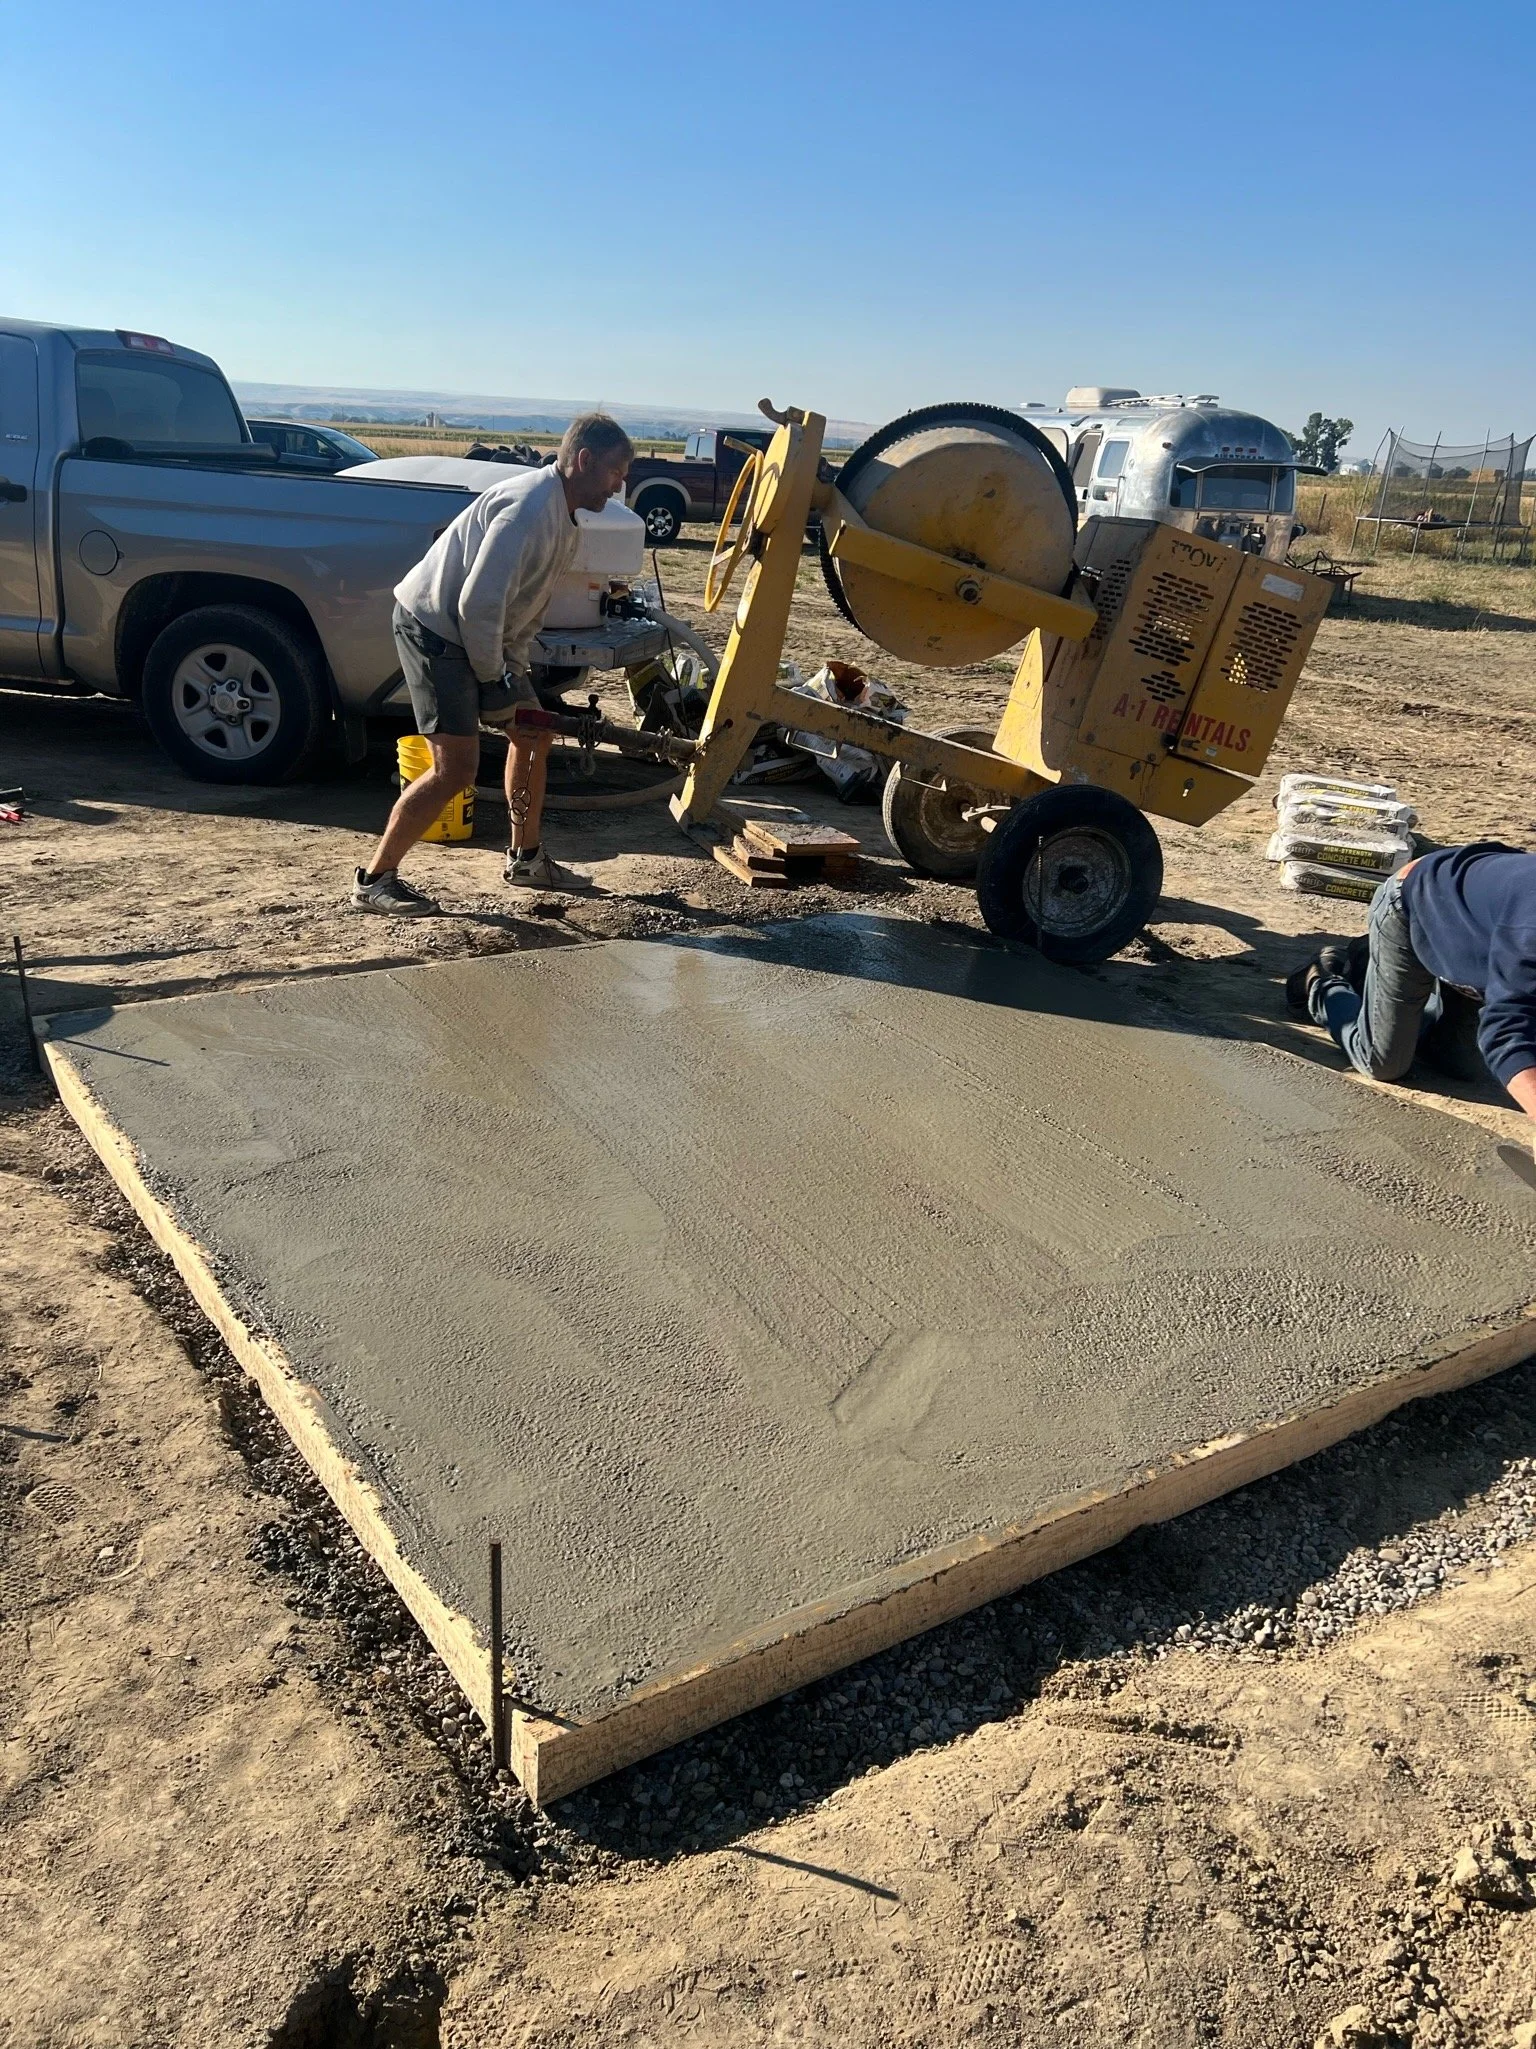
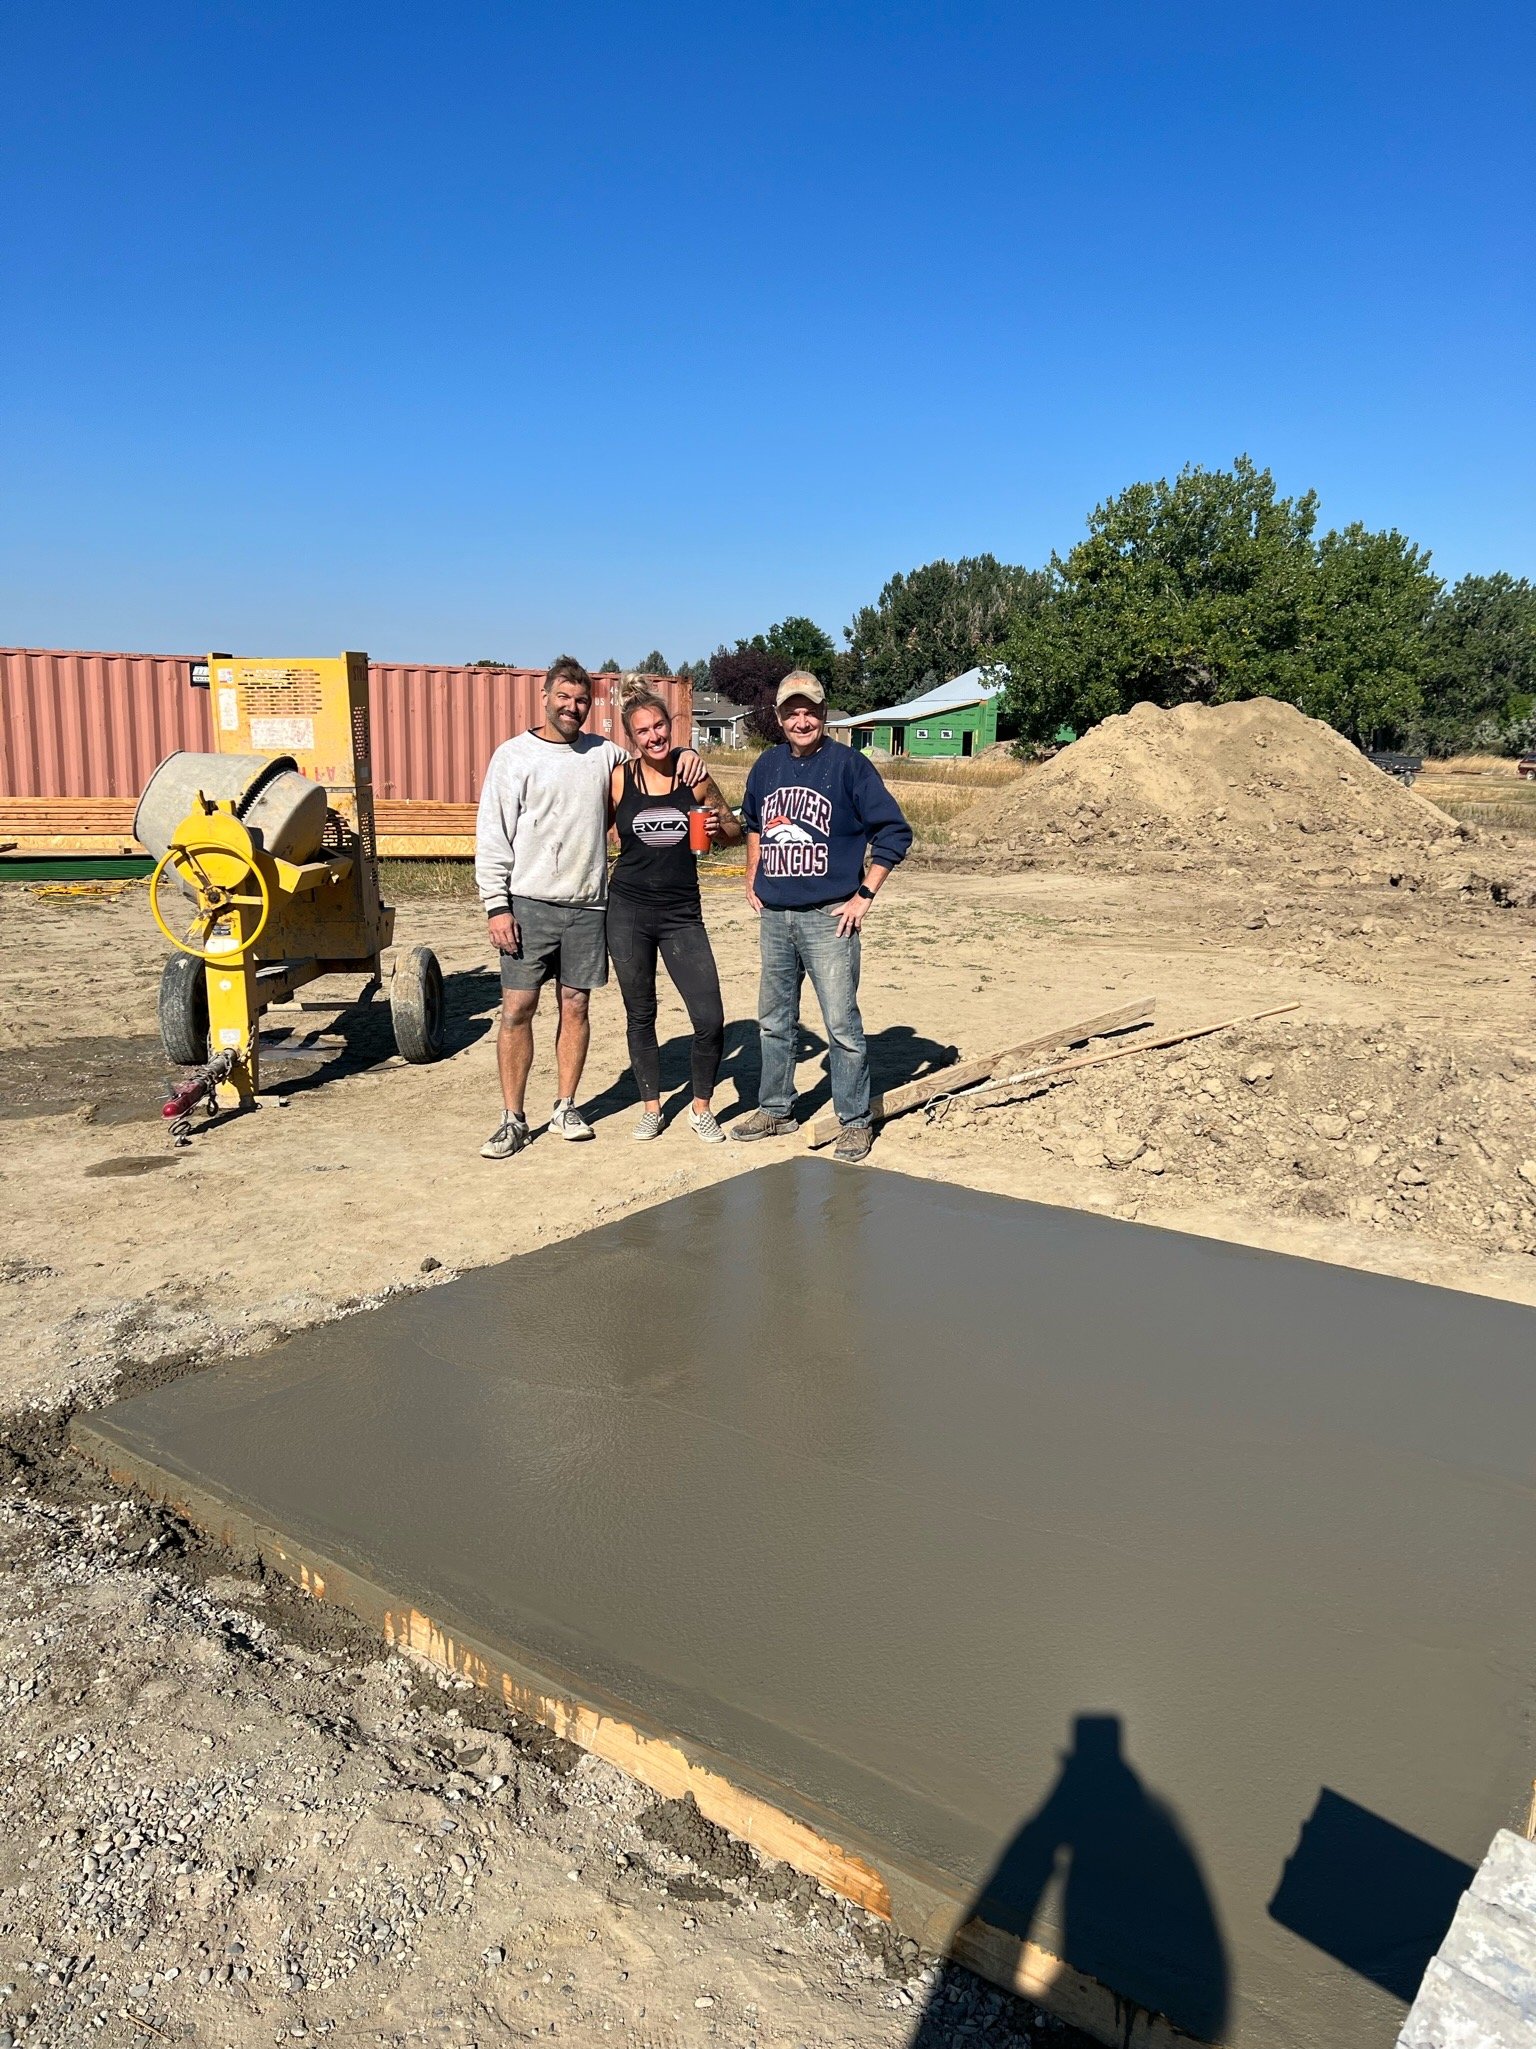
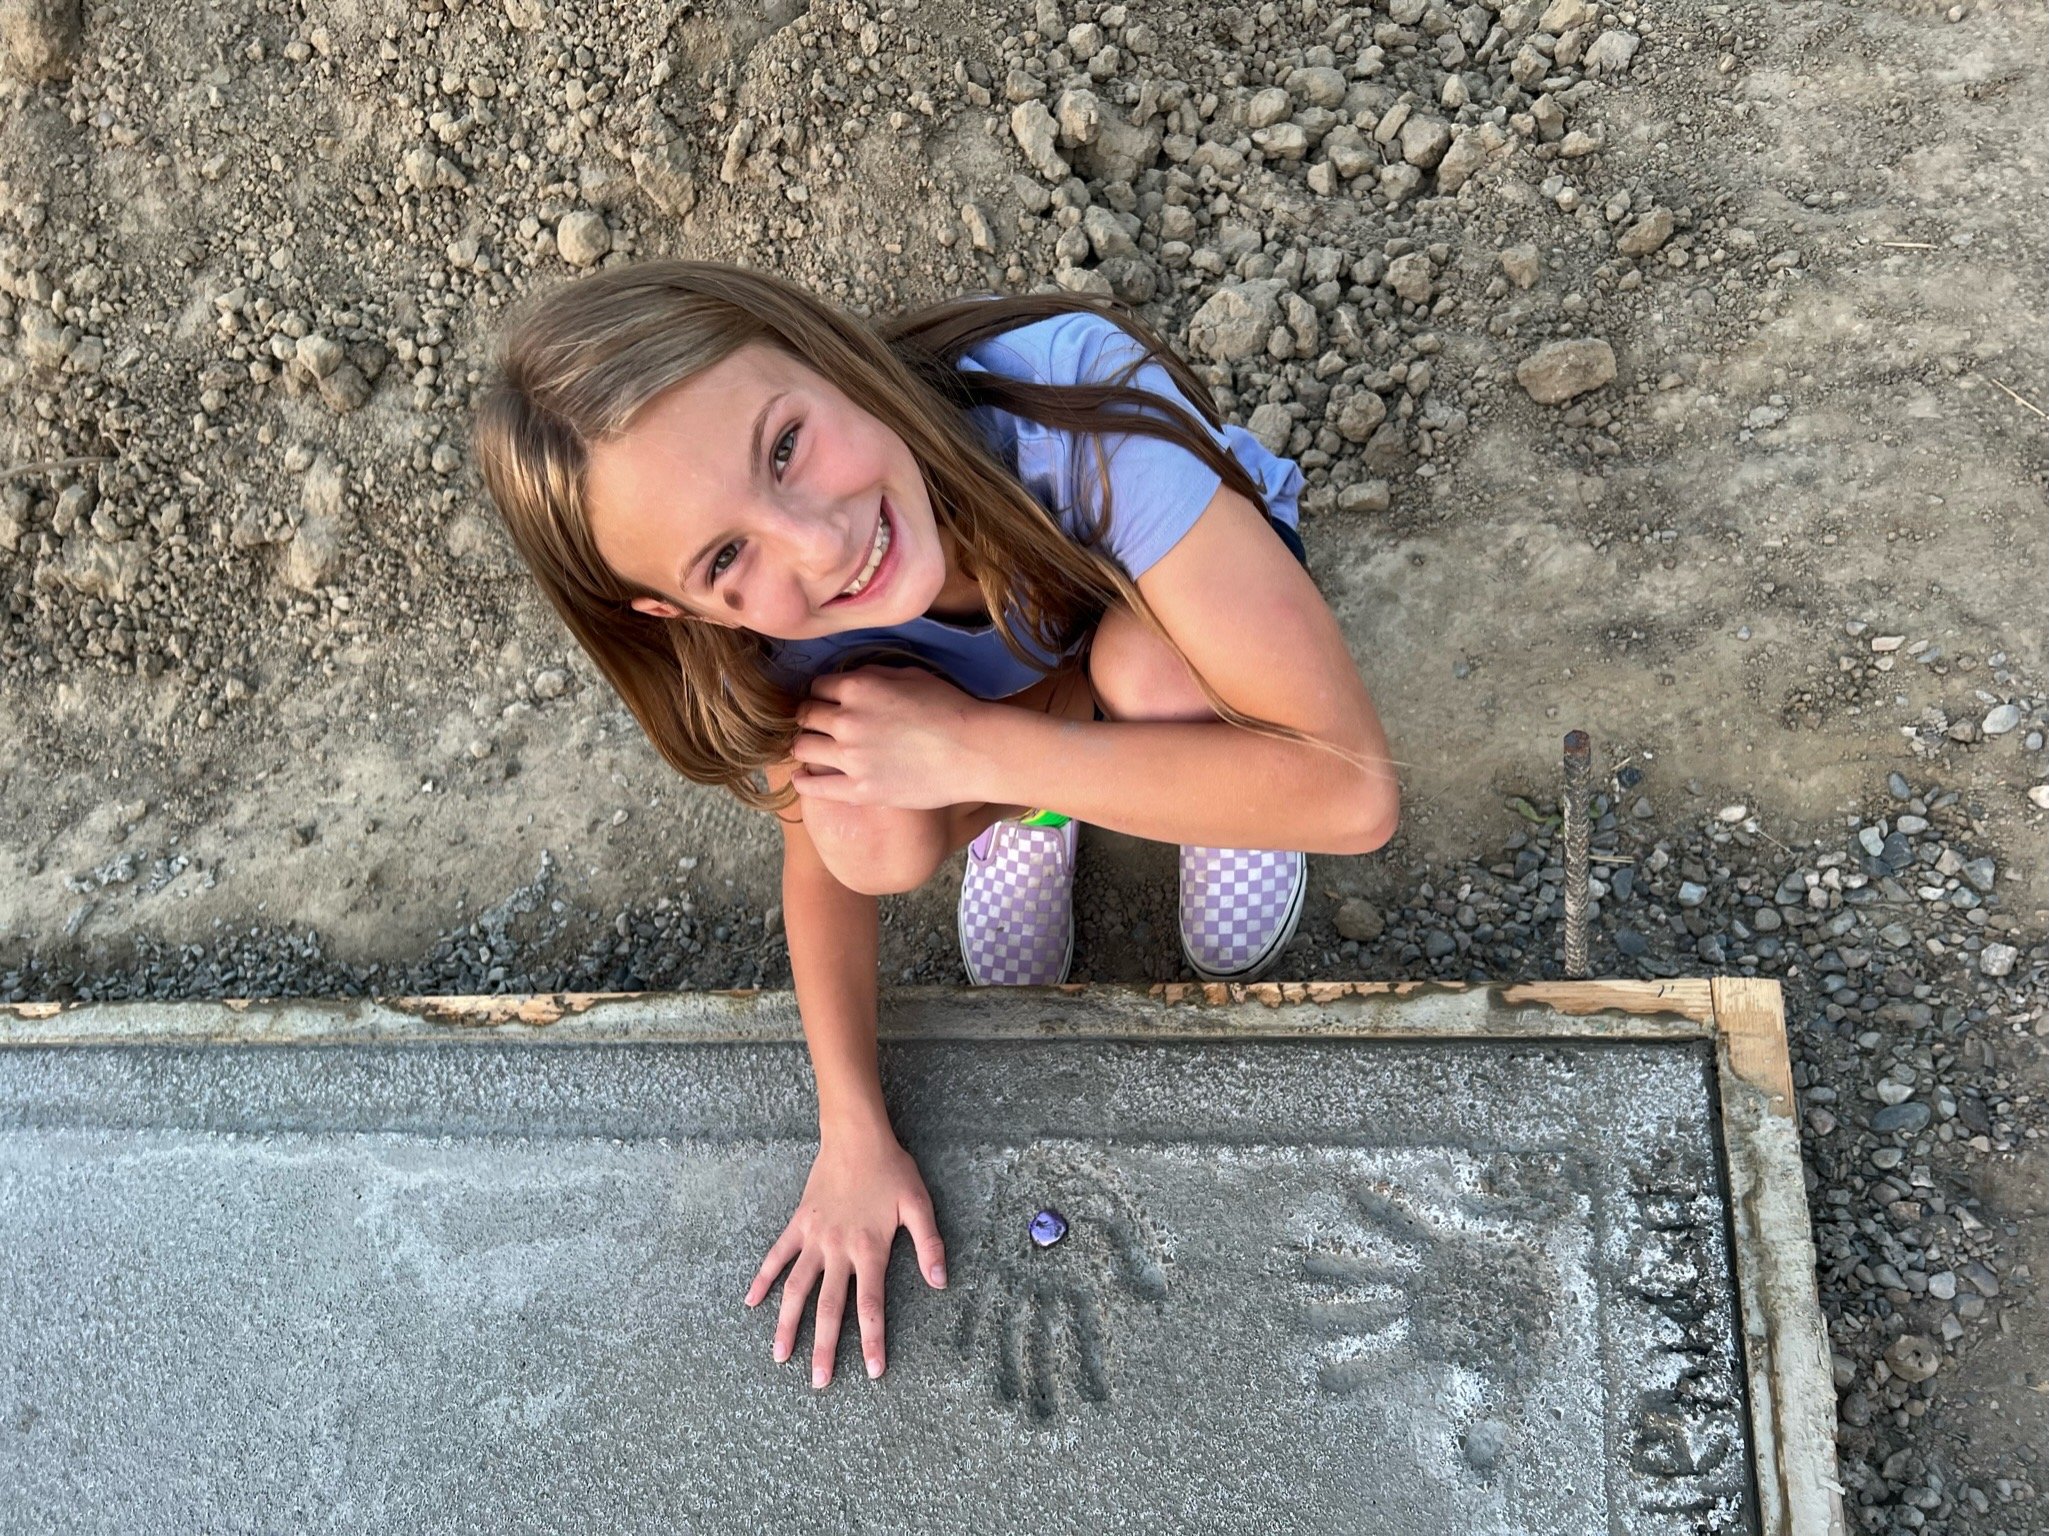
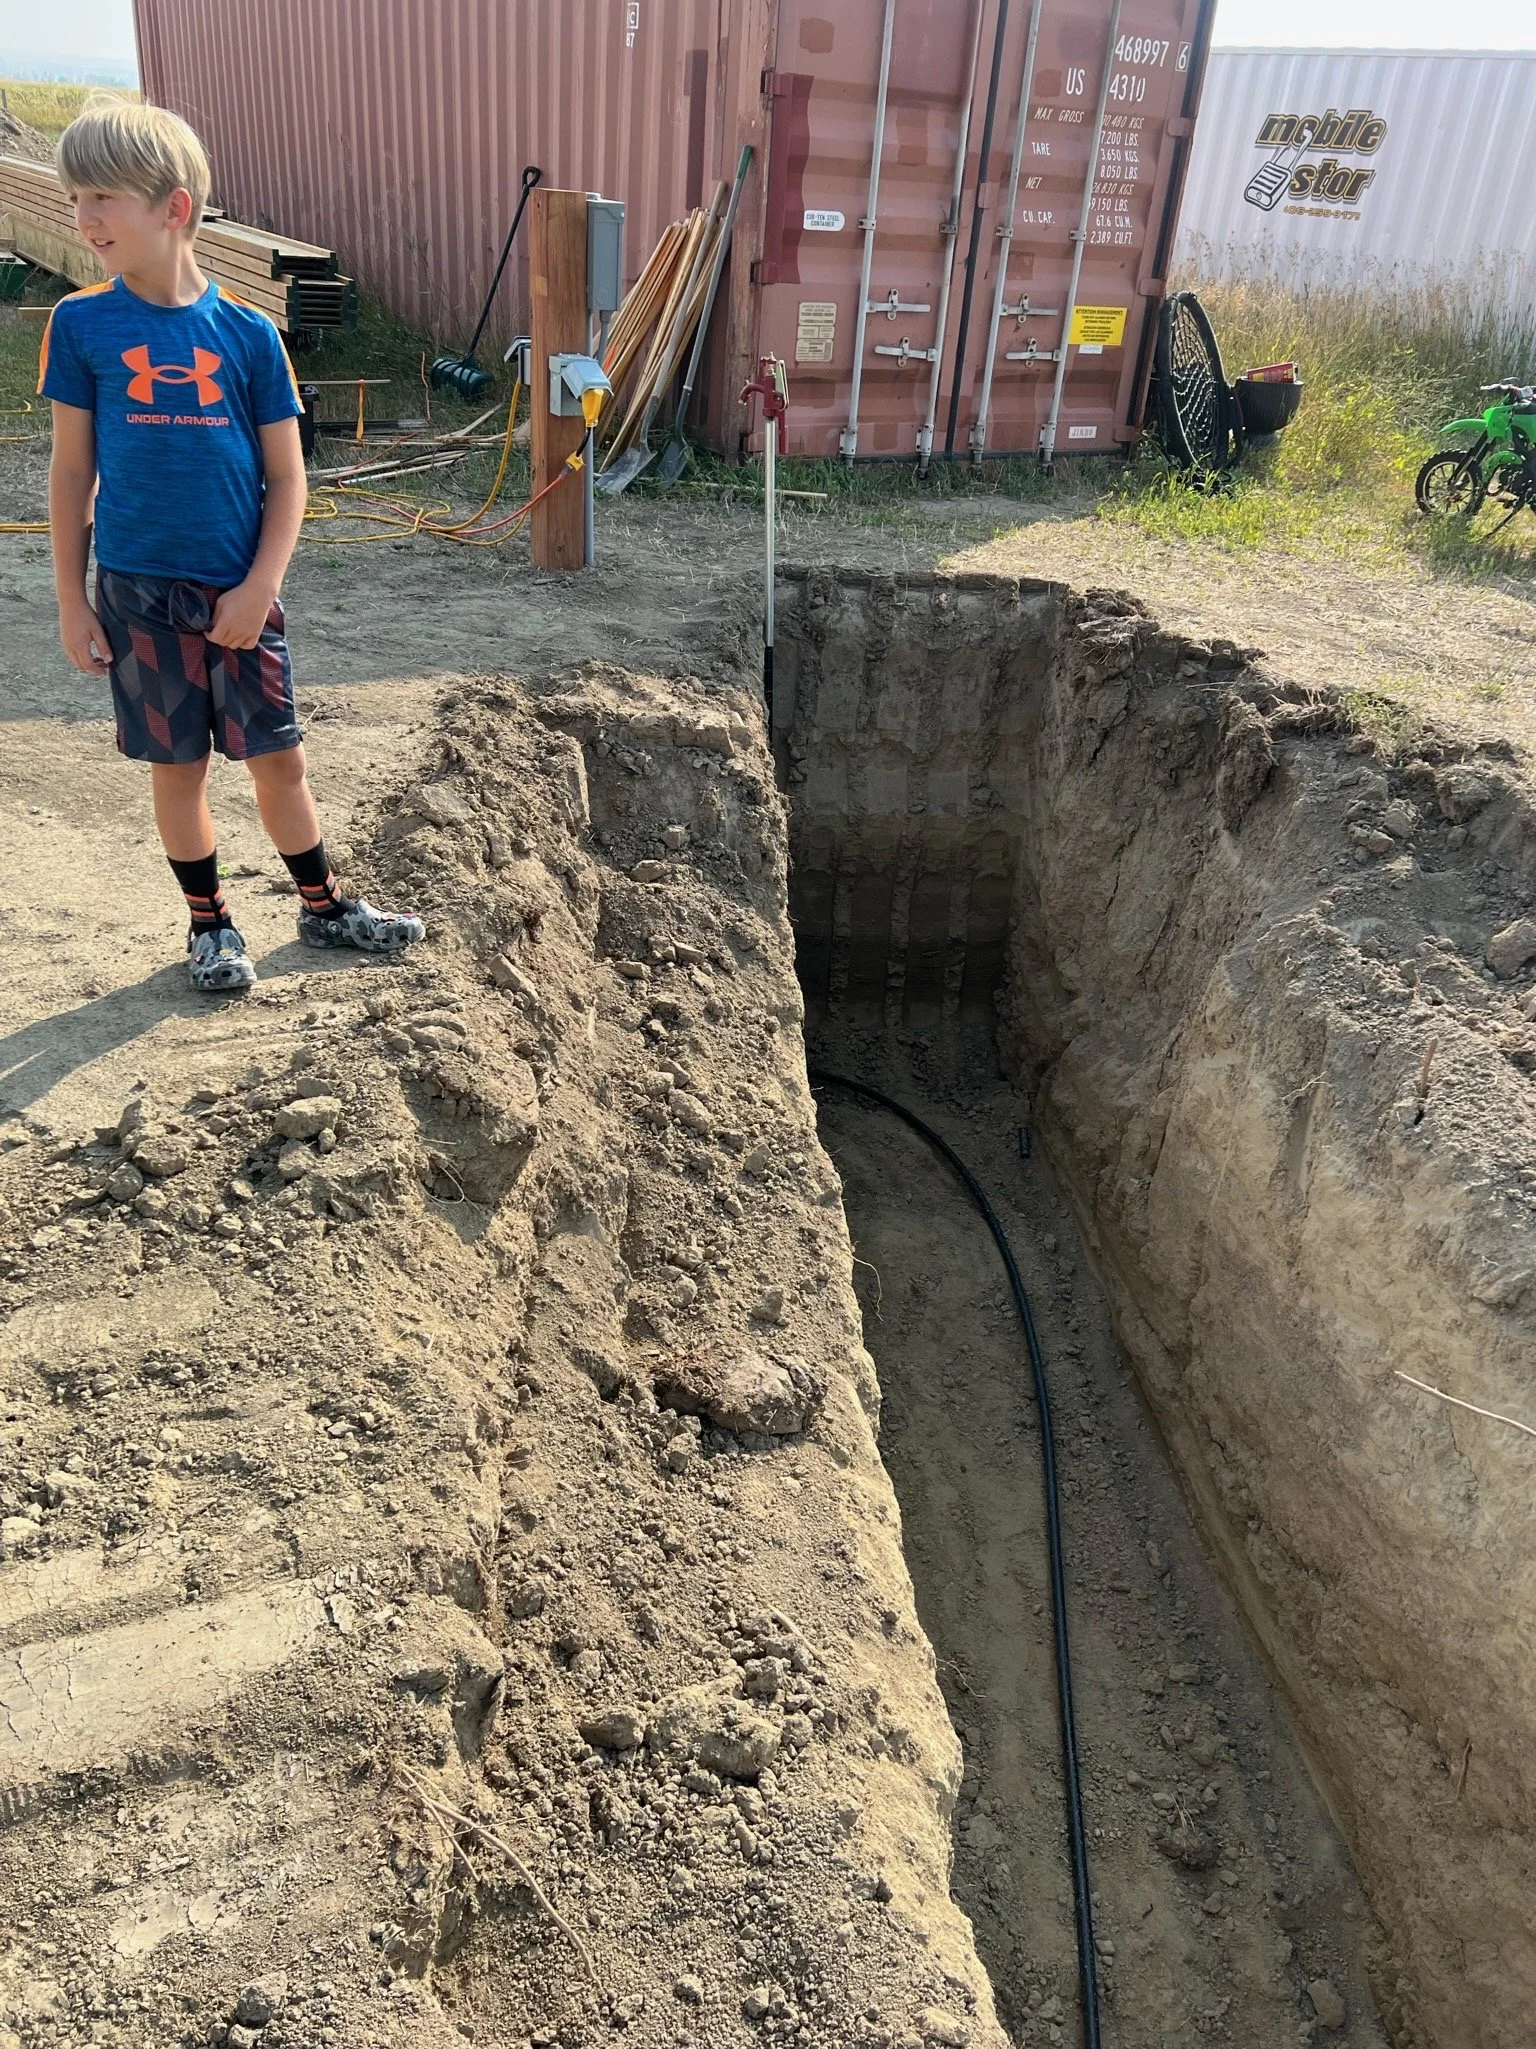
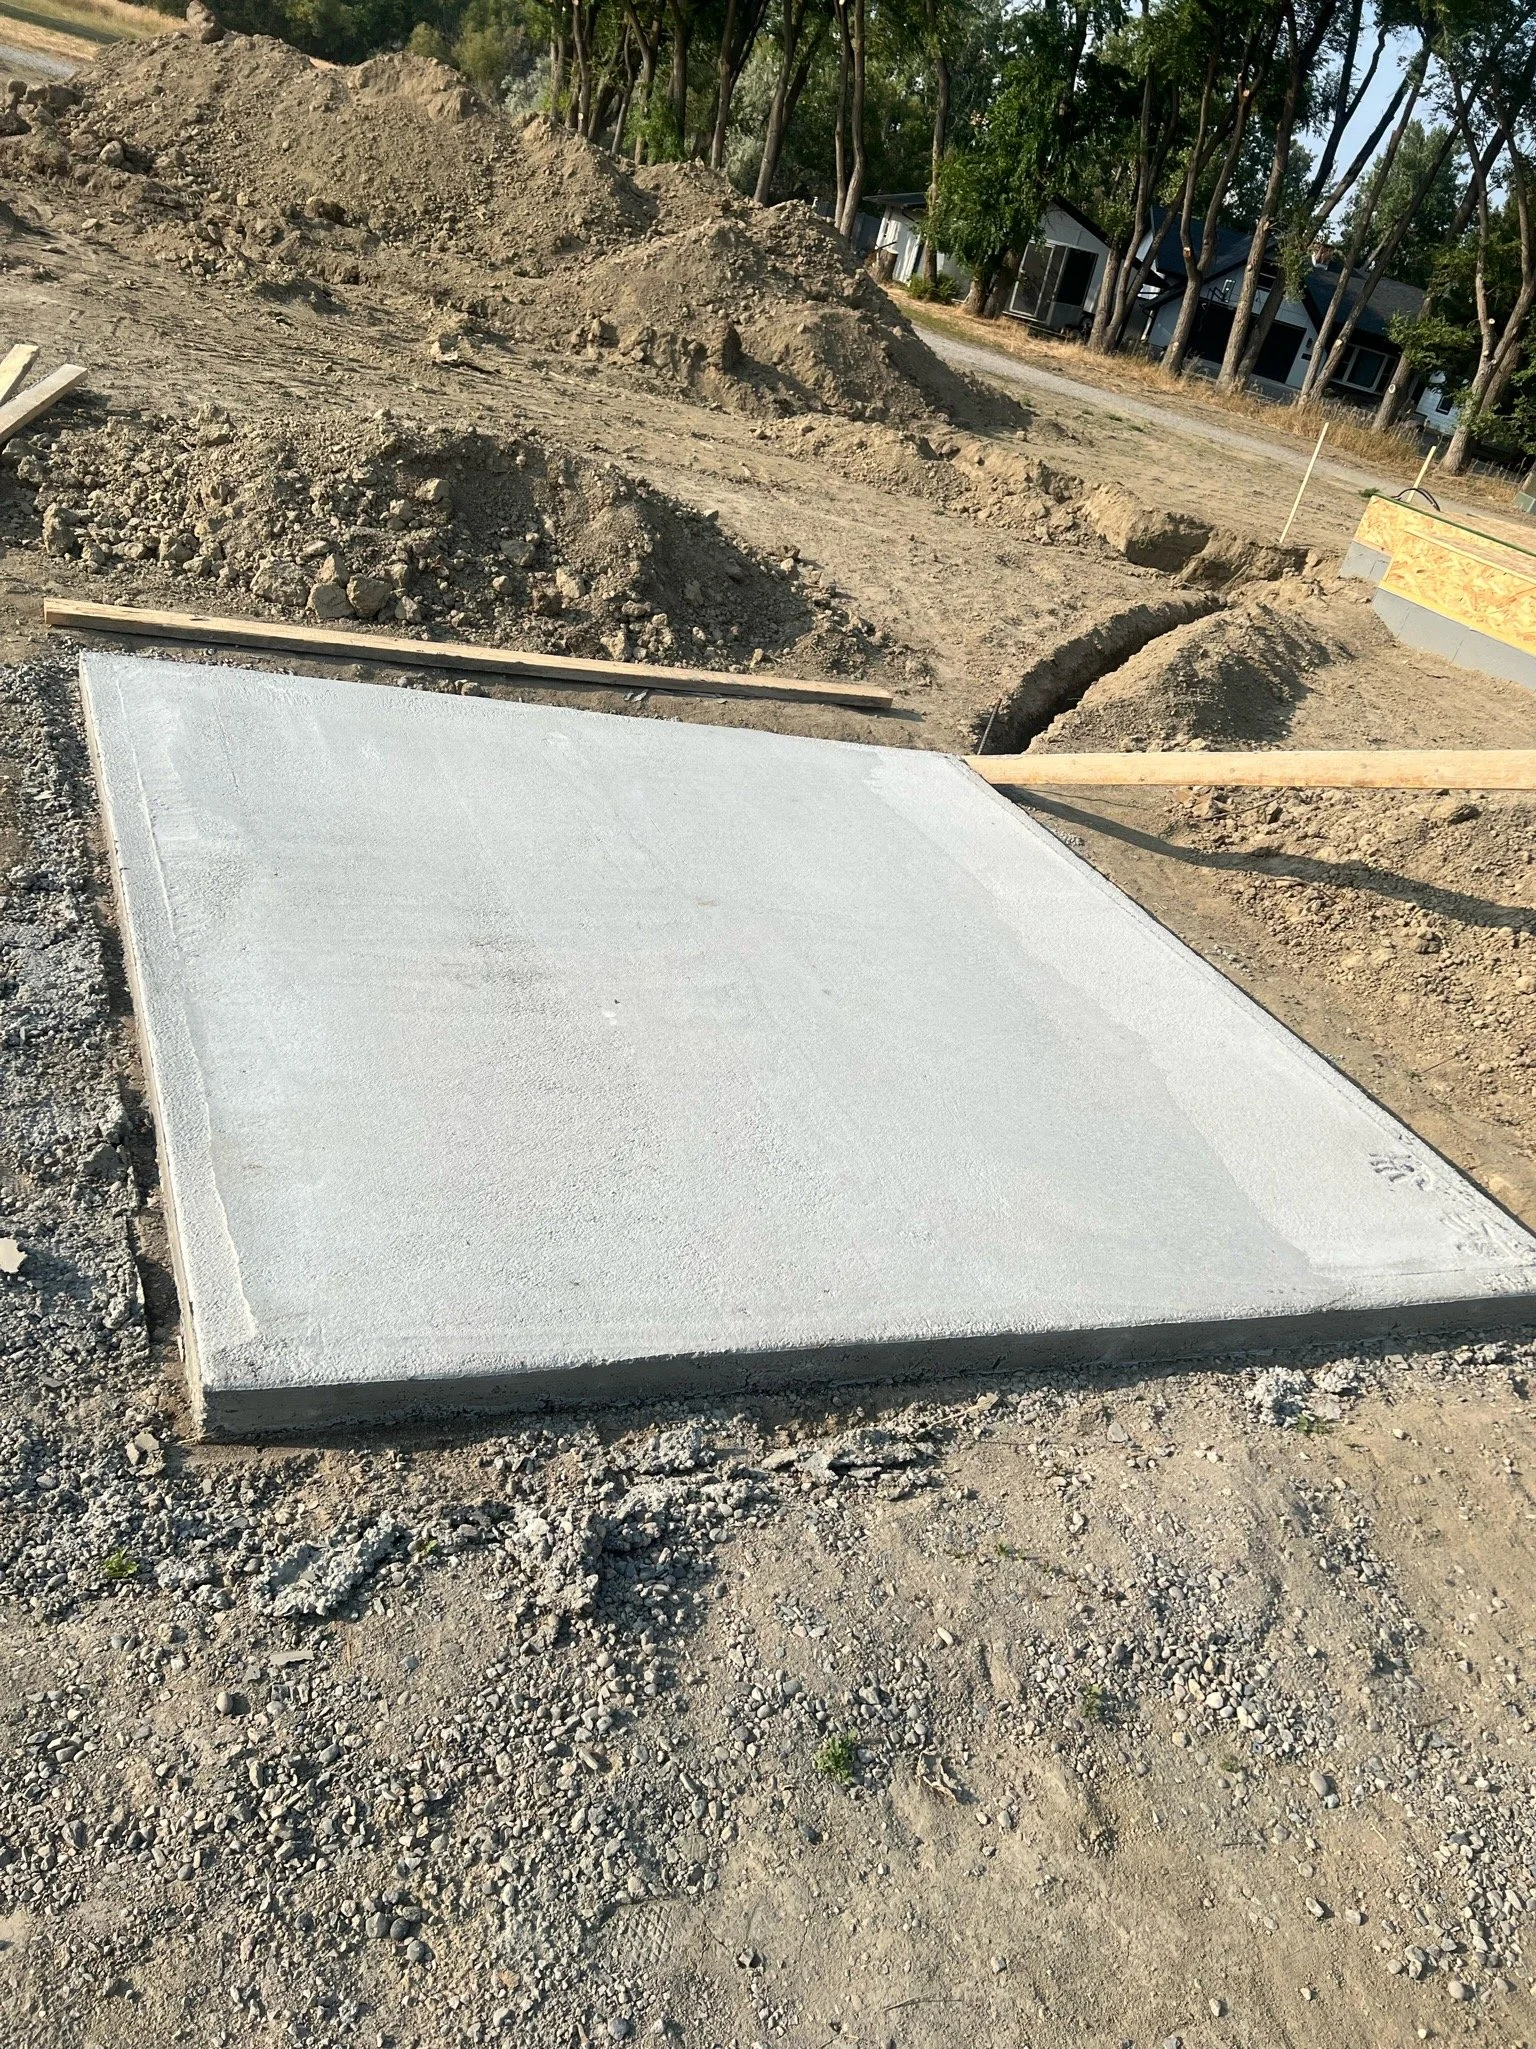
We poured our own hot tub pad to save around $1500. It was also such a small job that it would have been hard to find a crew who wanted to take it. The worker shortage was a very real obstacle for some of the contractors, and for smaller jobs. We also rented the machine to dig the trenches for the hot tub lines to save on costs with our electrician. Little savings here and there really do add up quickly!
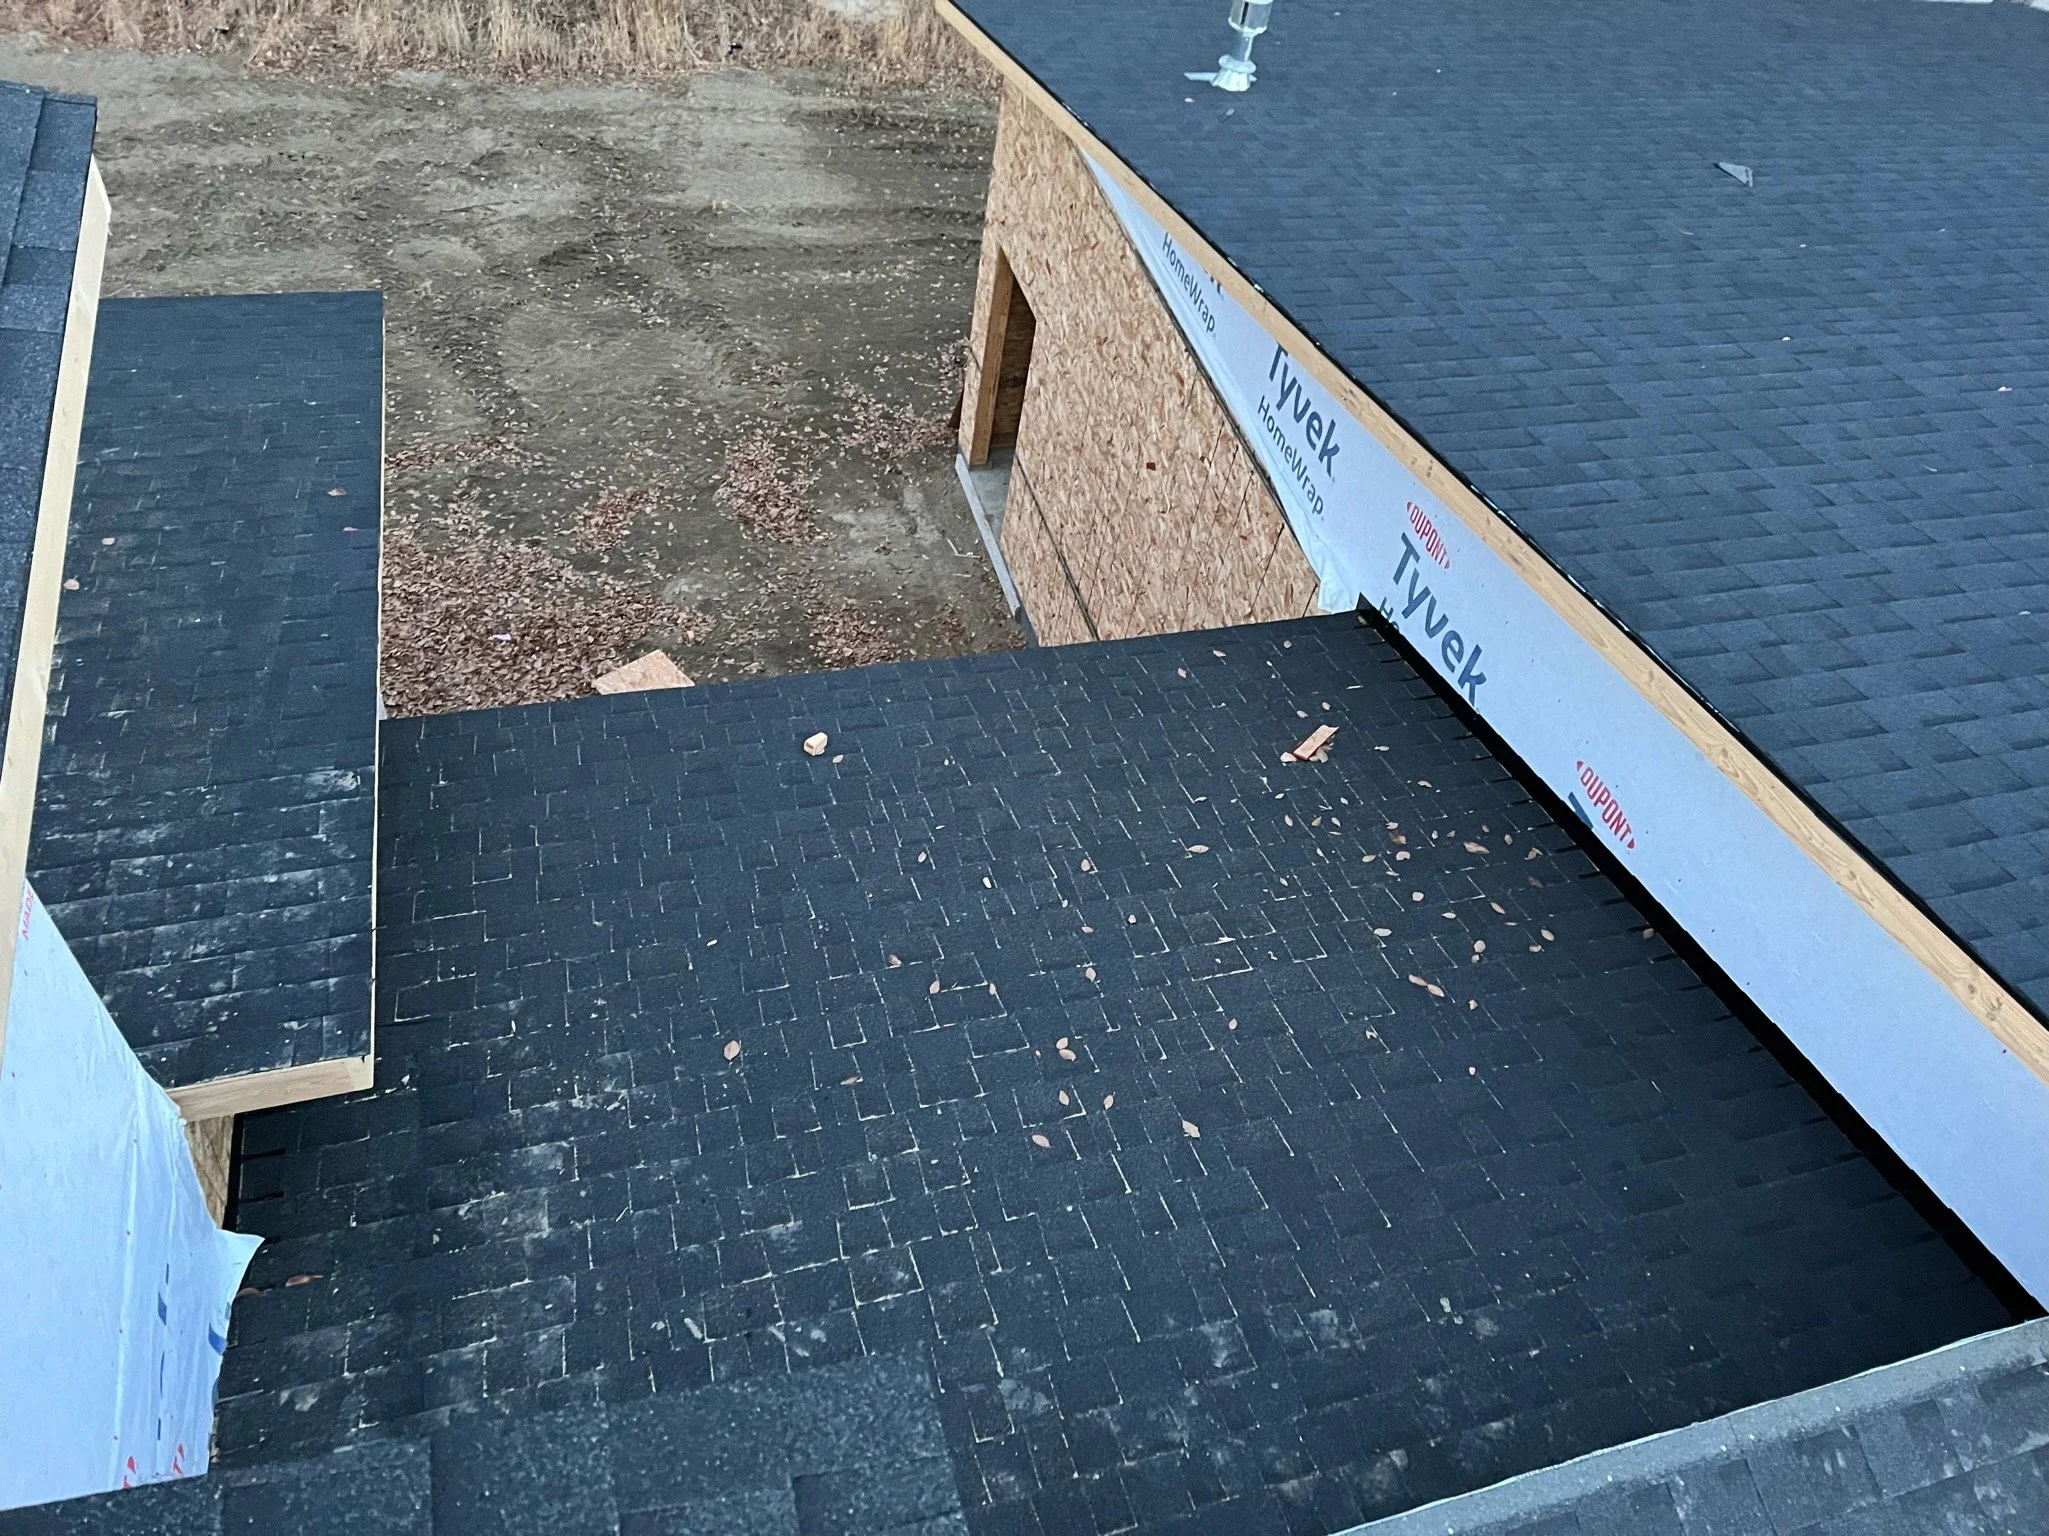
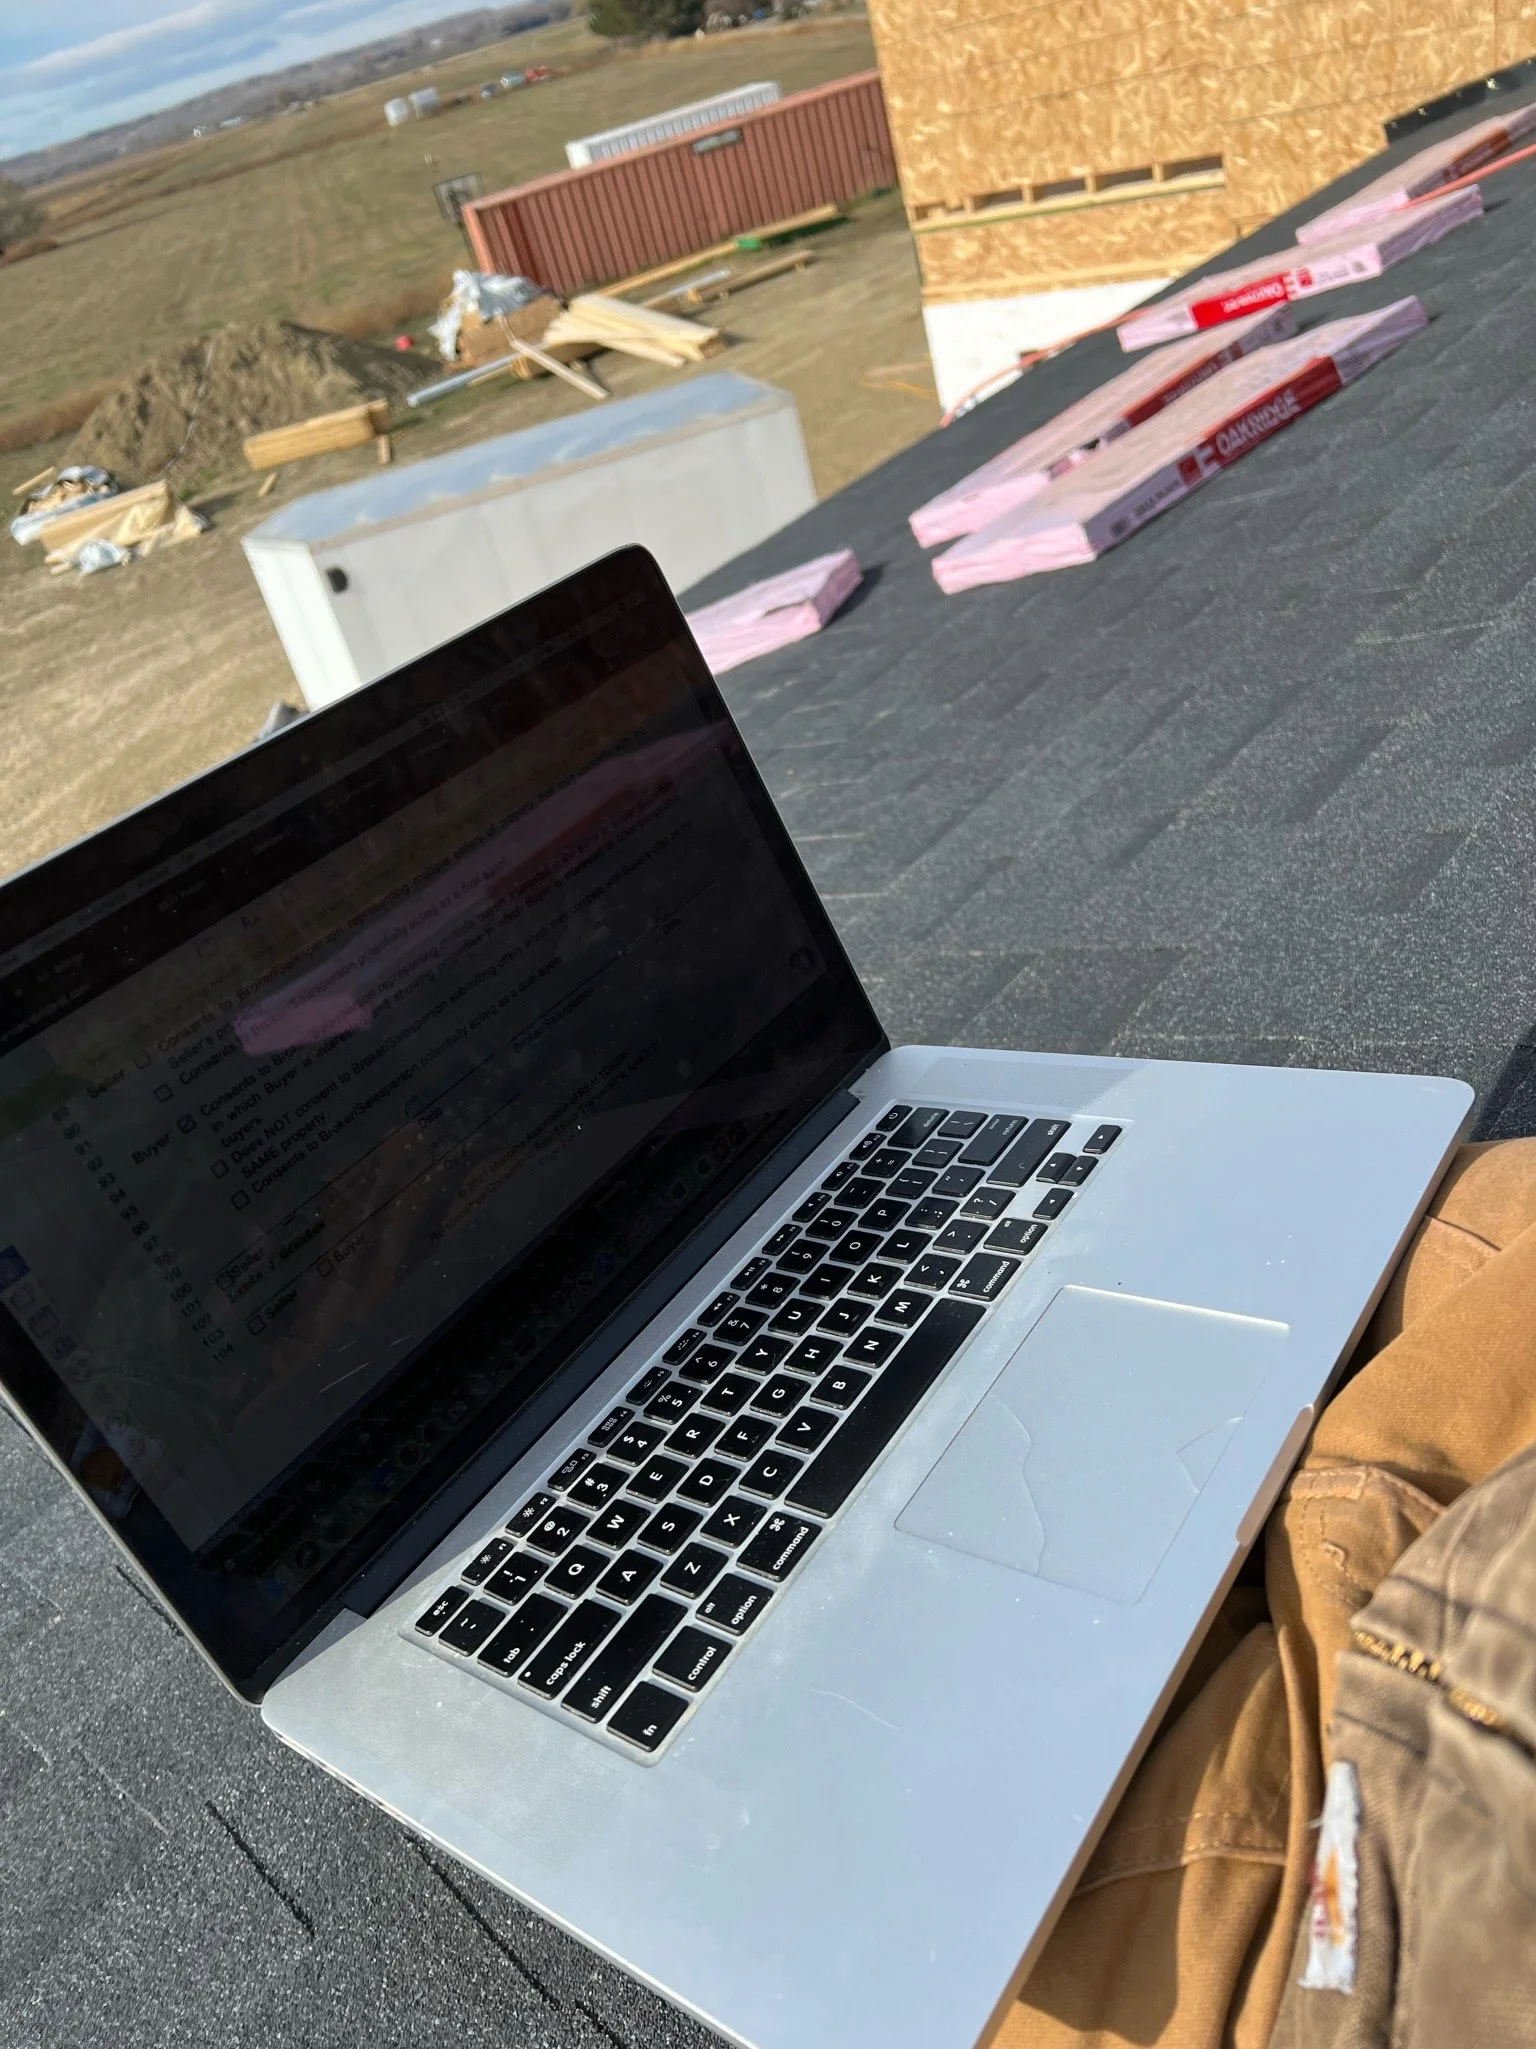
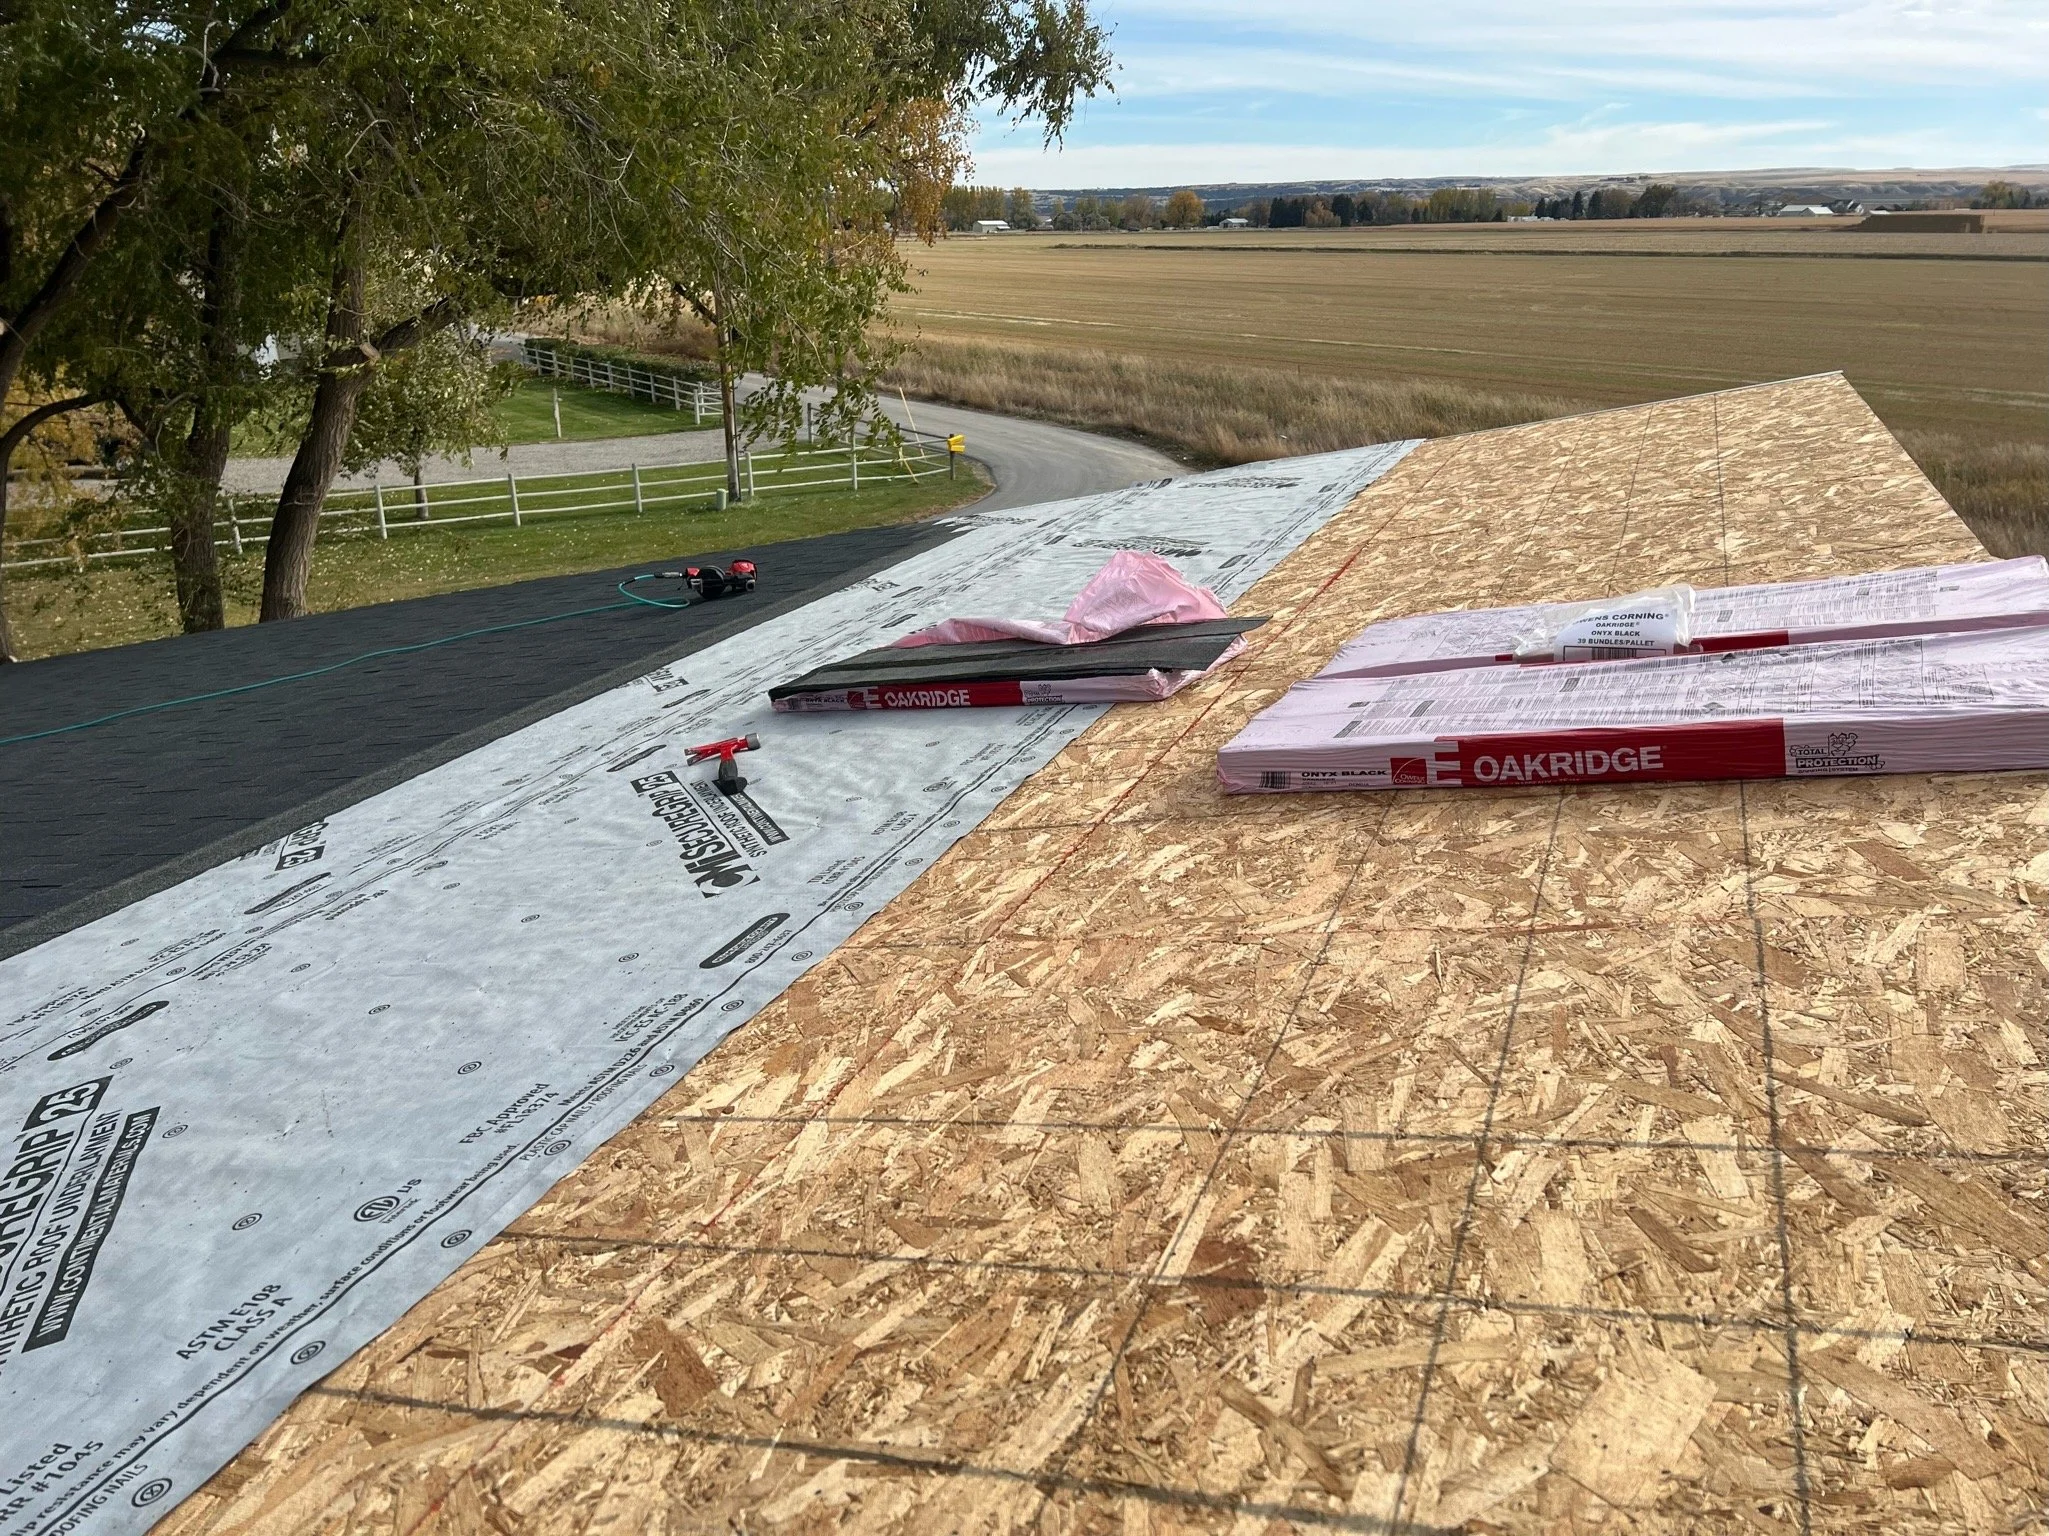
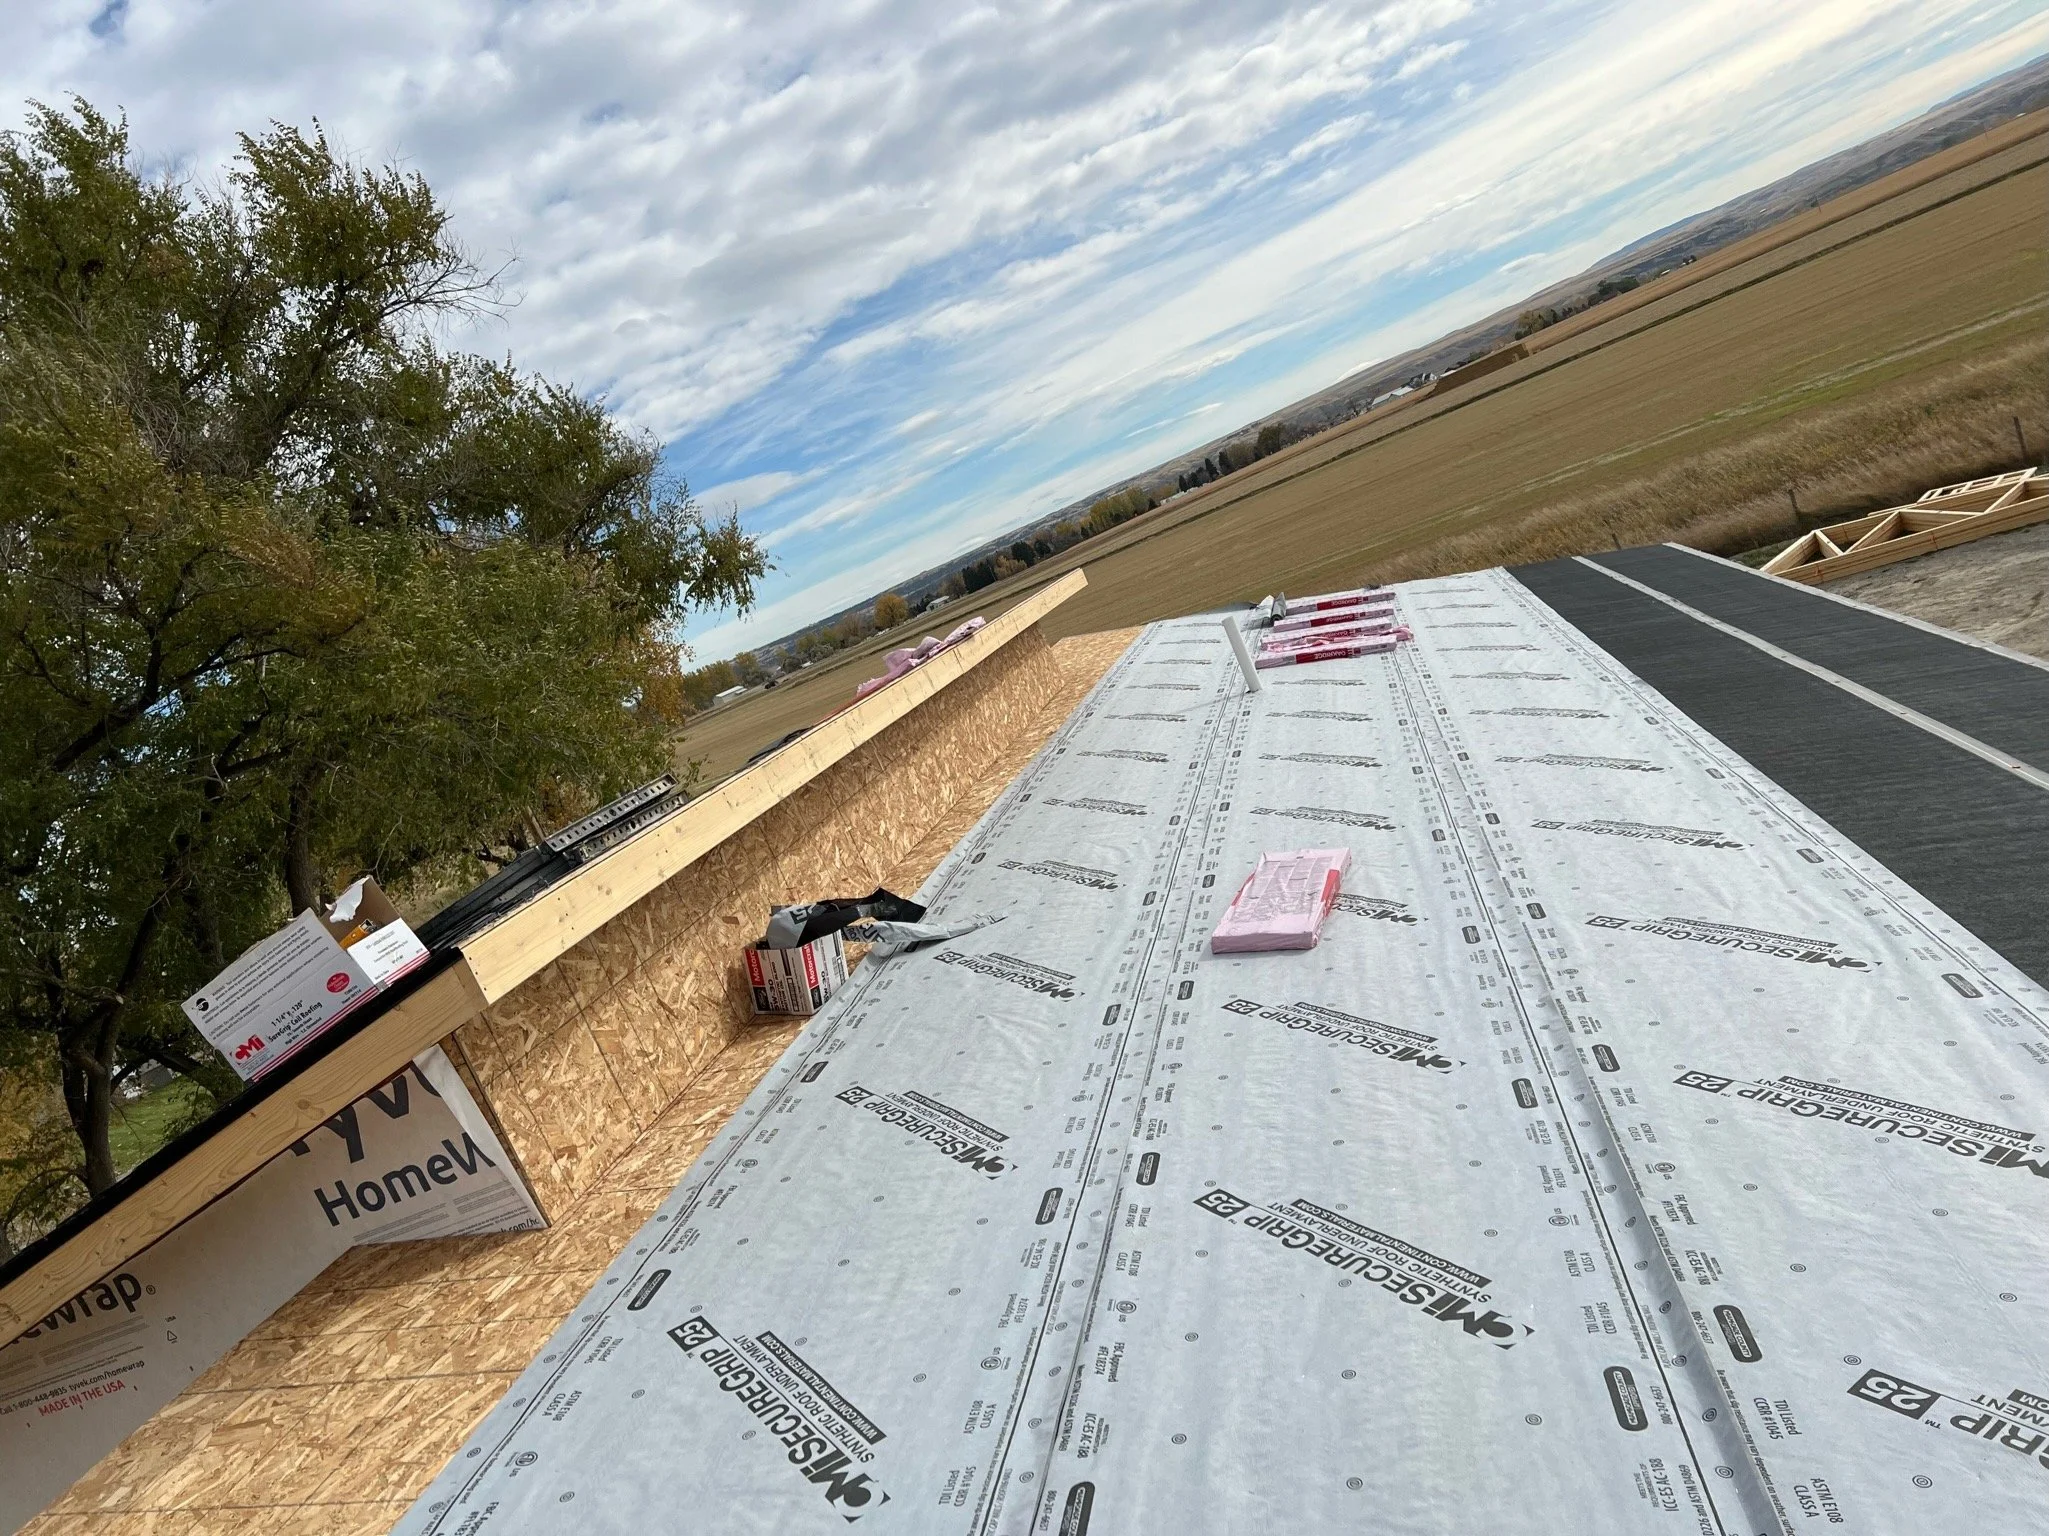
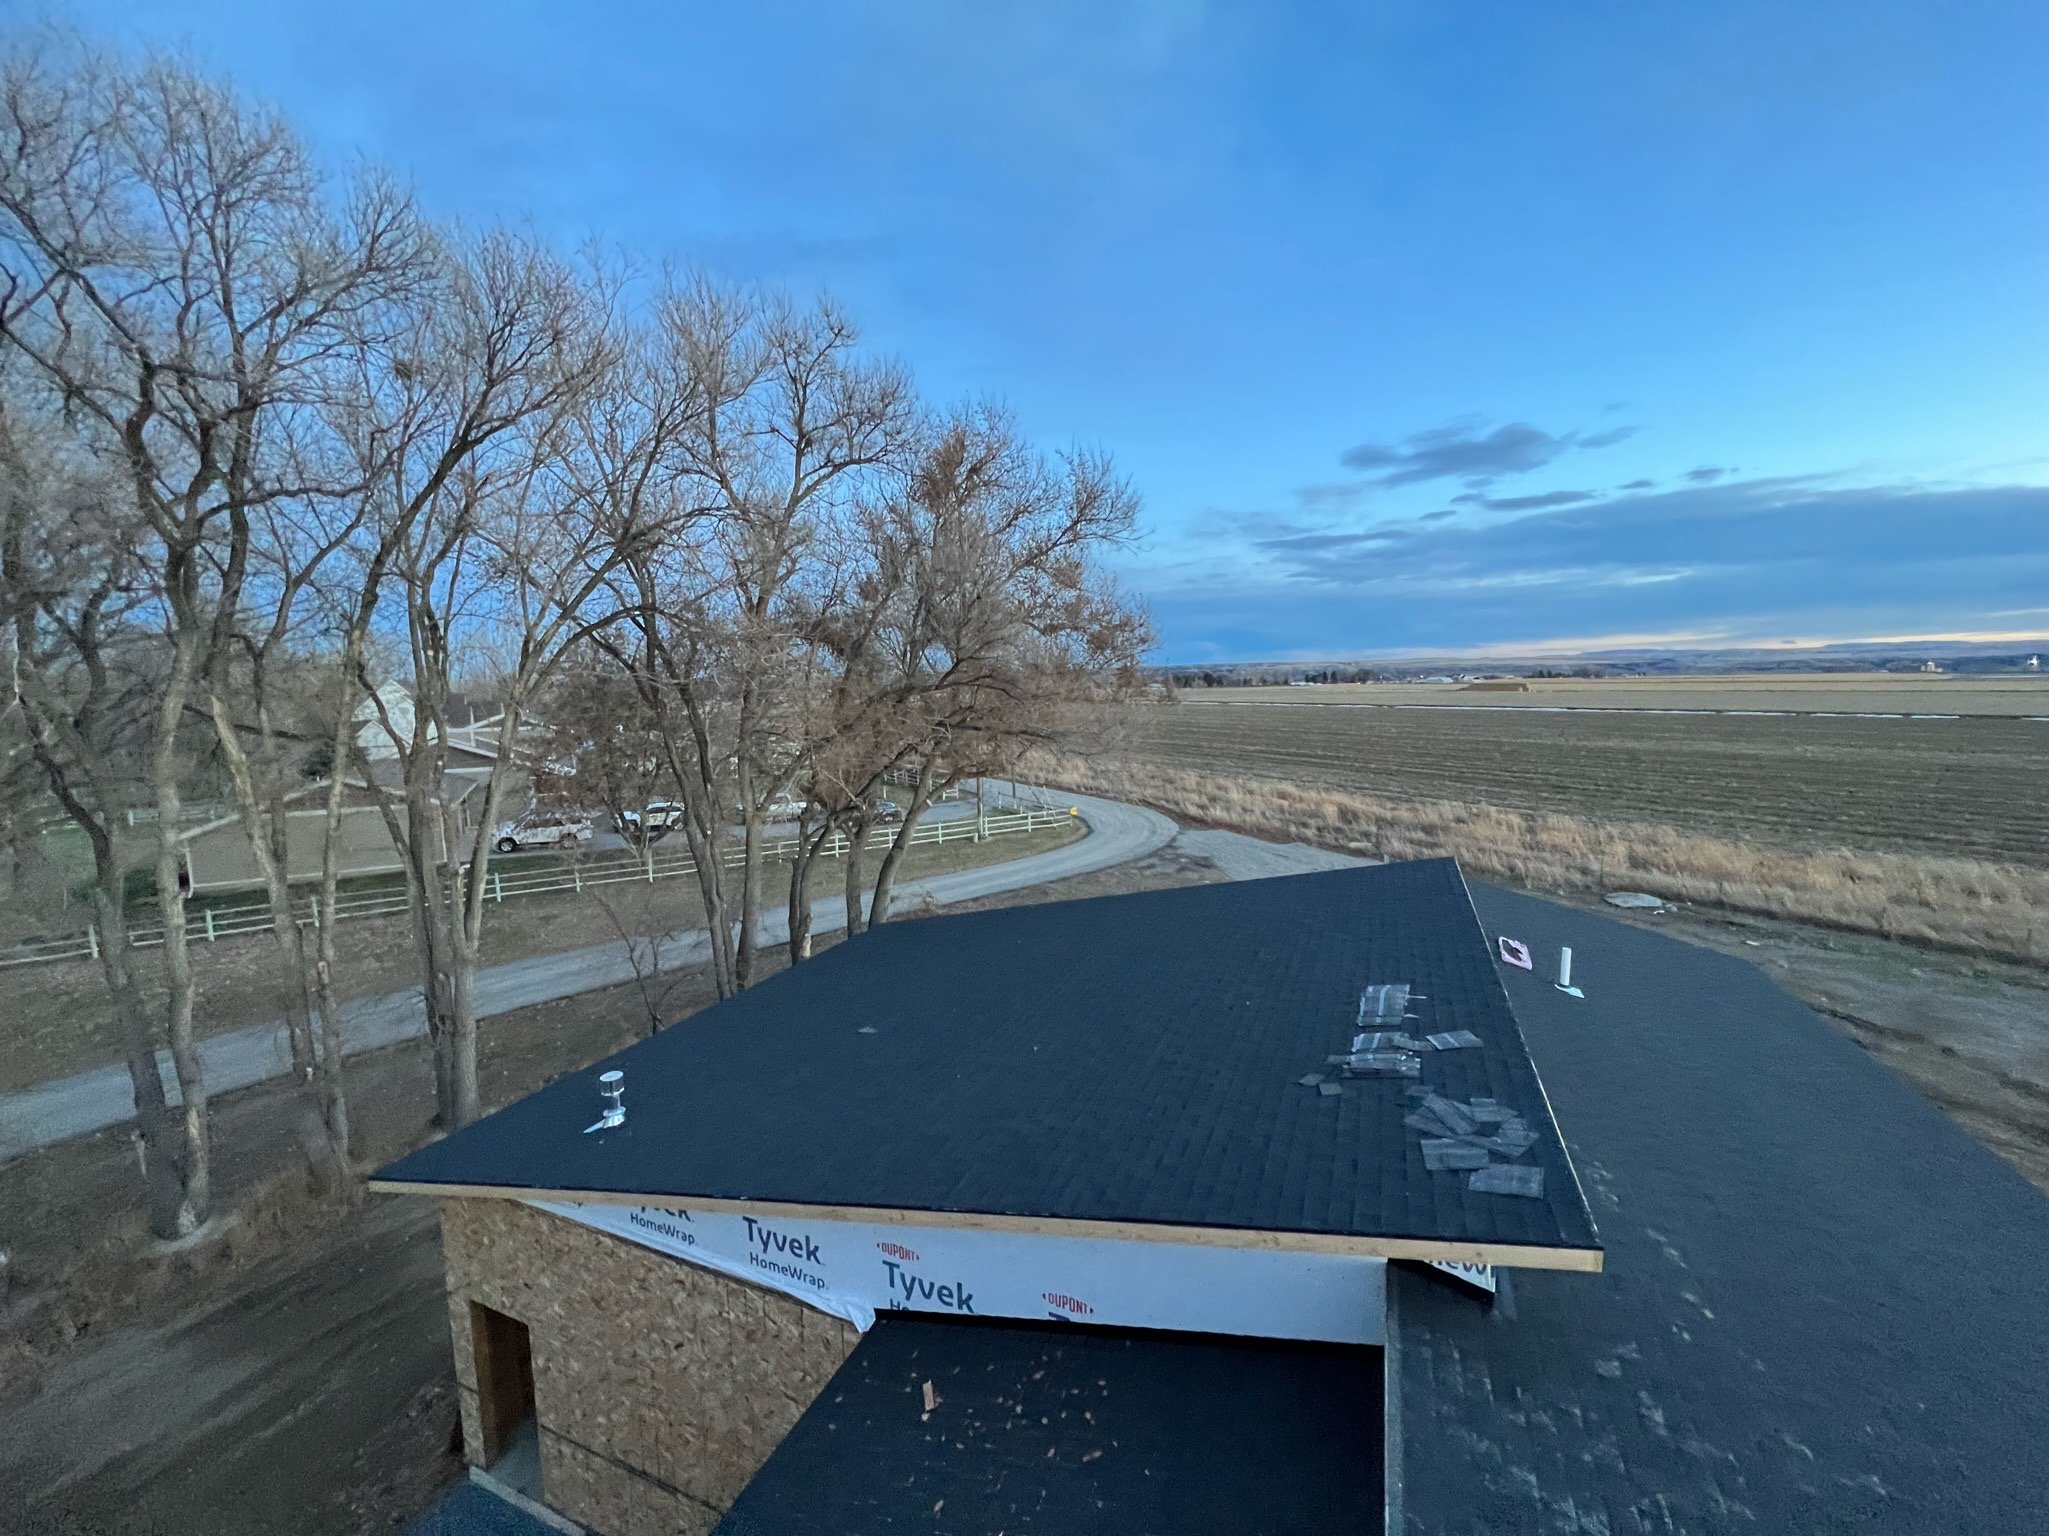
We roofed our house as well, that was one of the biggest savings we were able to cut back on. Most people around here have had hail claims on their roof and know the costly price of replacement. This took us about 6 weekends in a row to get done. We both have our full time jobs and were only able to do this on the weekends. There were even moments of me writing up offers for my real estate while we were roofing! I truly believe if you set your mind to an obstacle and keep the end goal in mind-there is no stopping you!
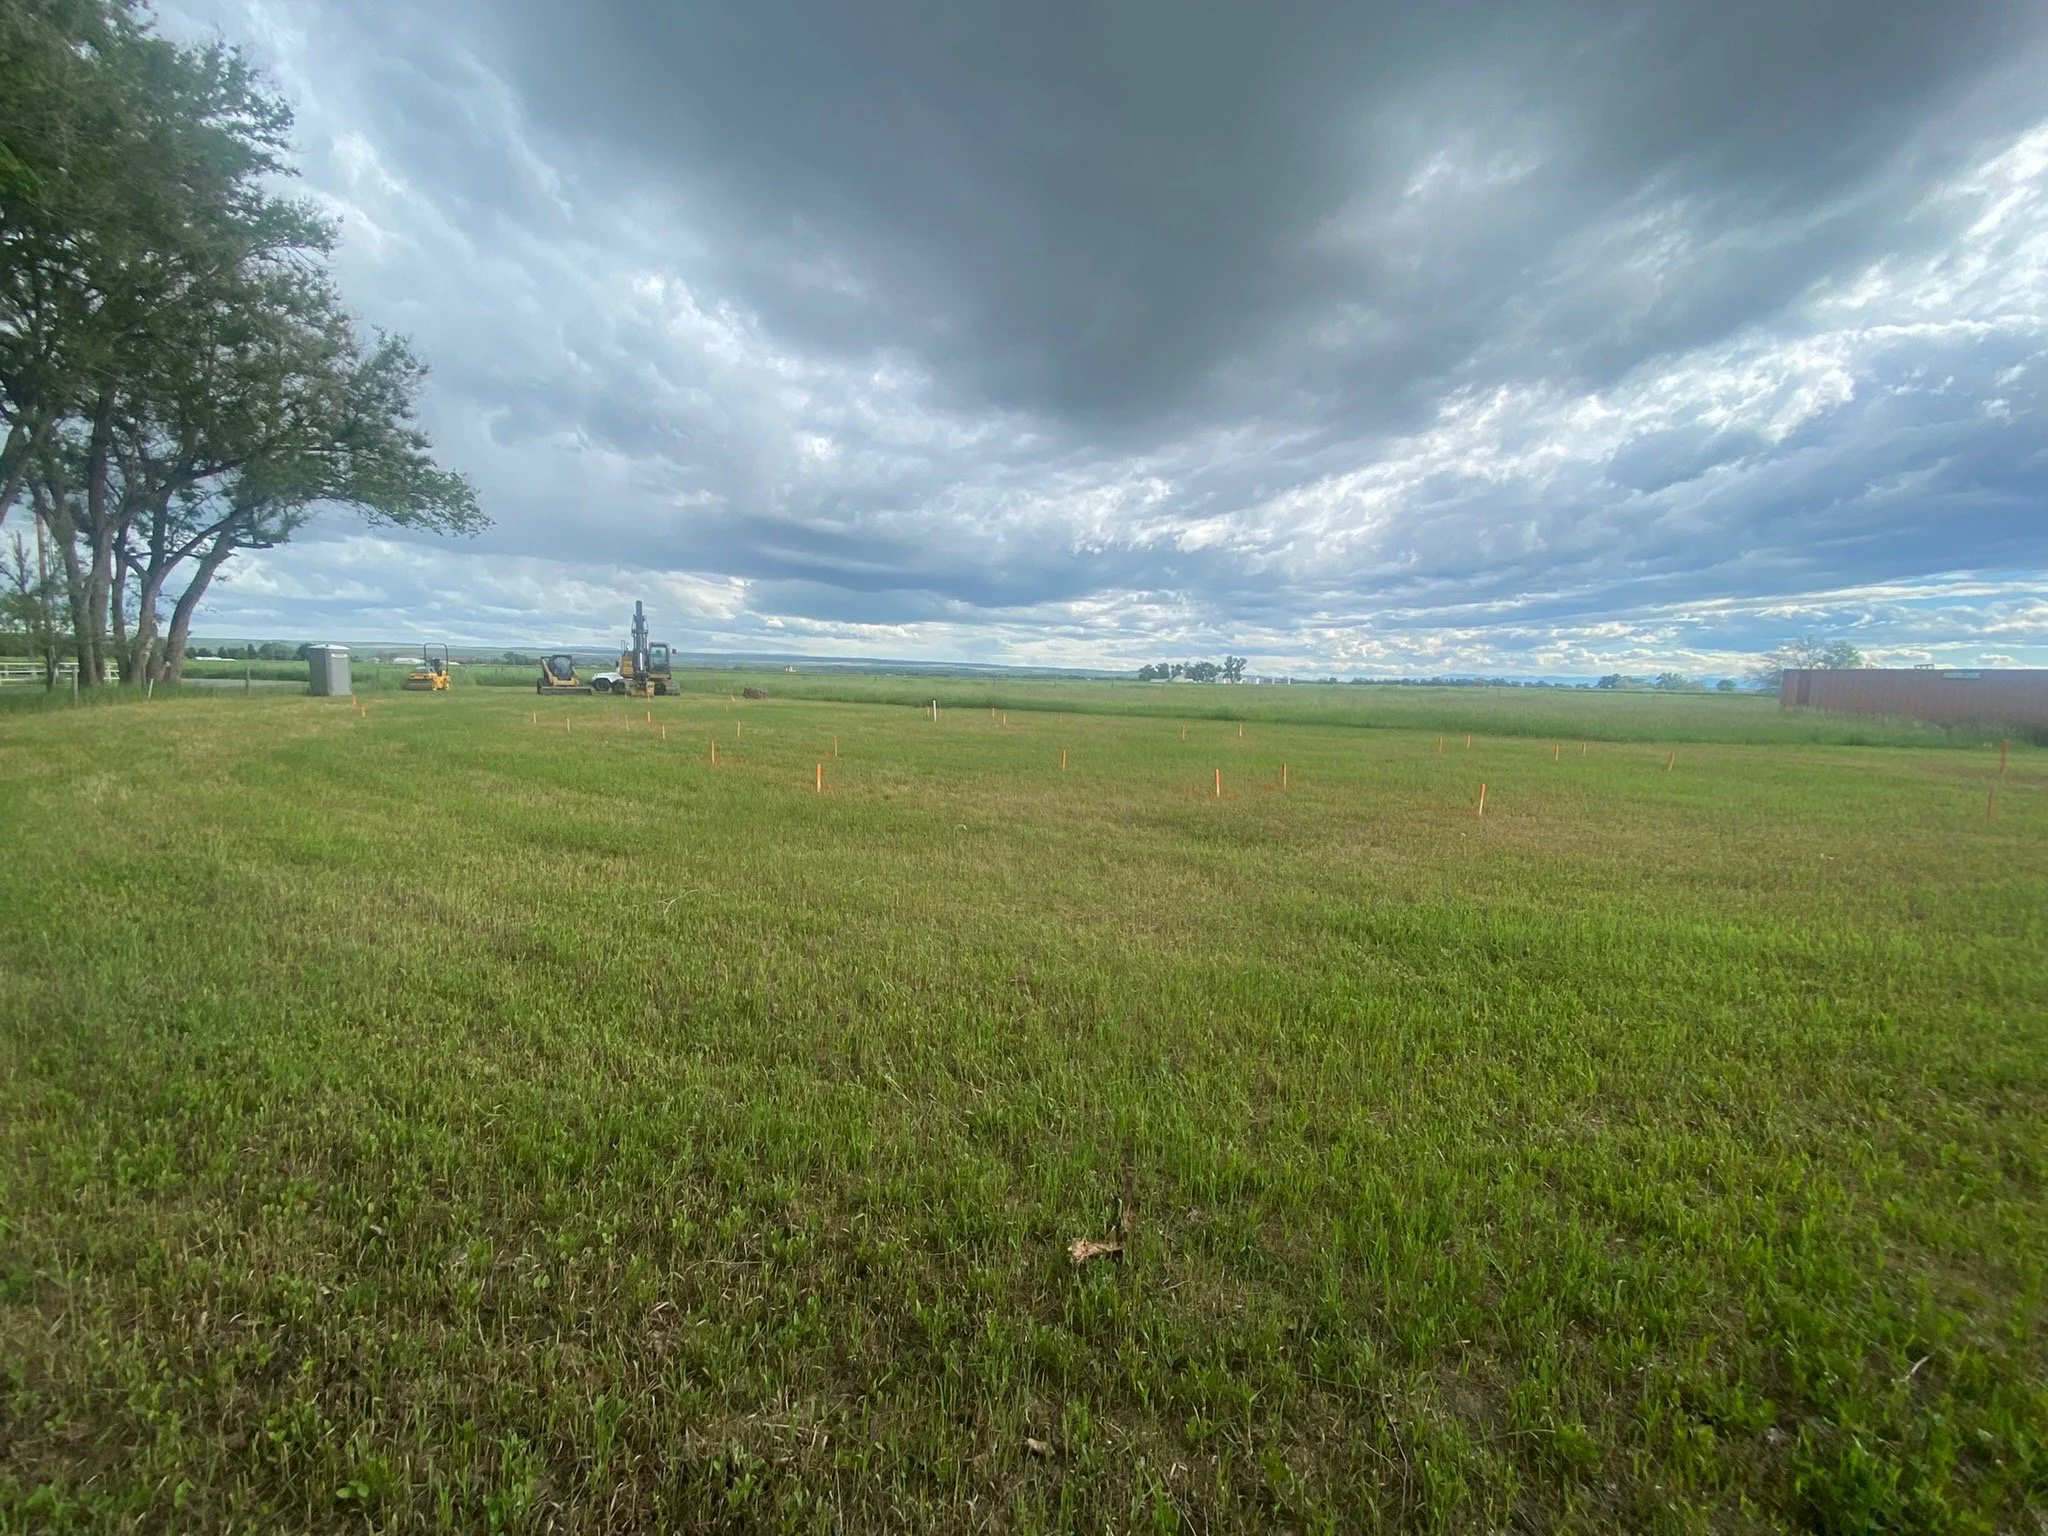
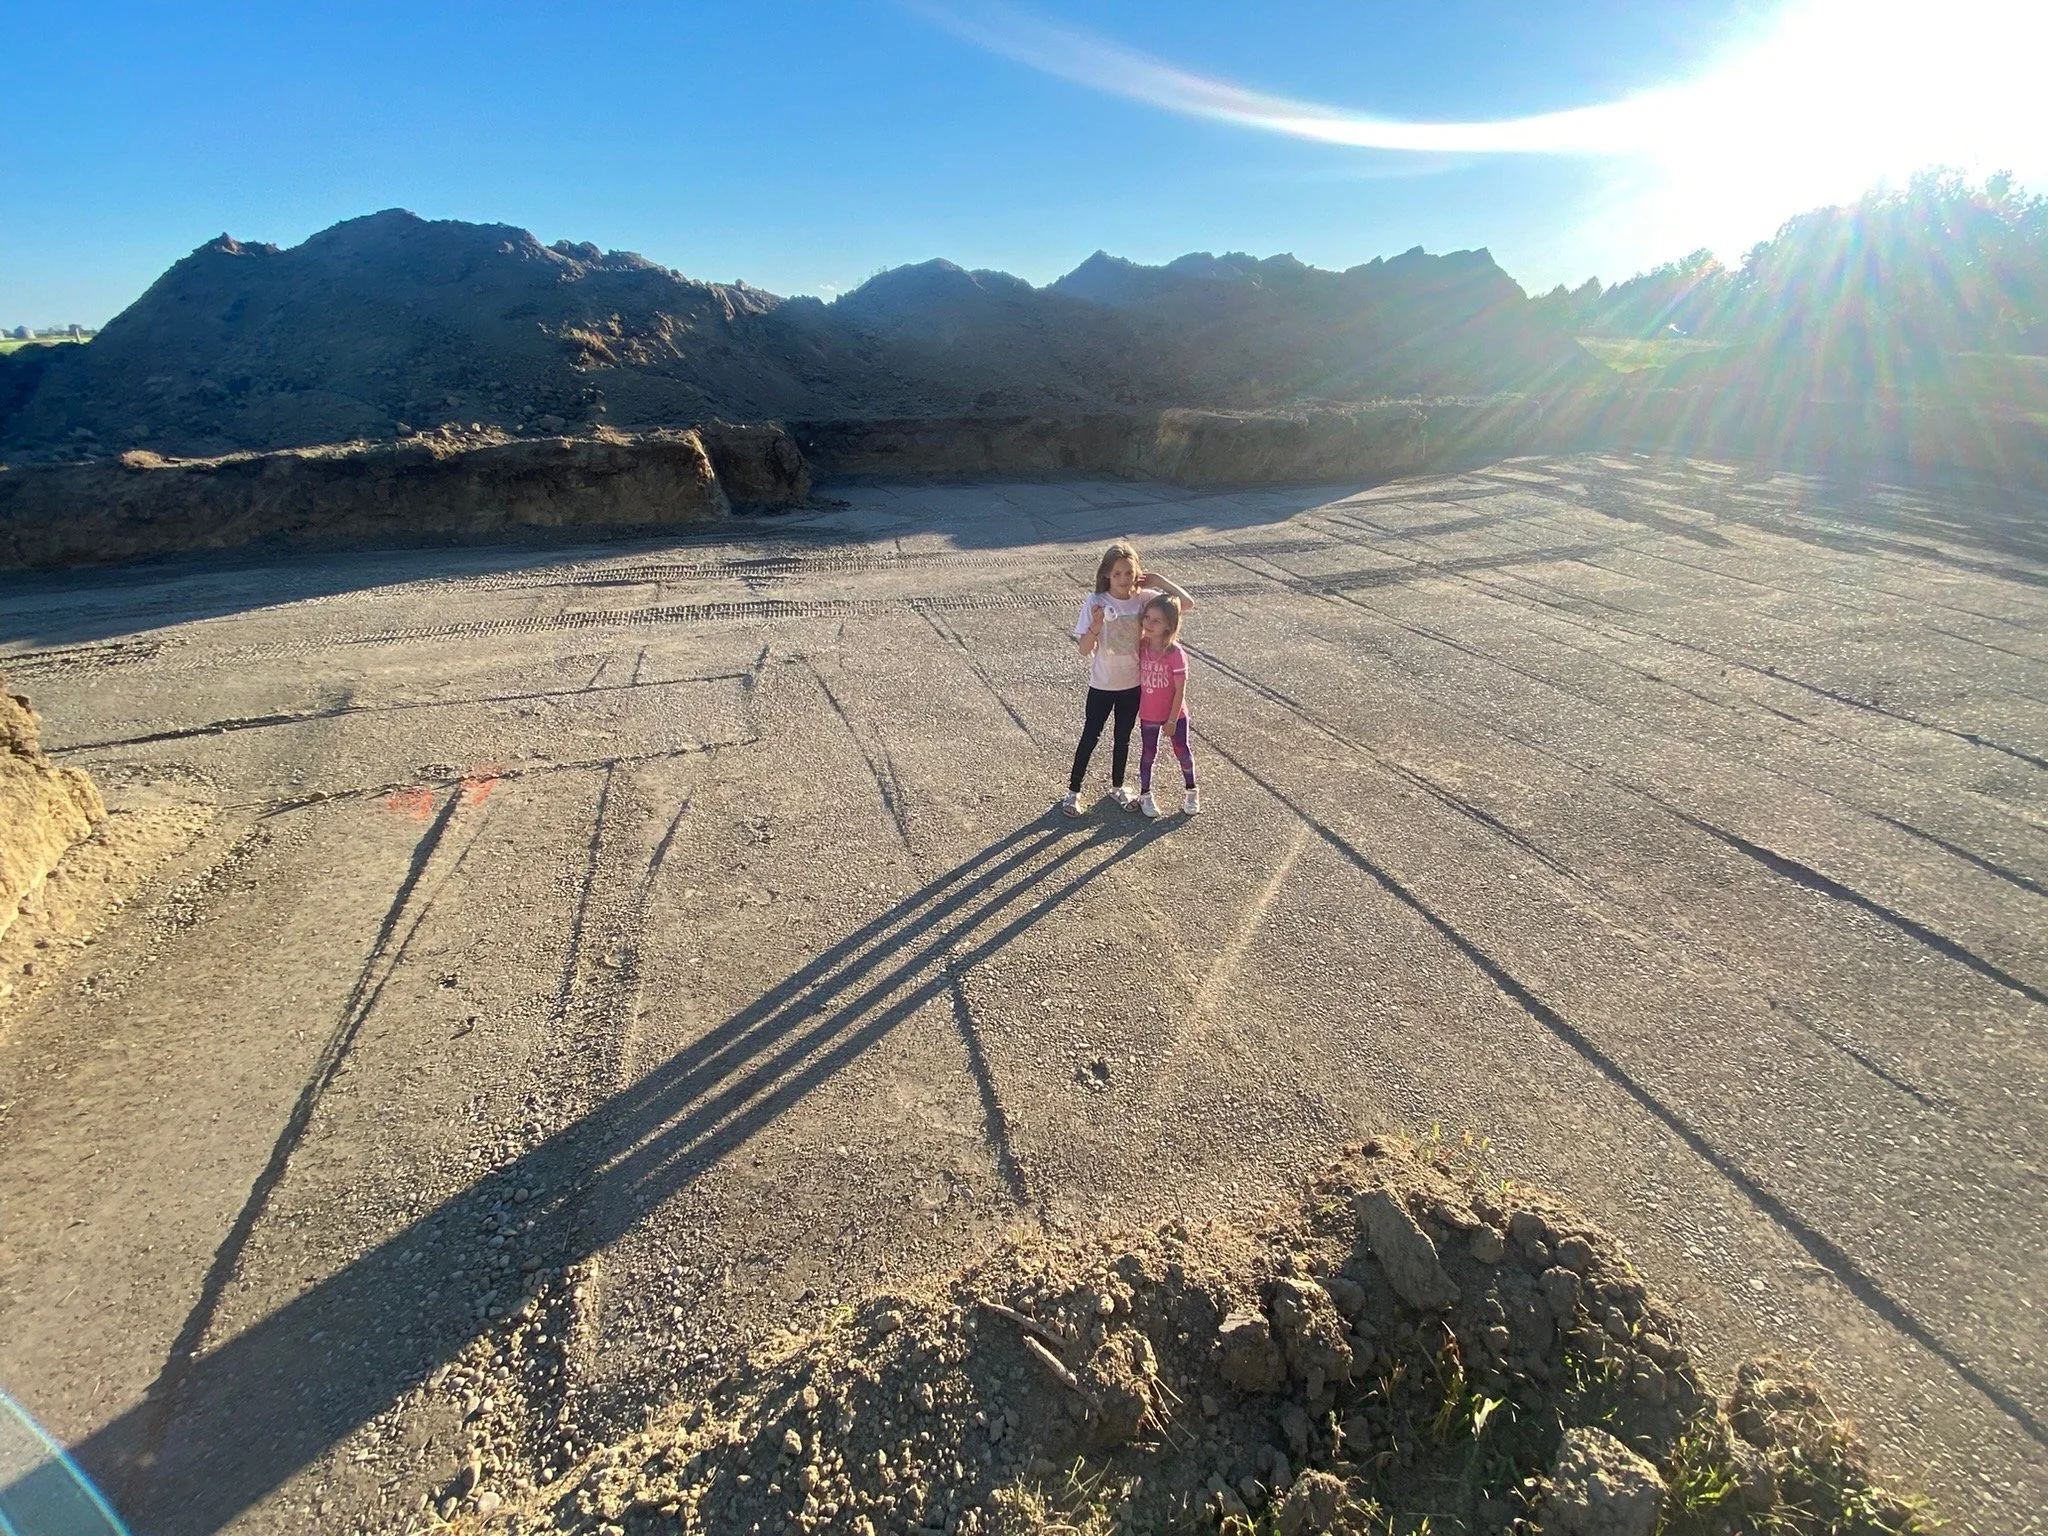
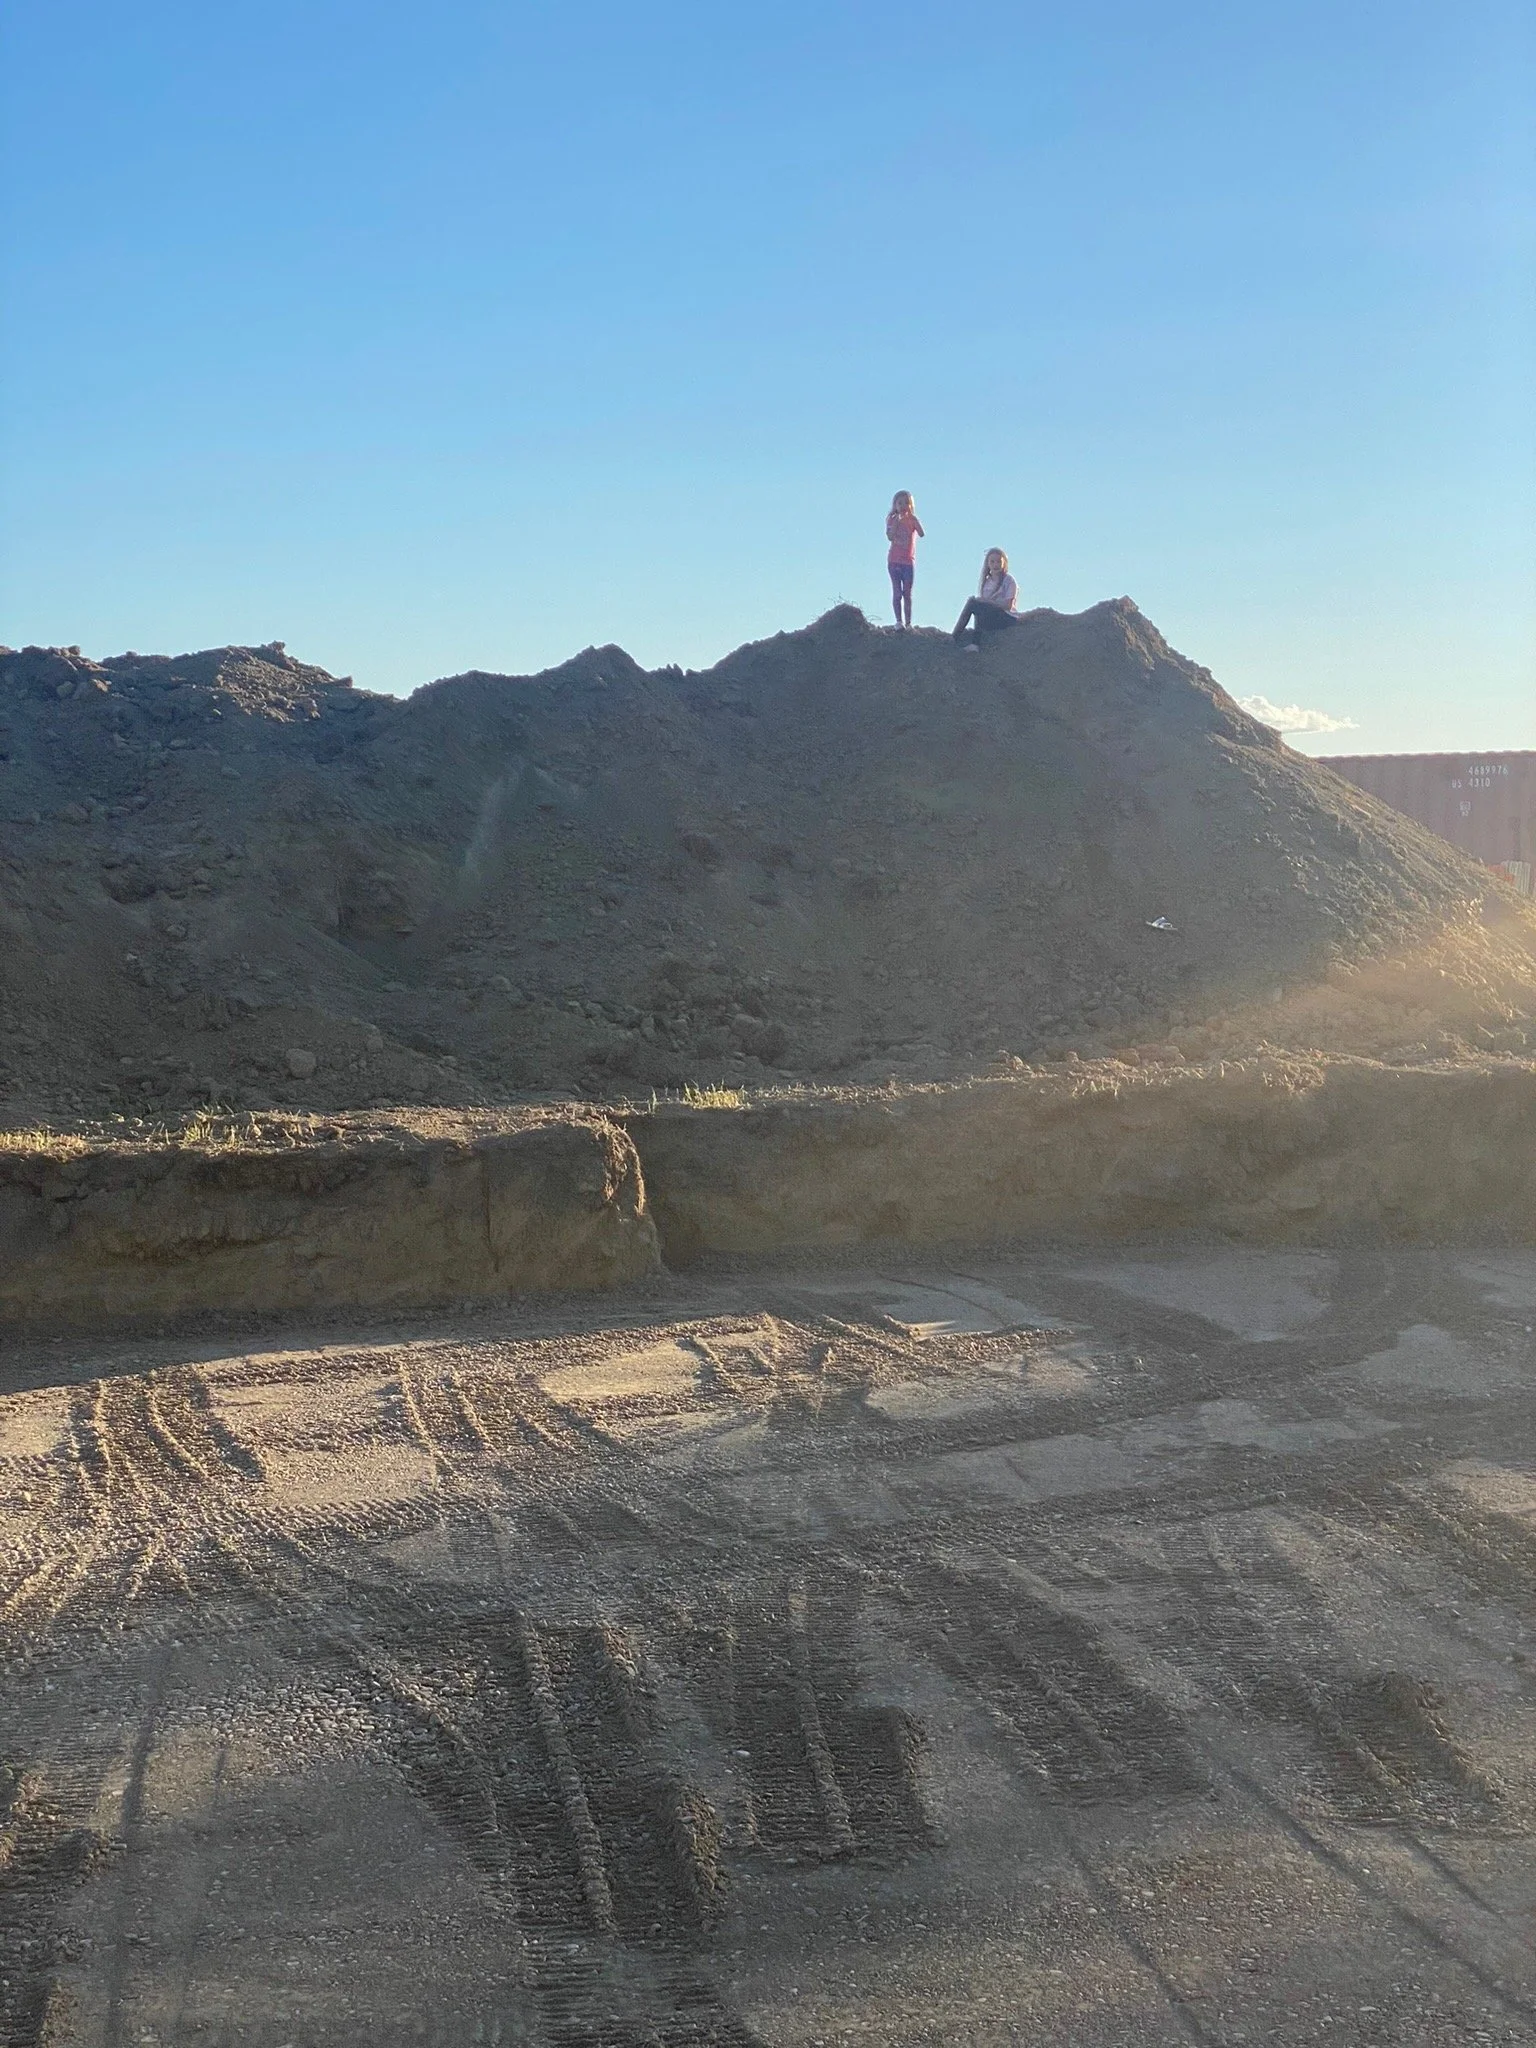
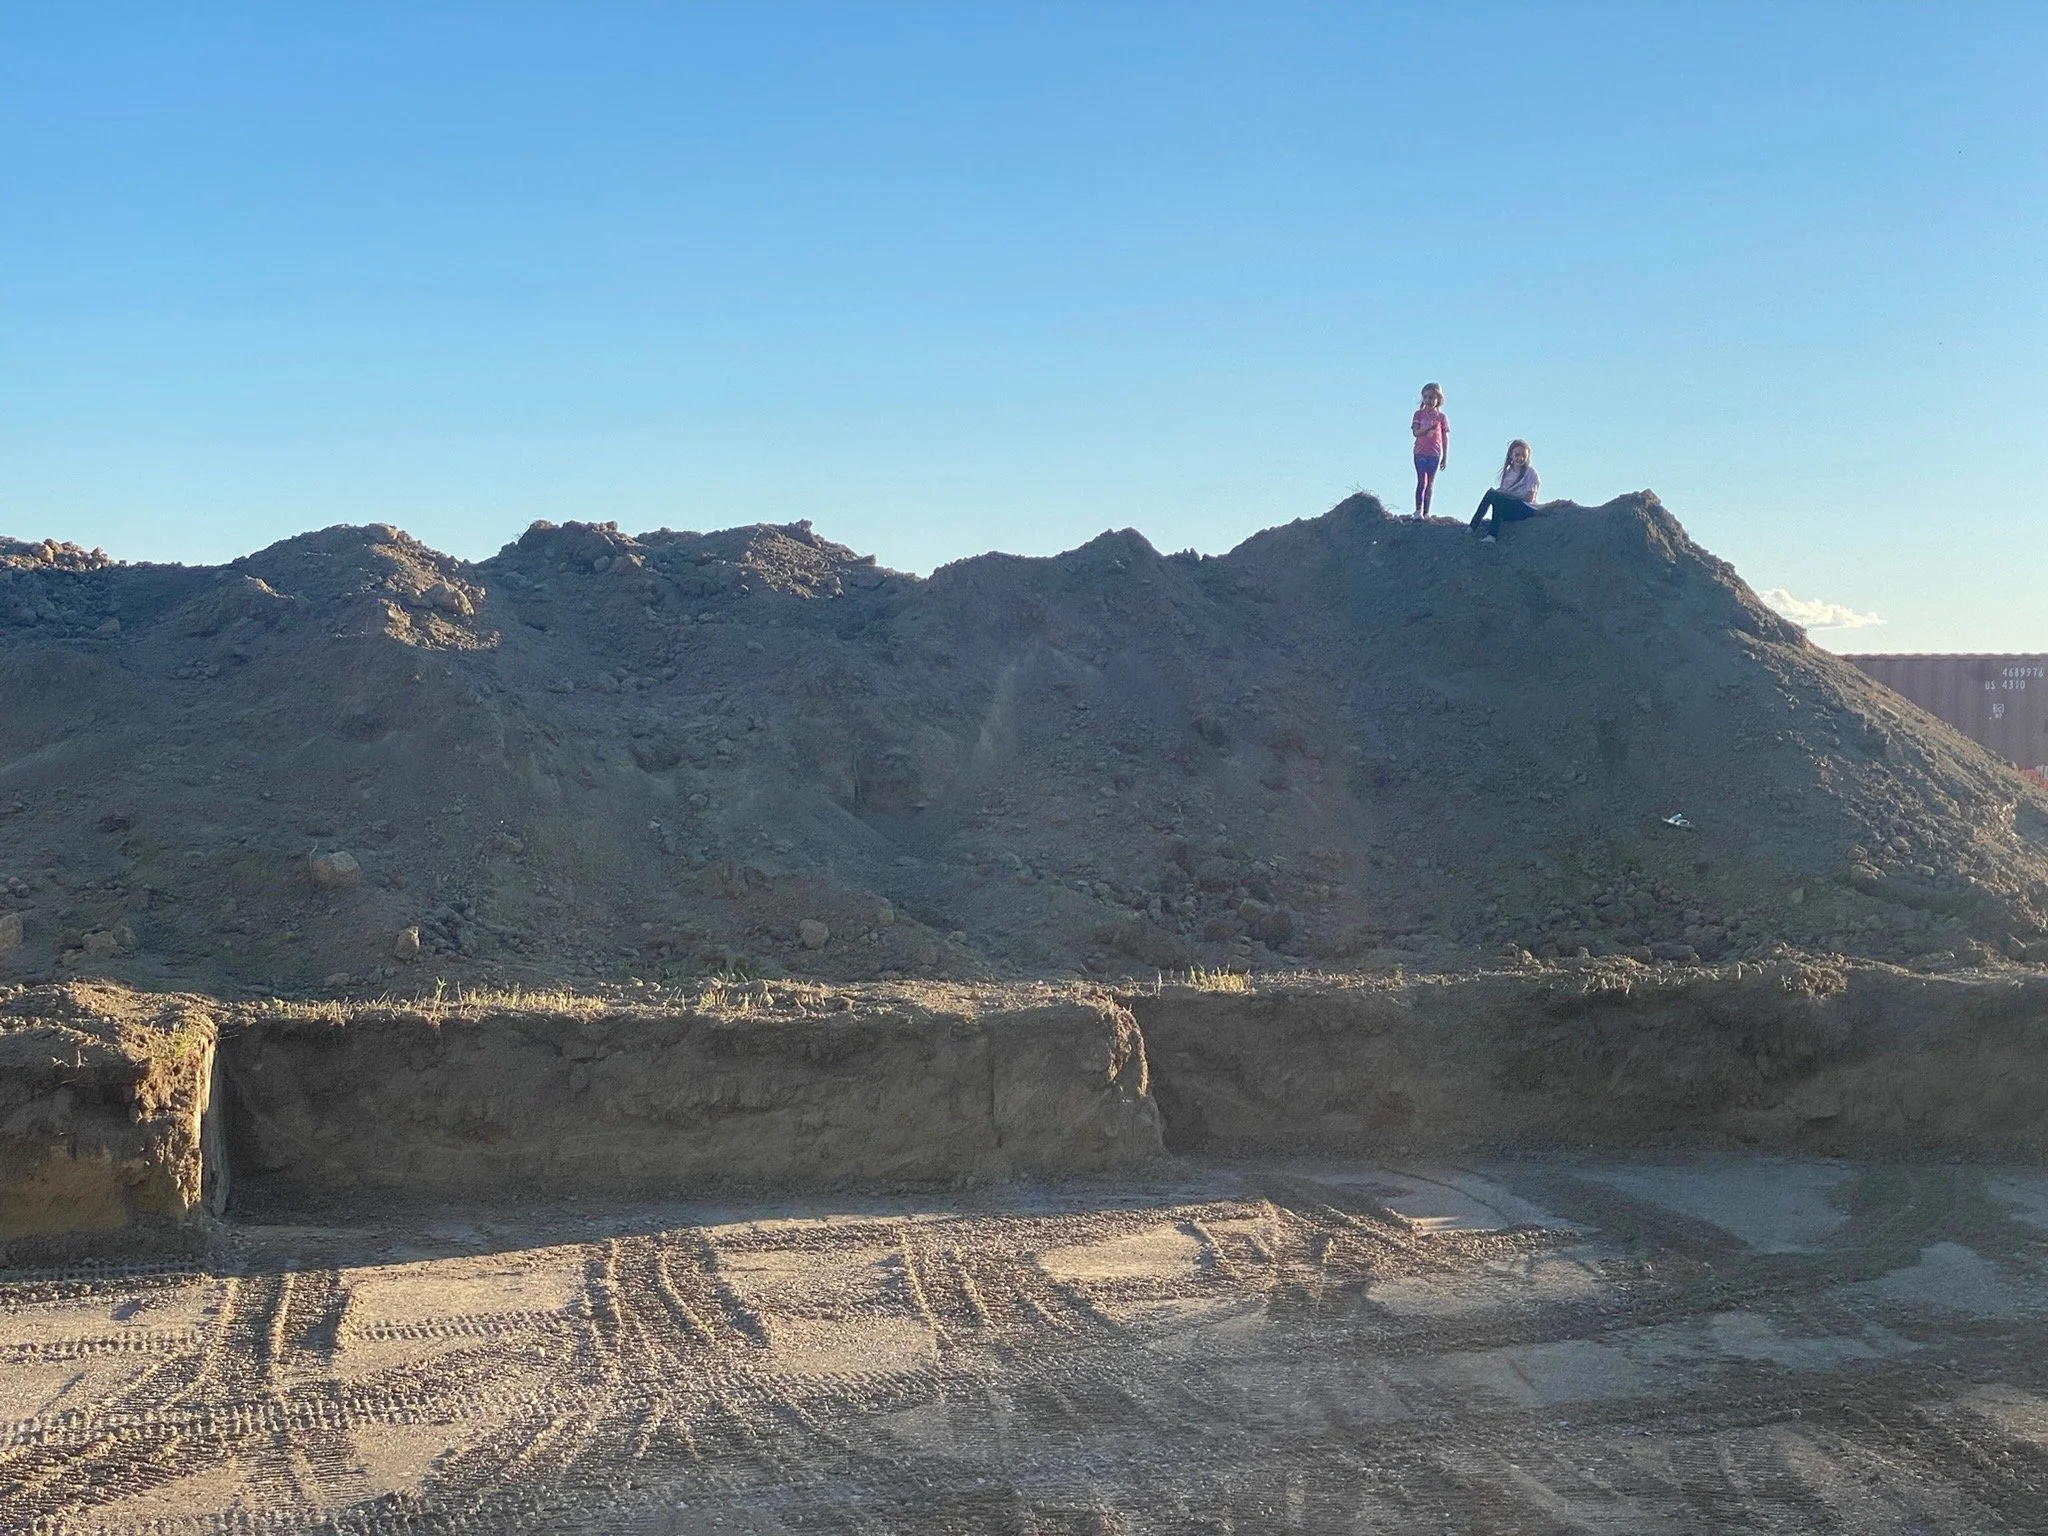
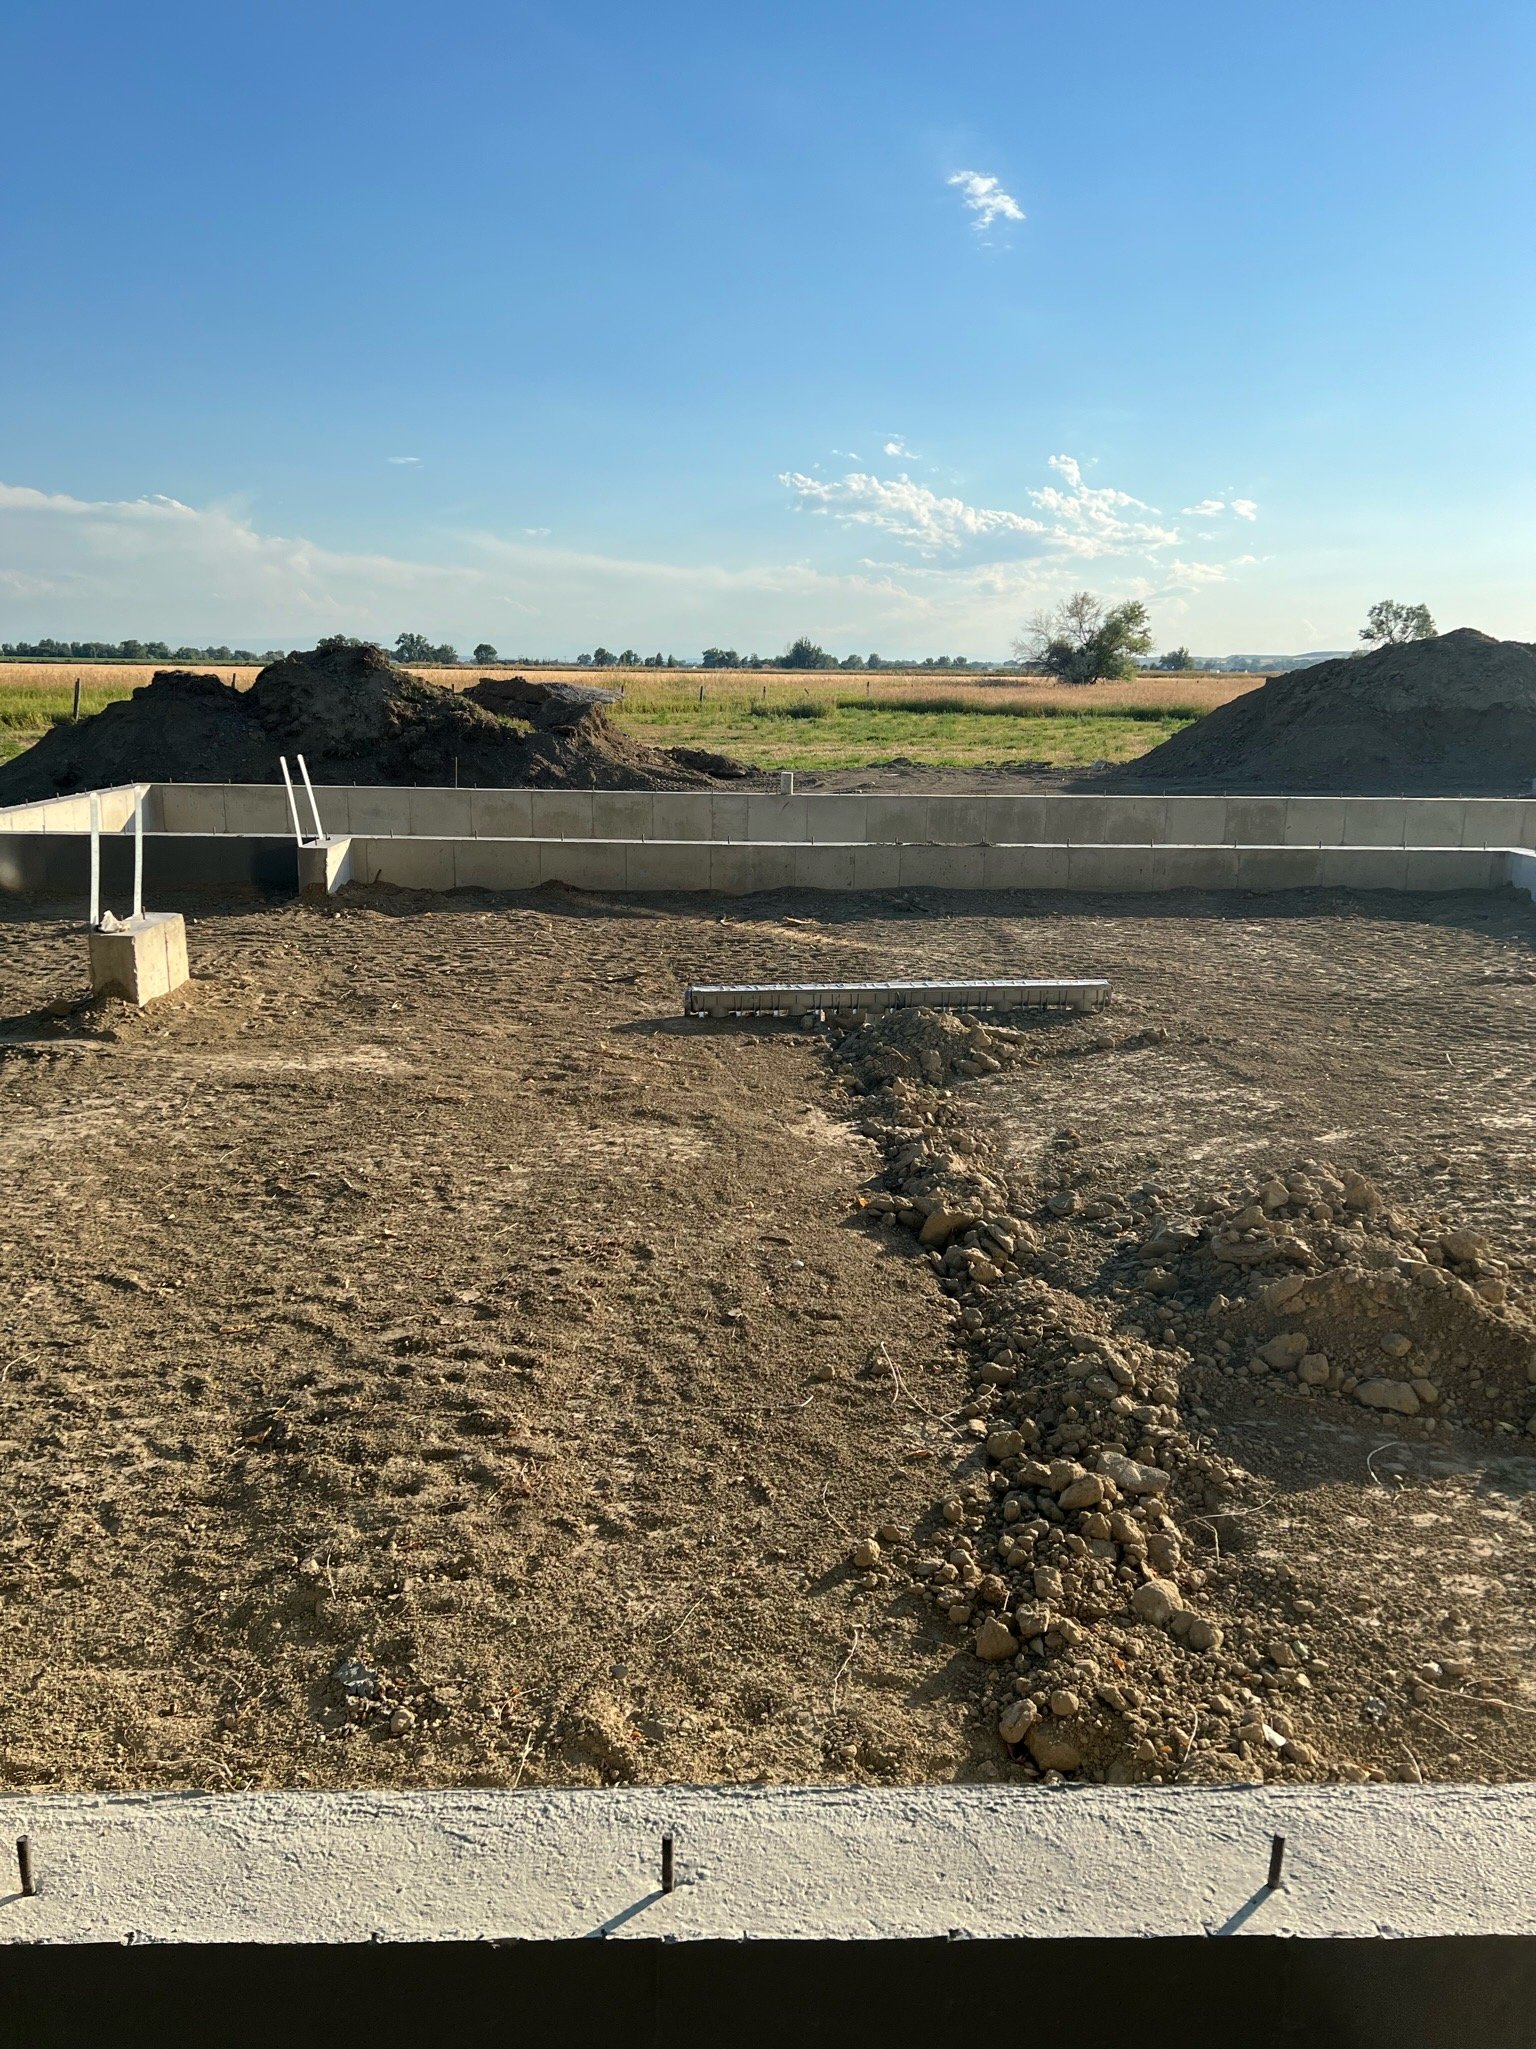
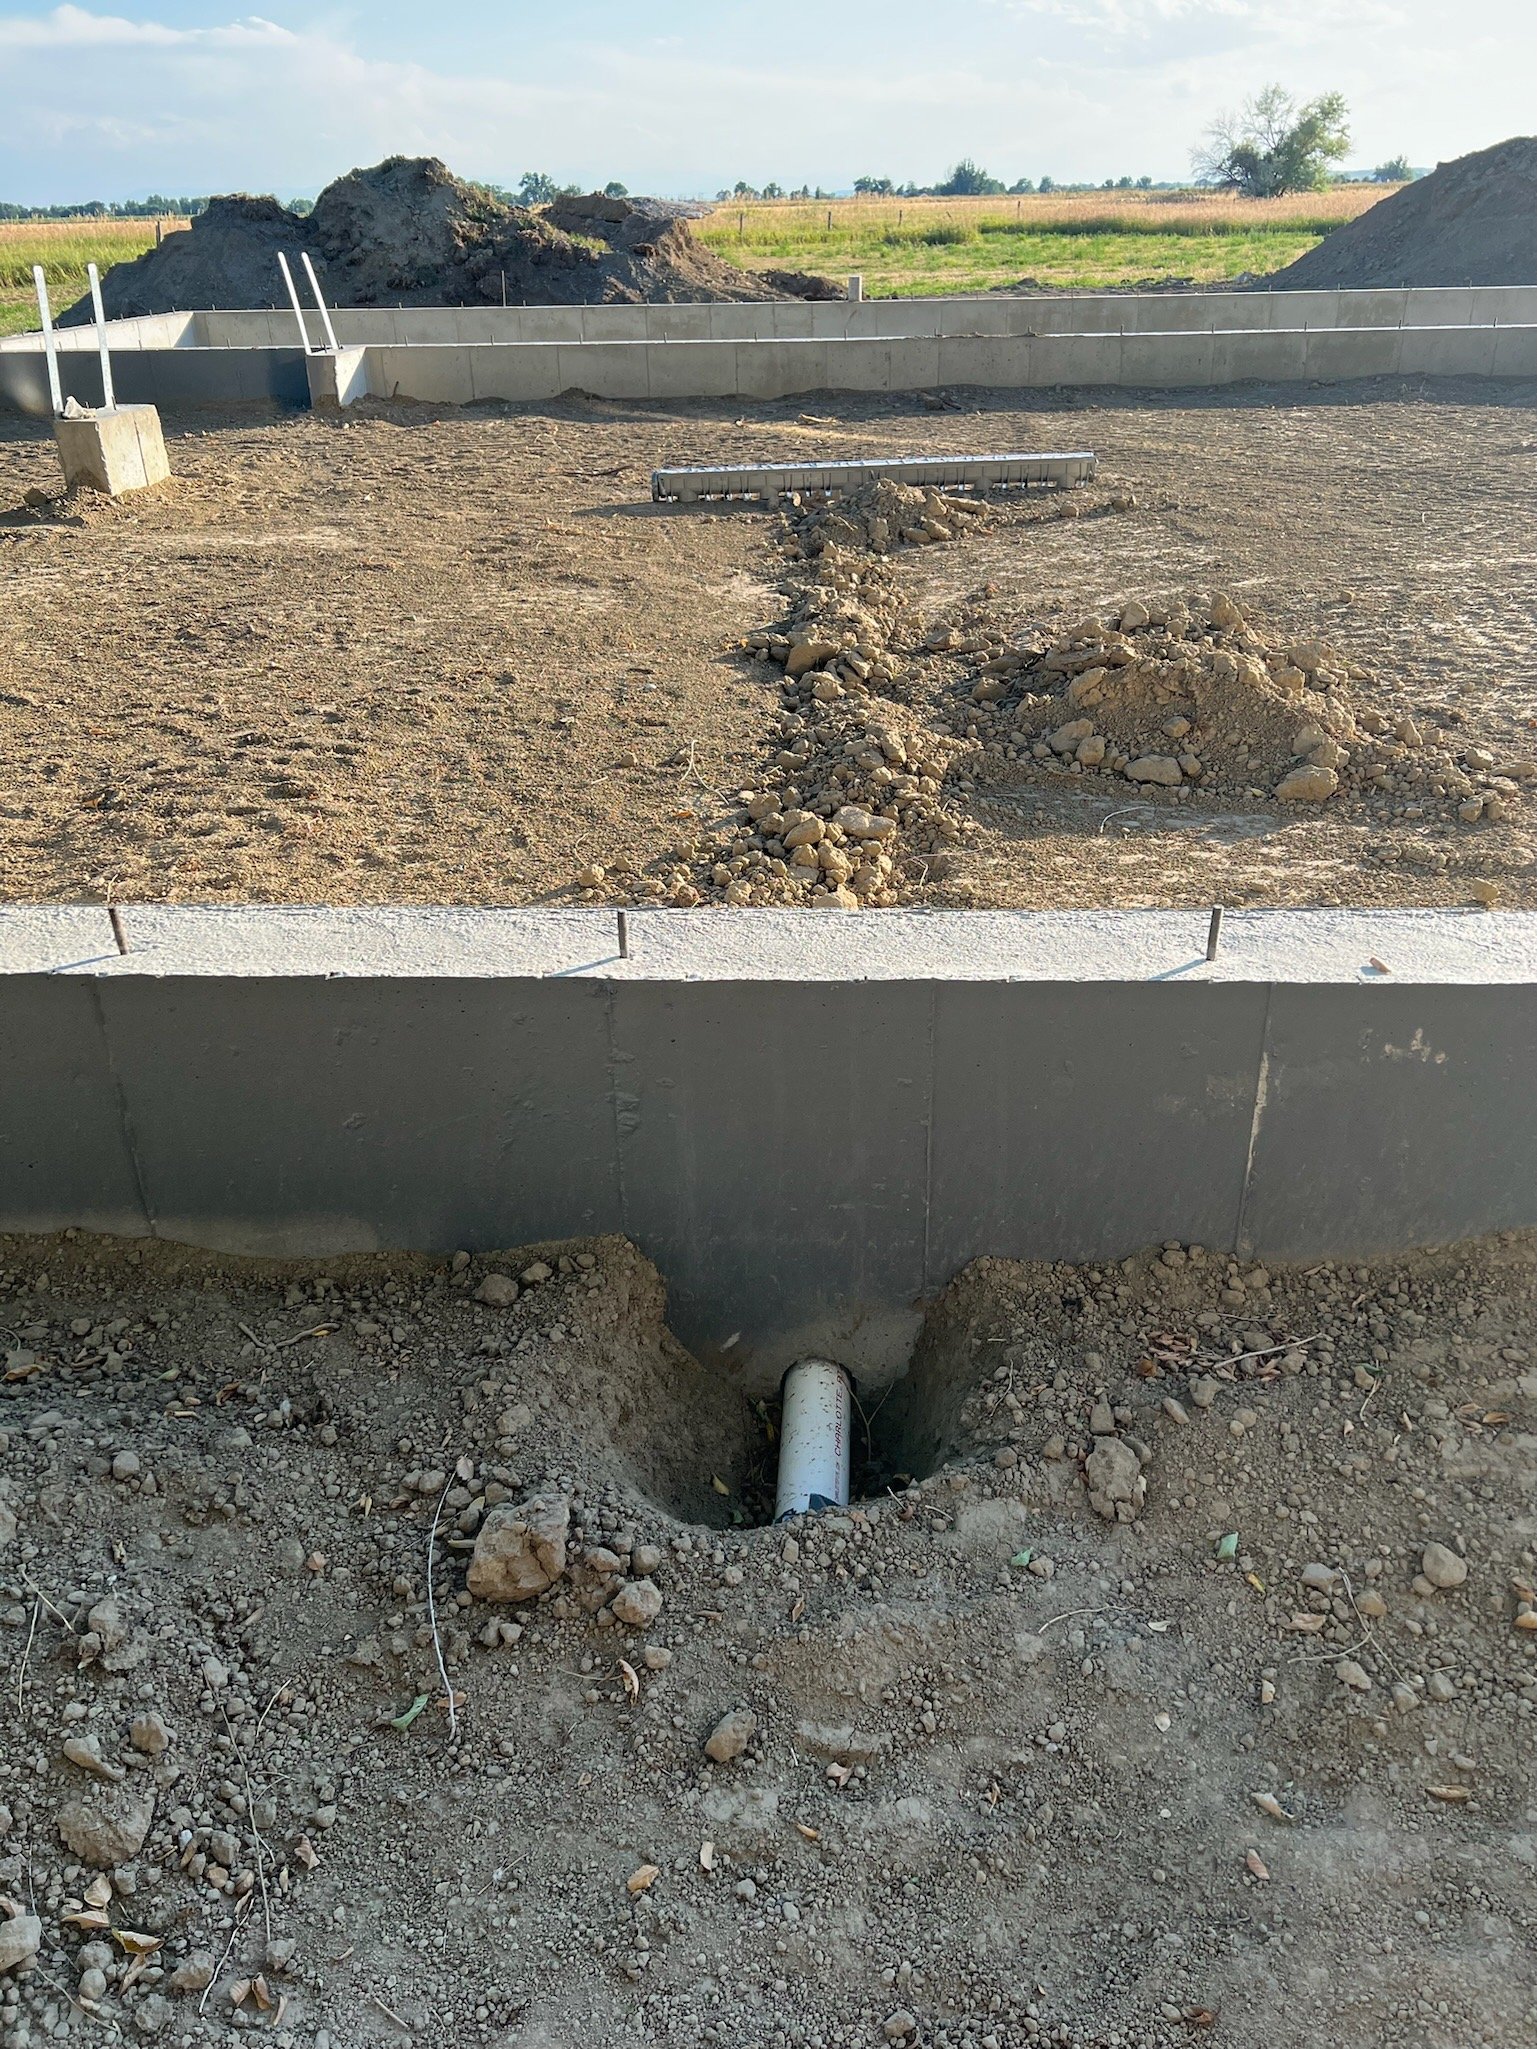
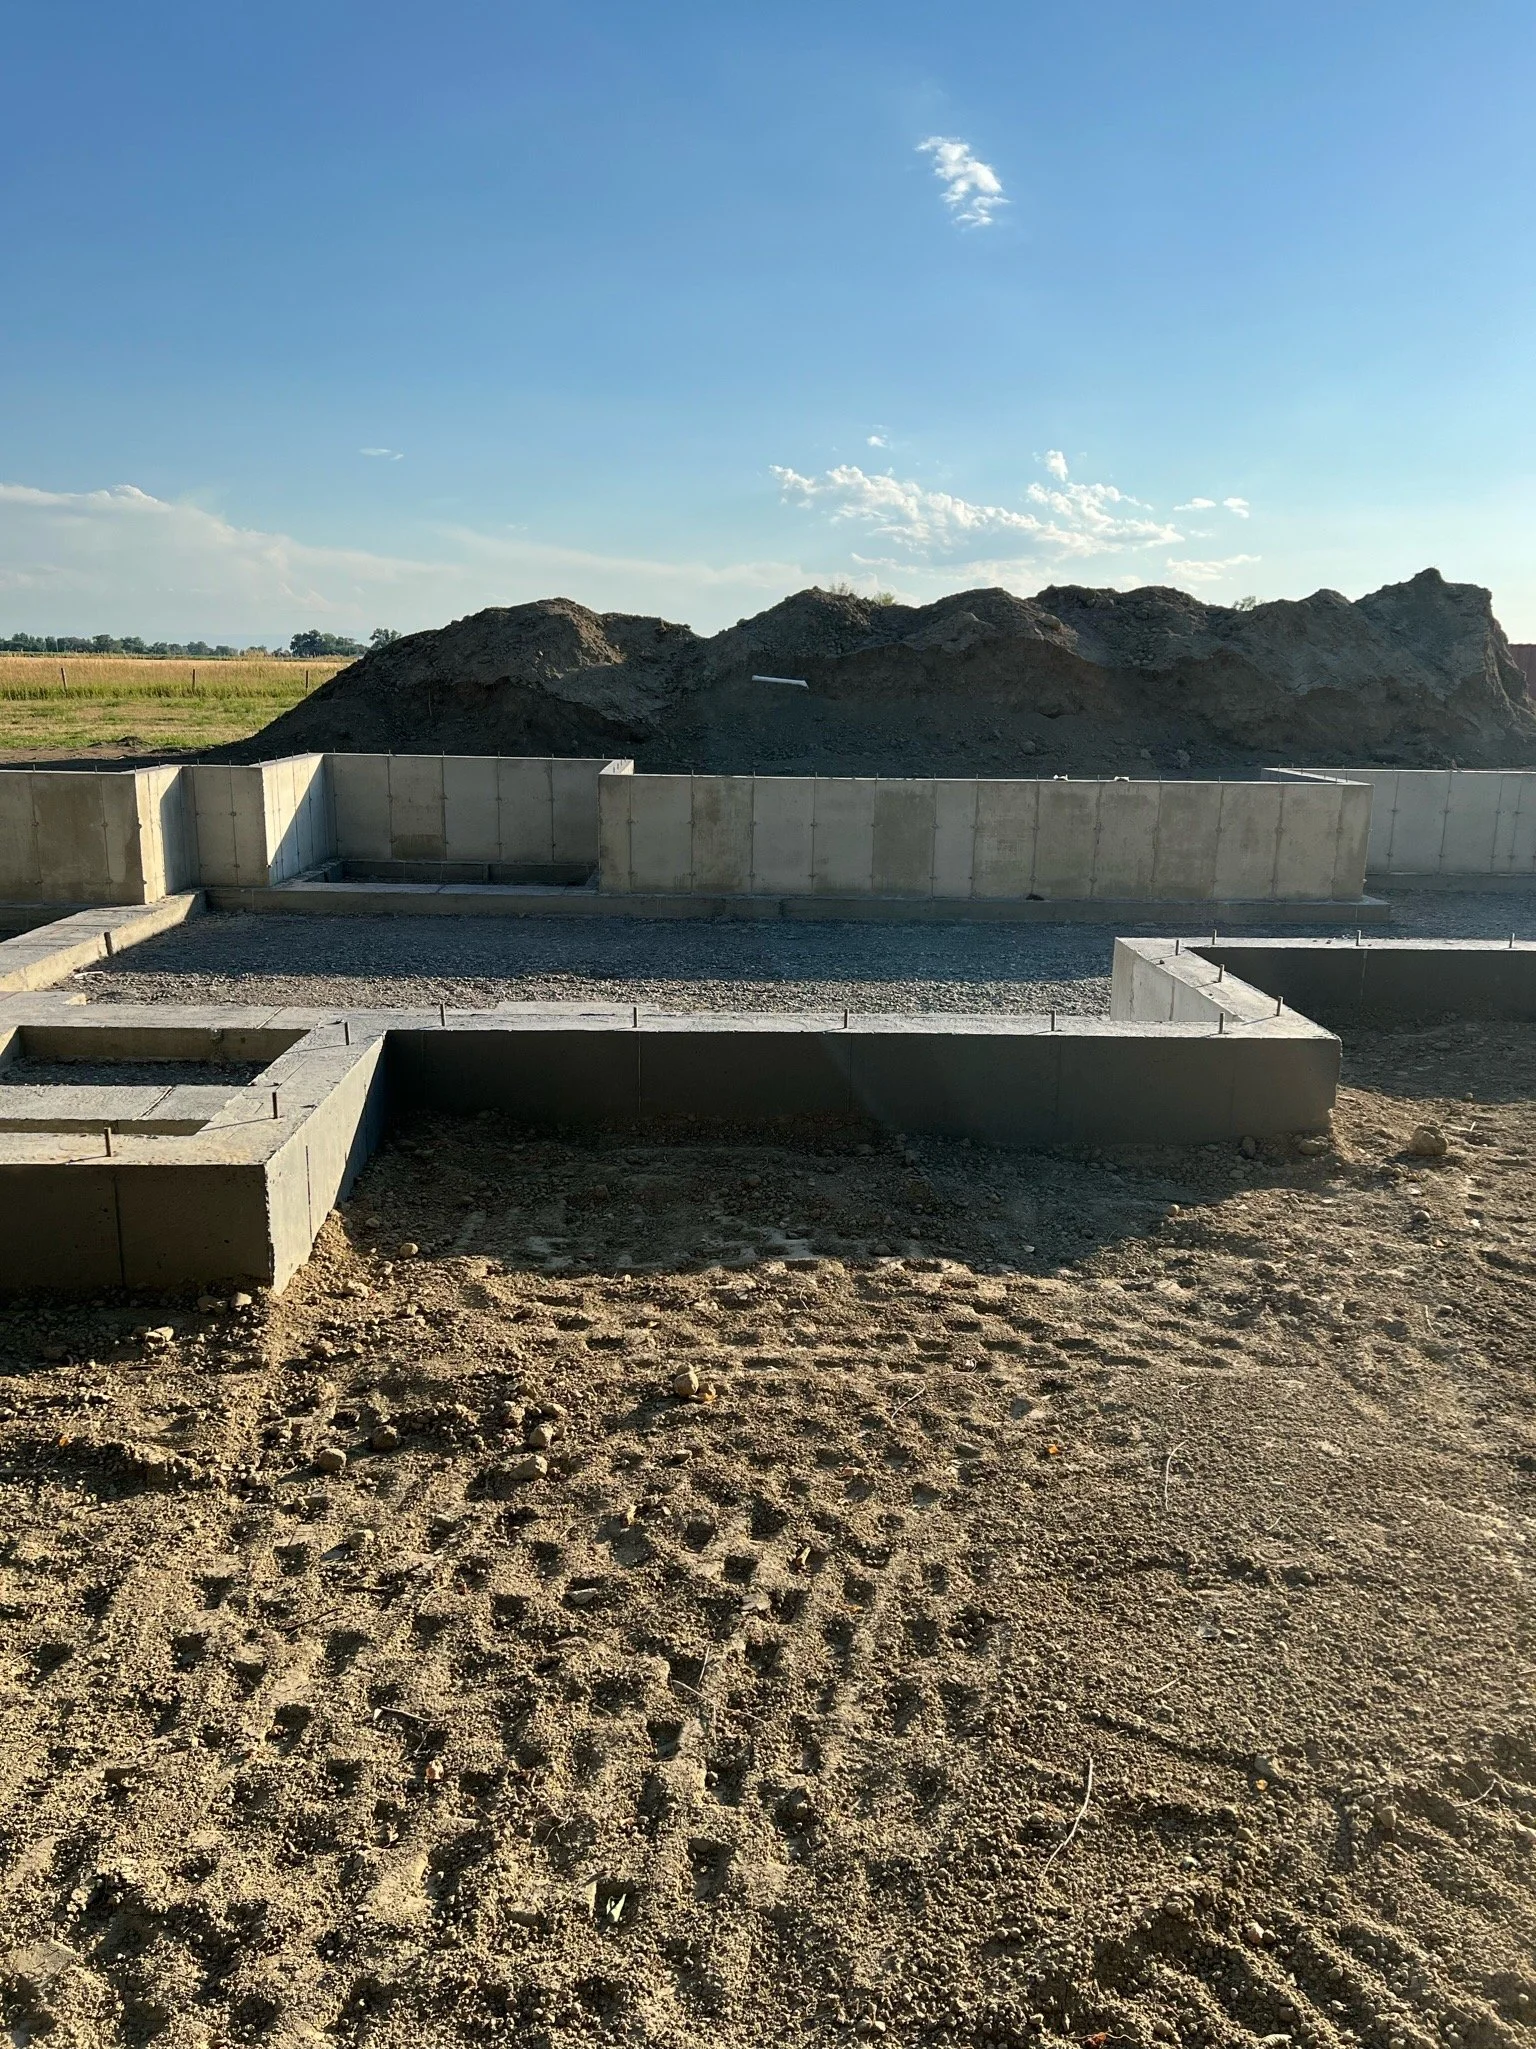
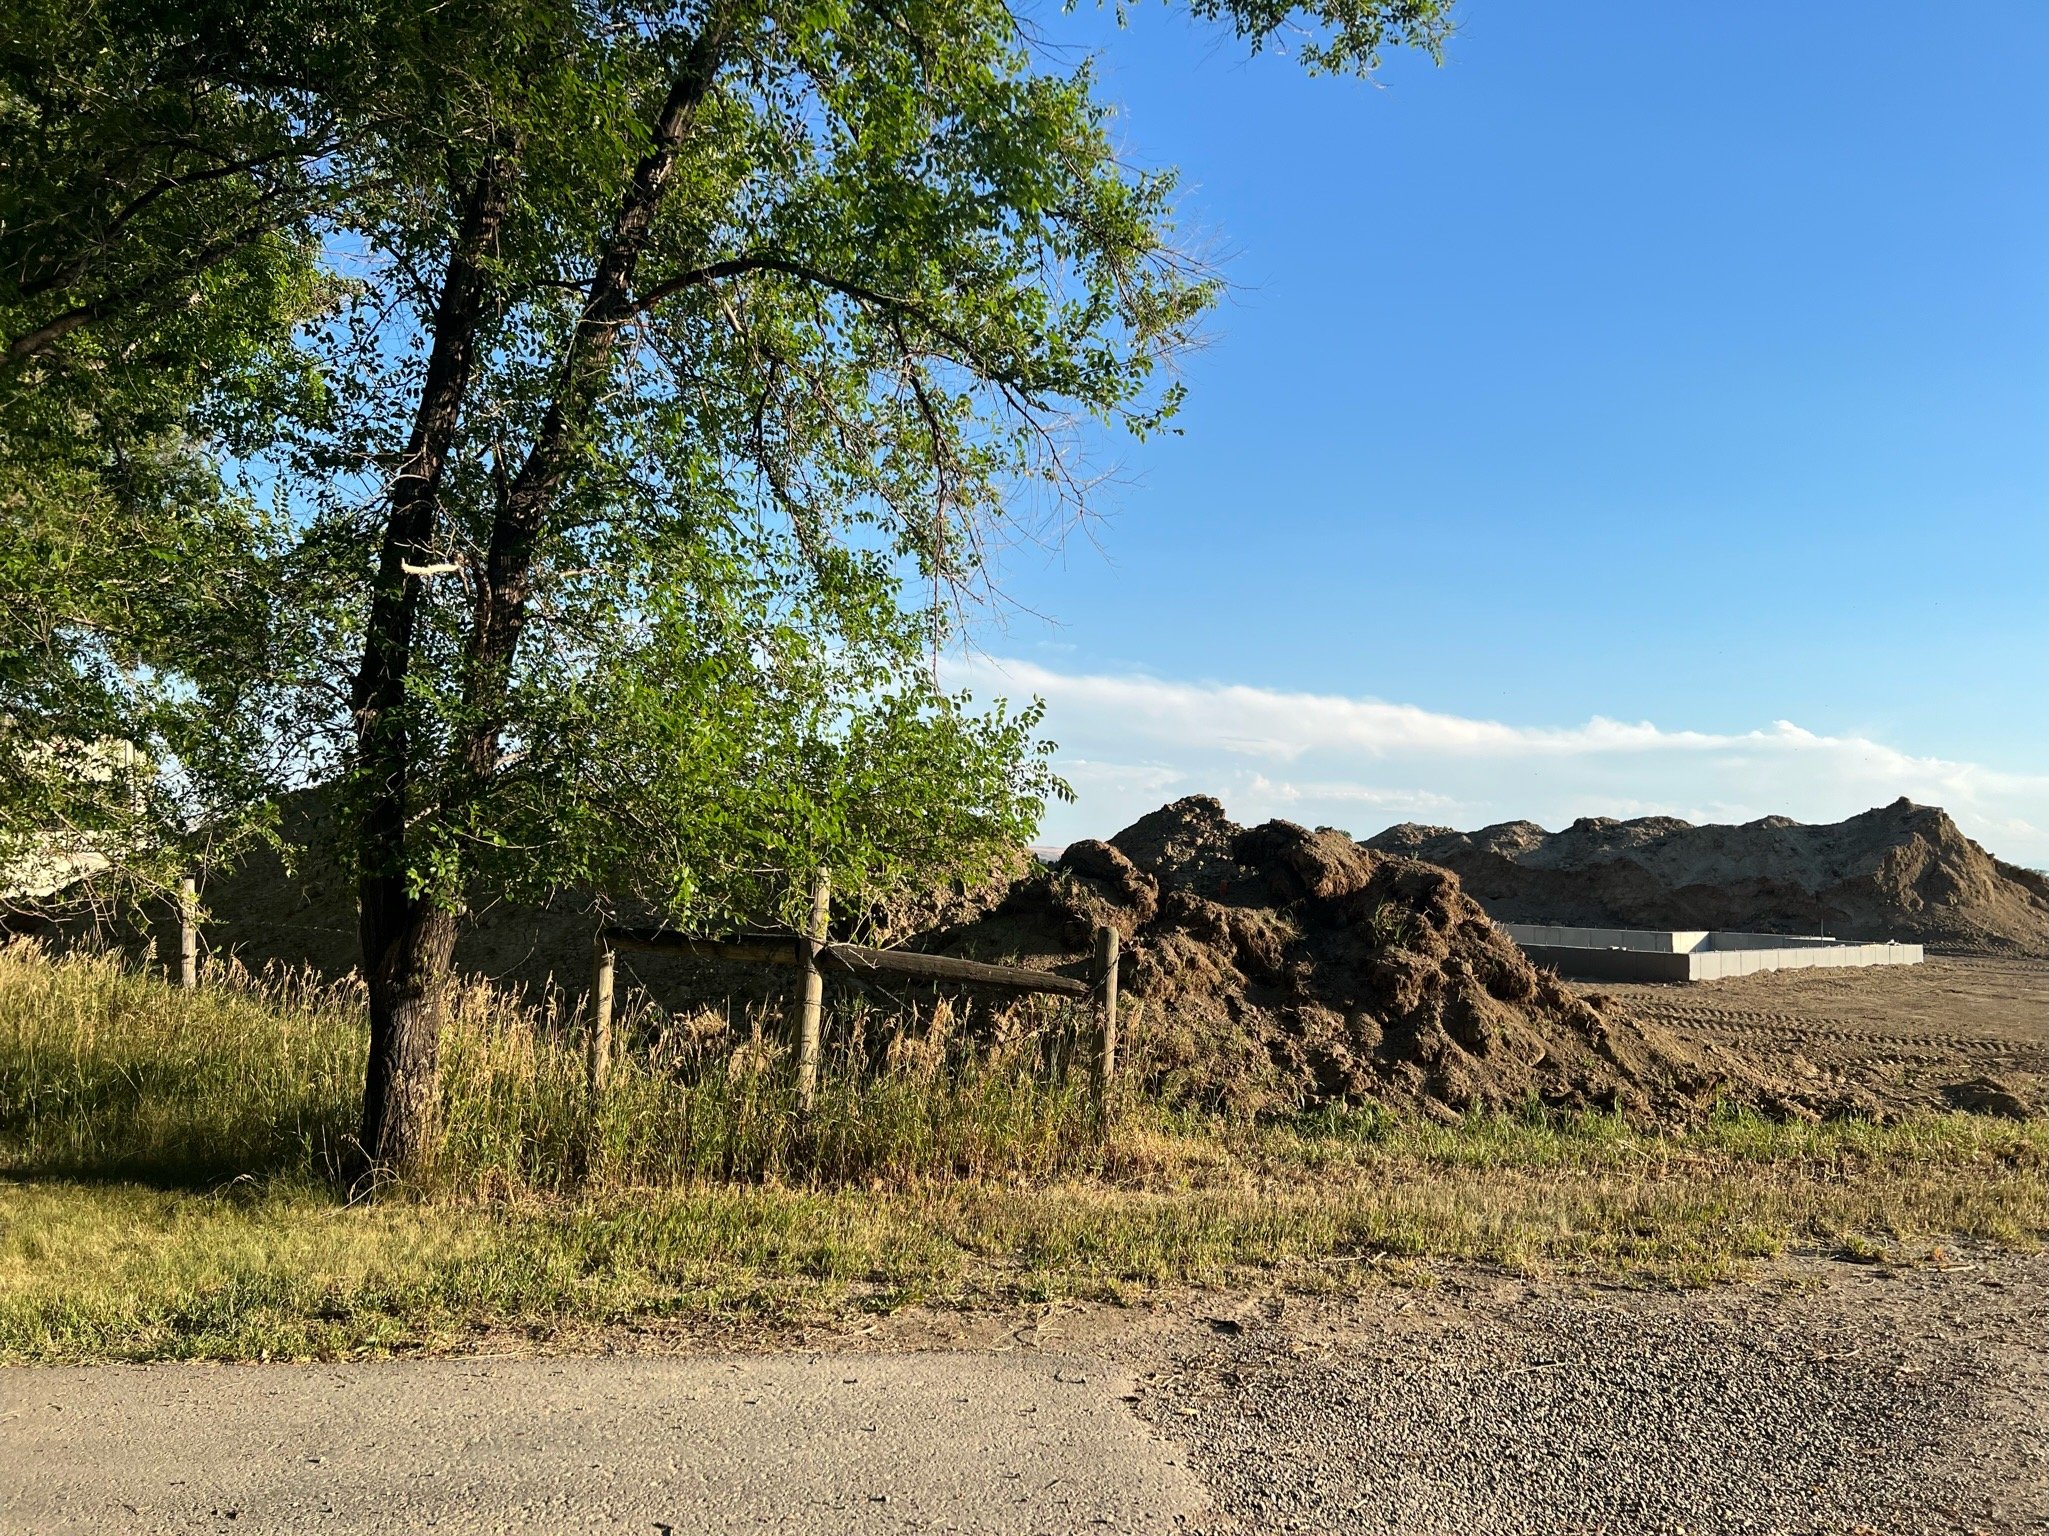
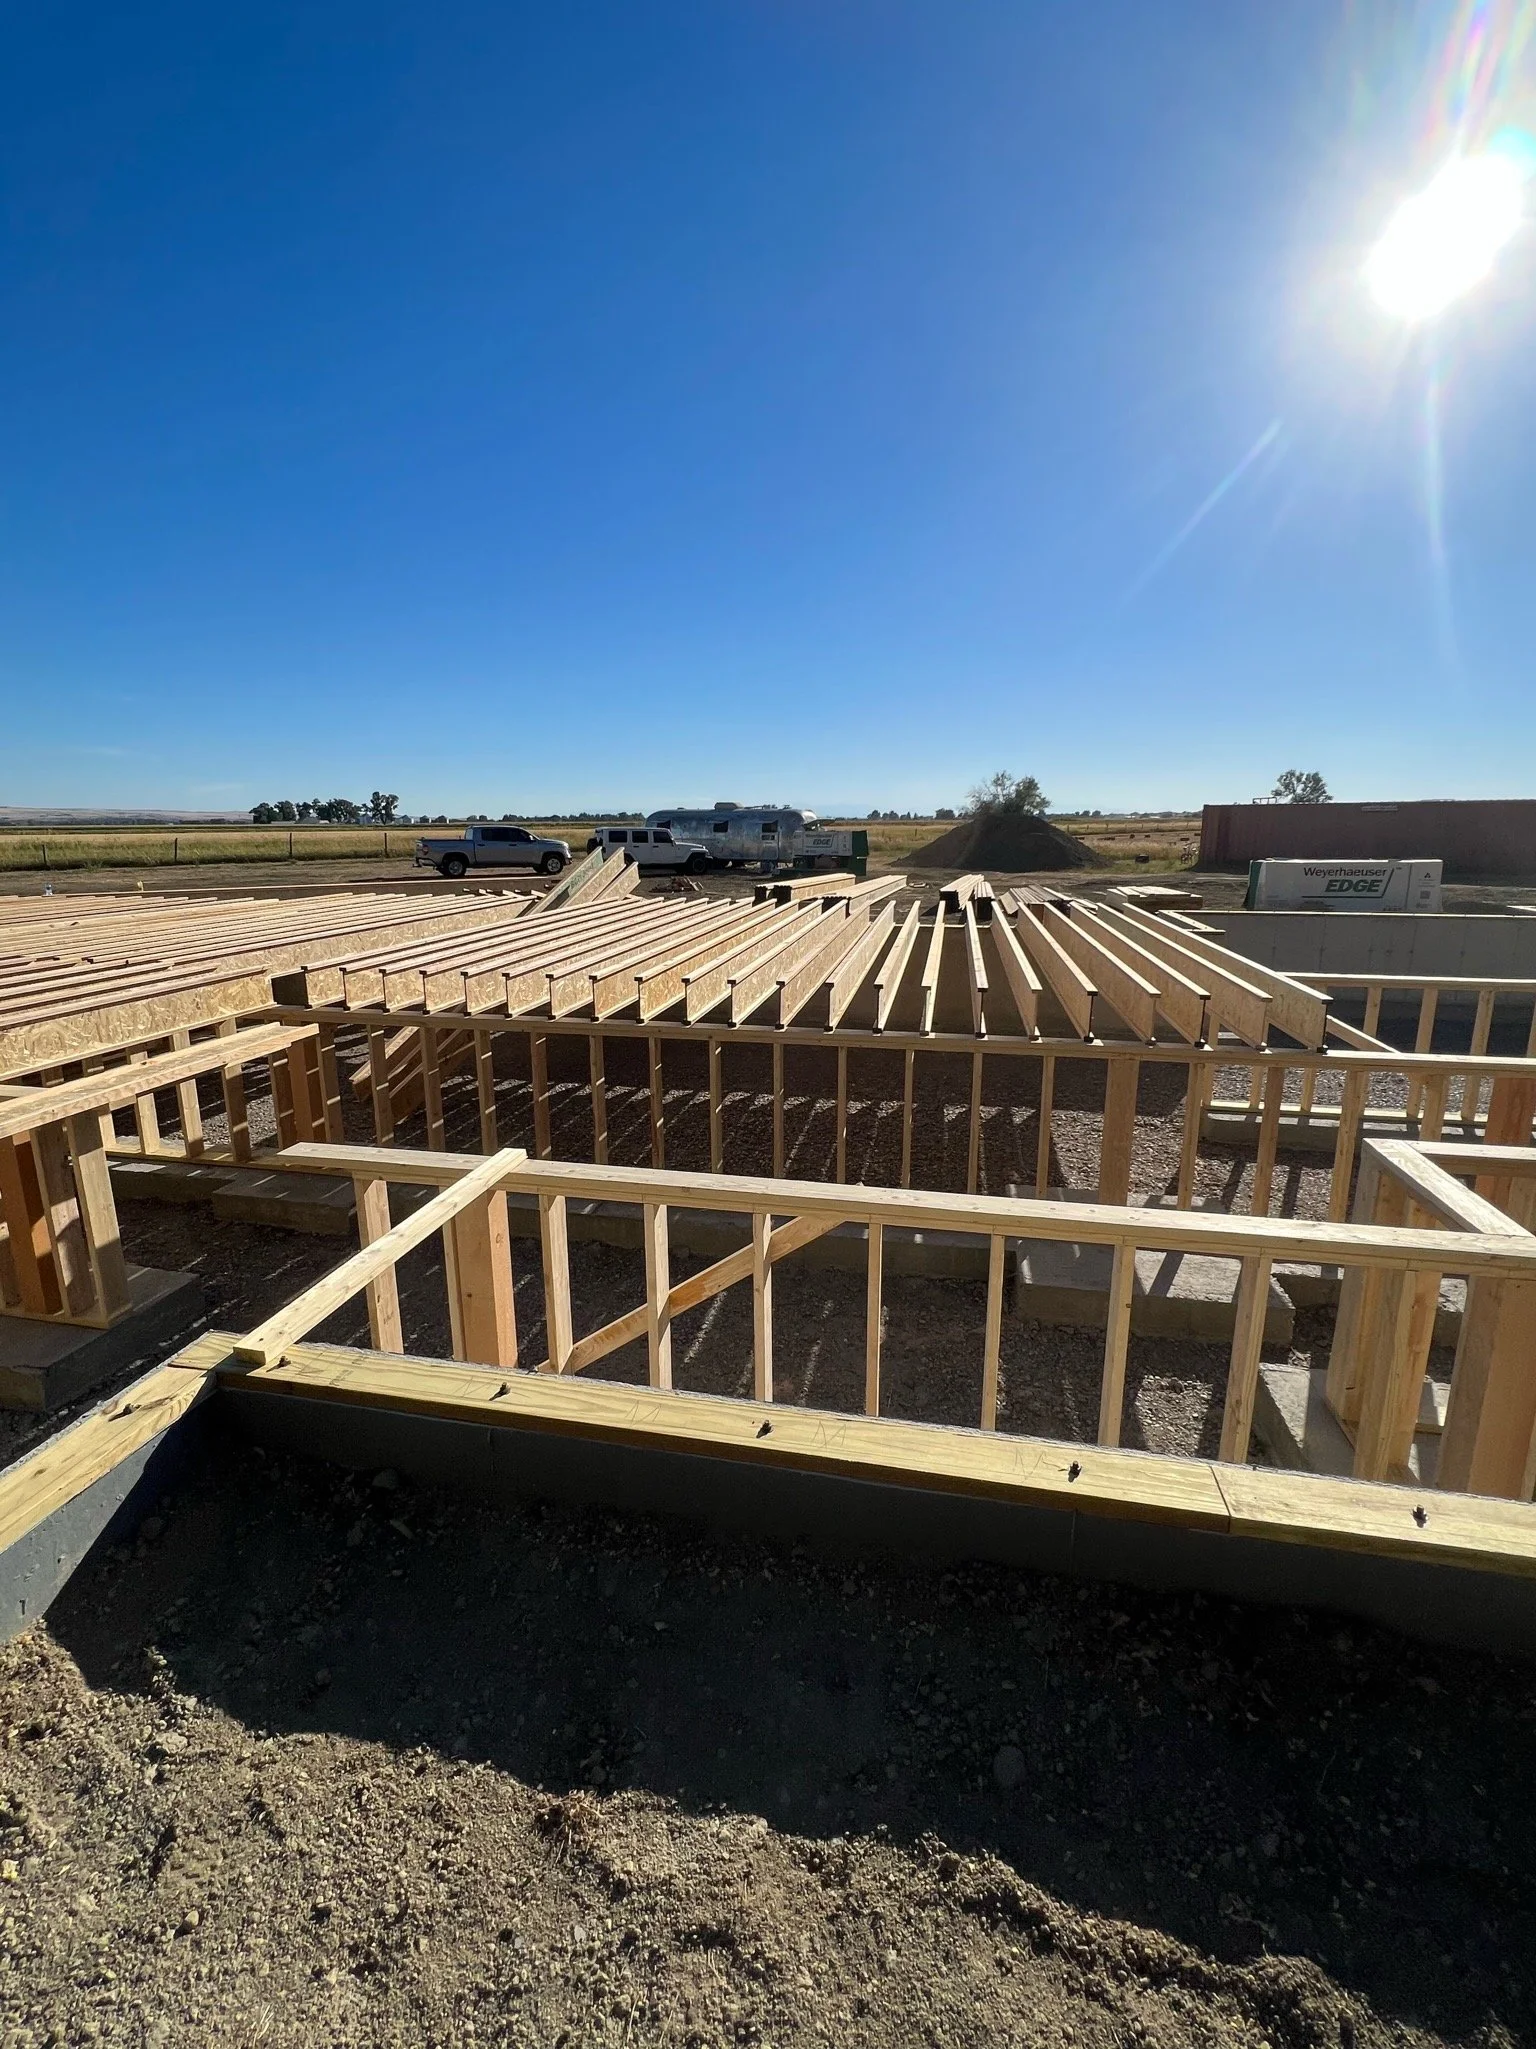
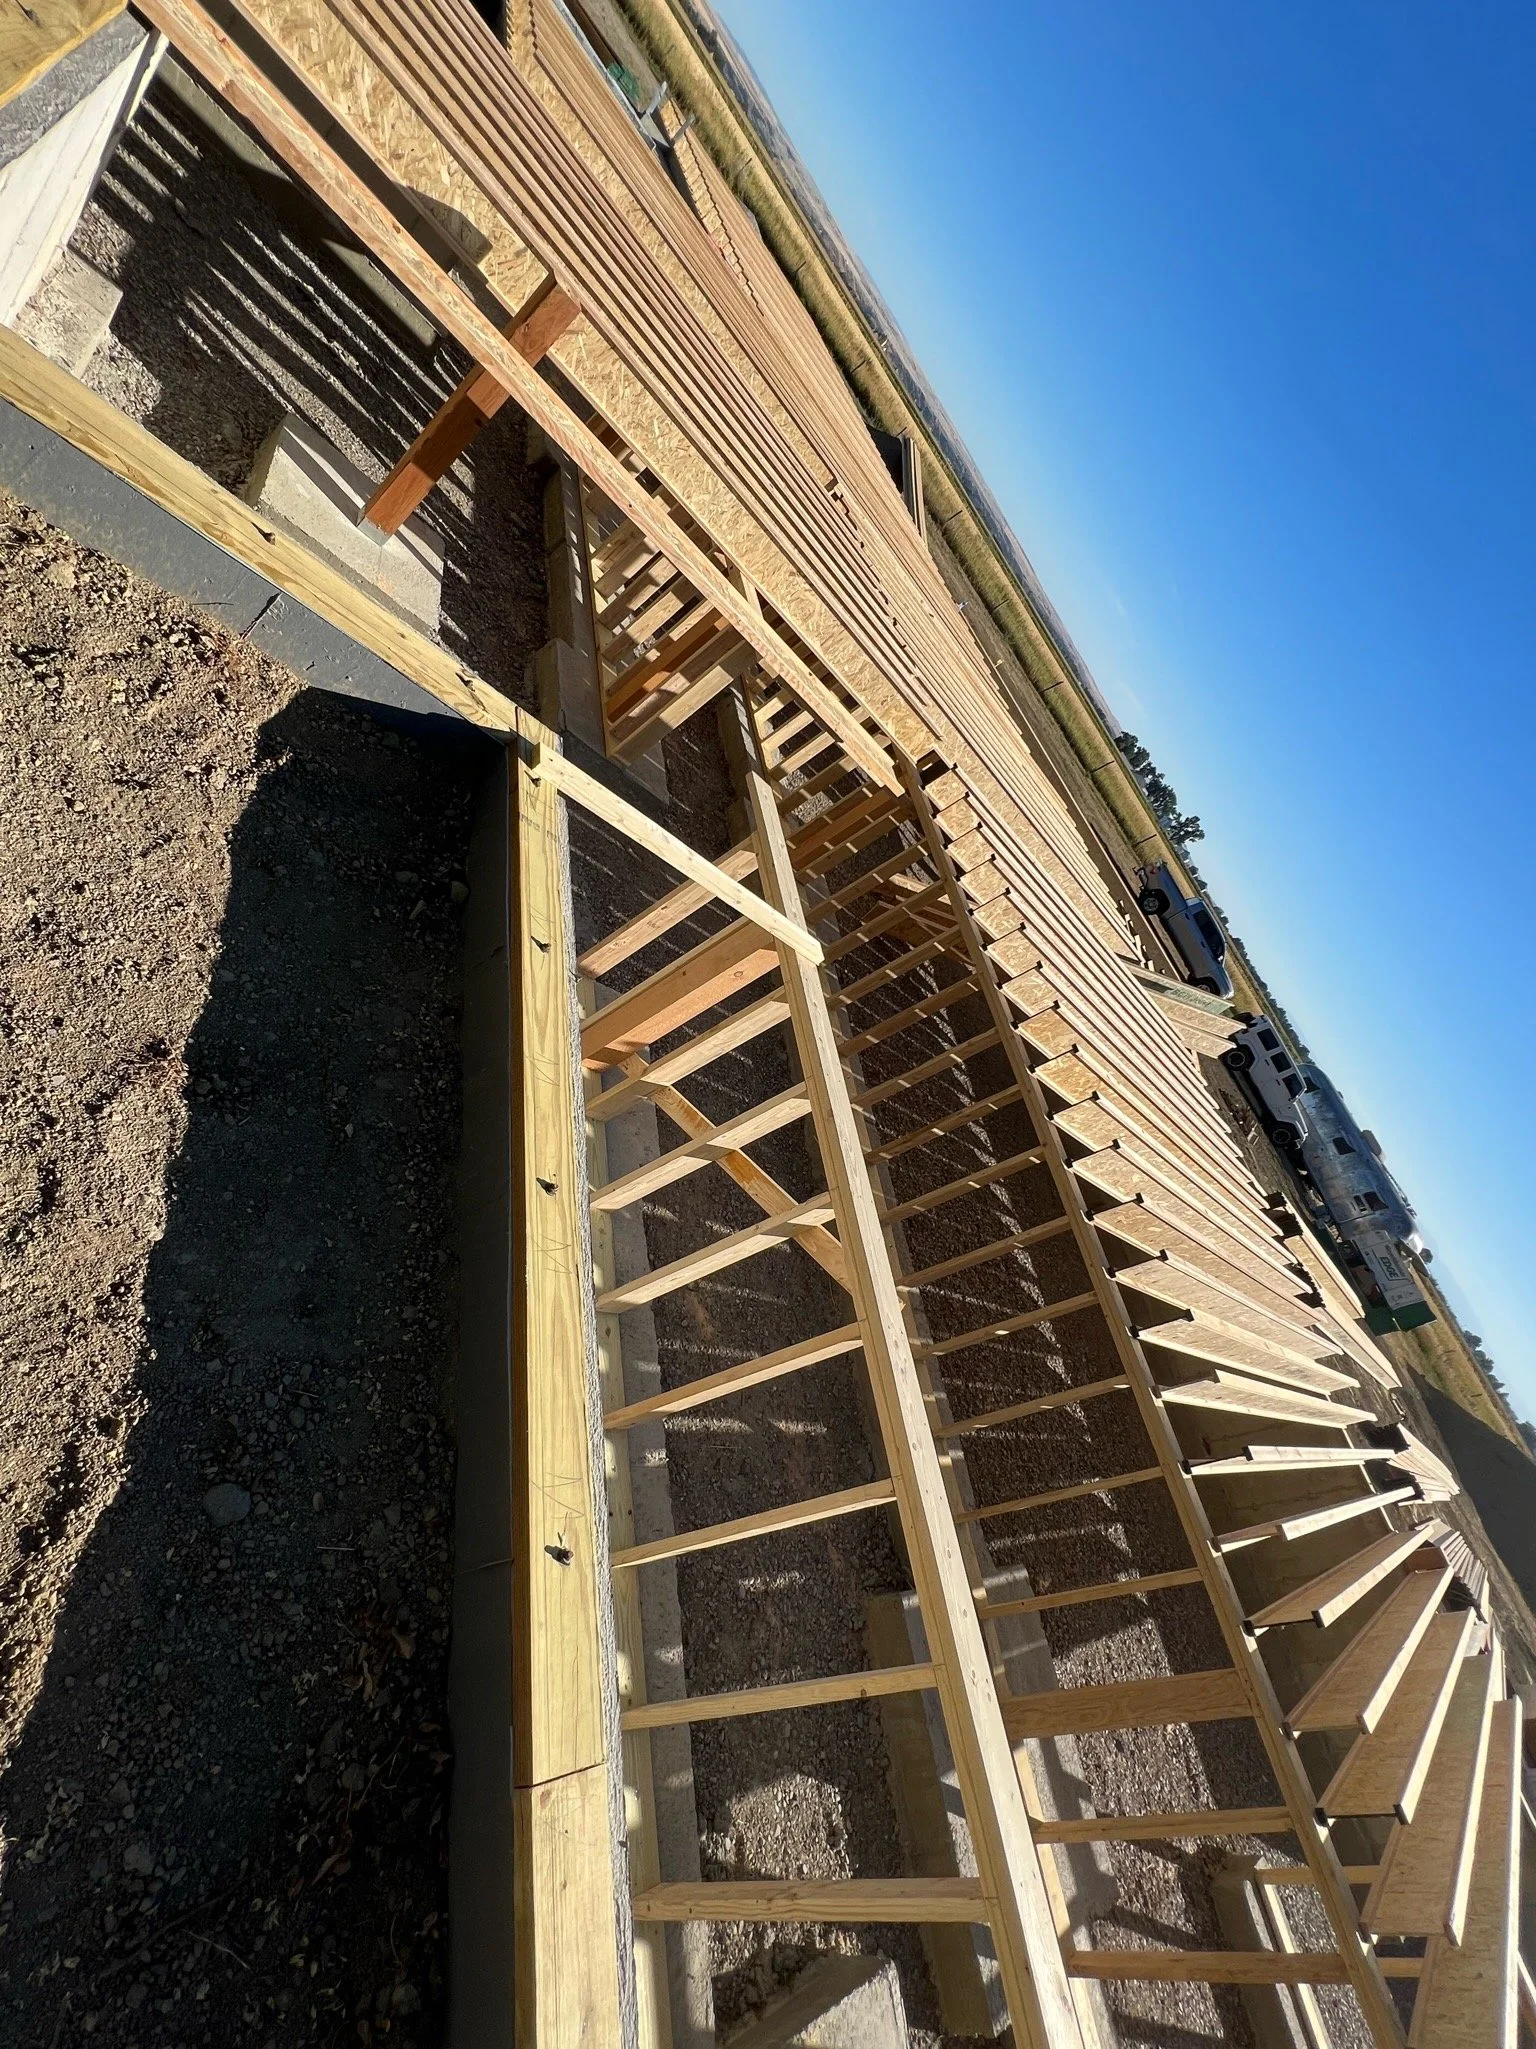
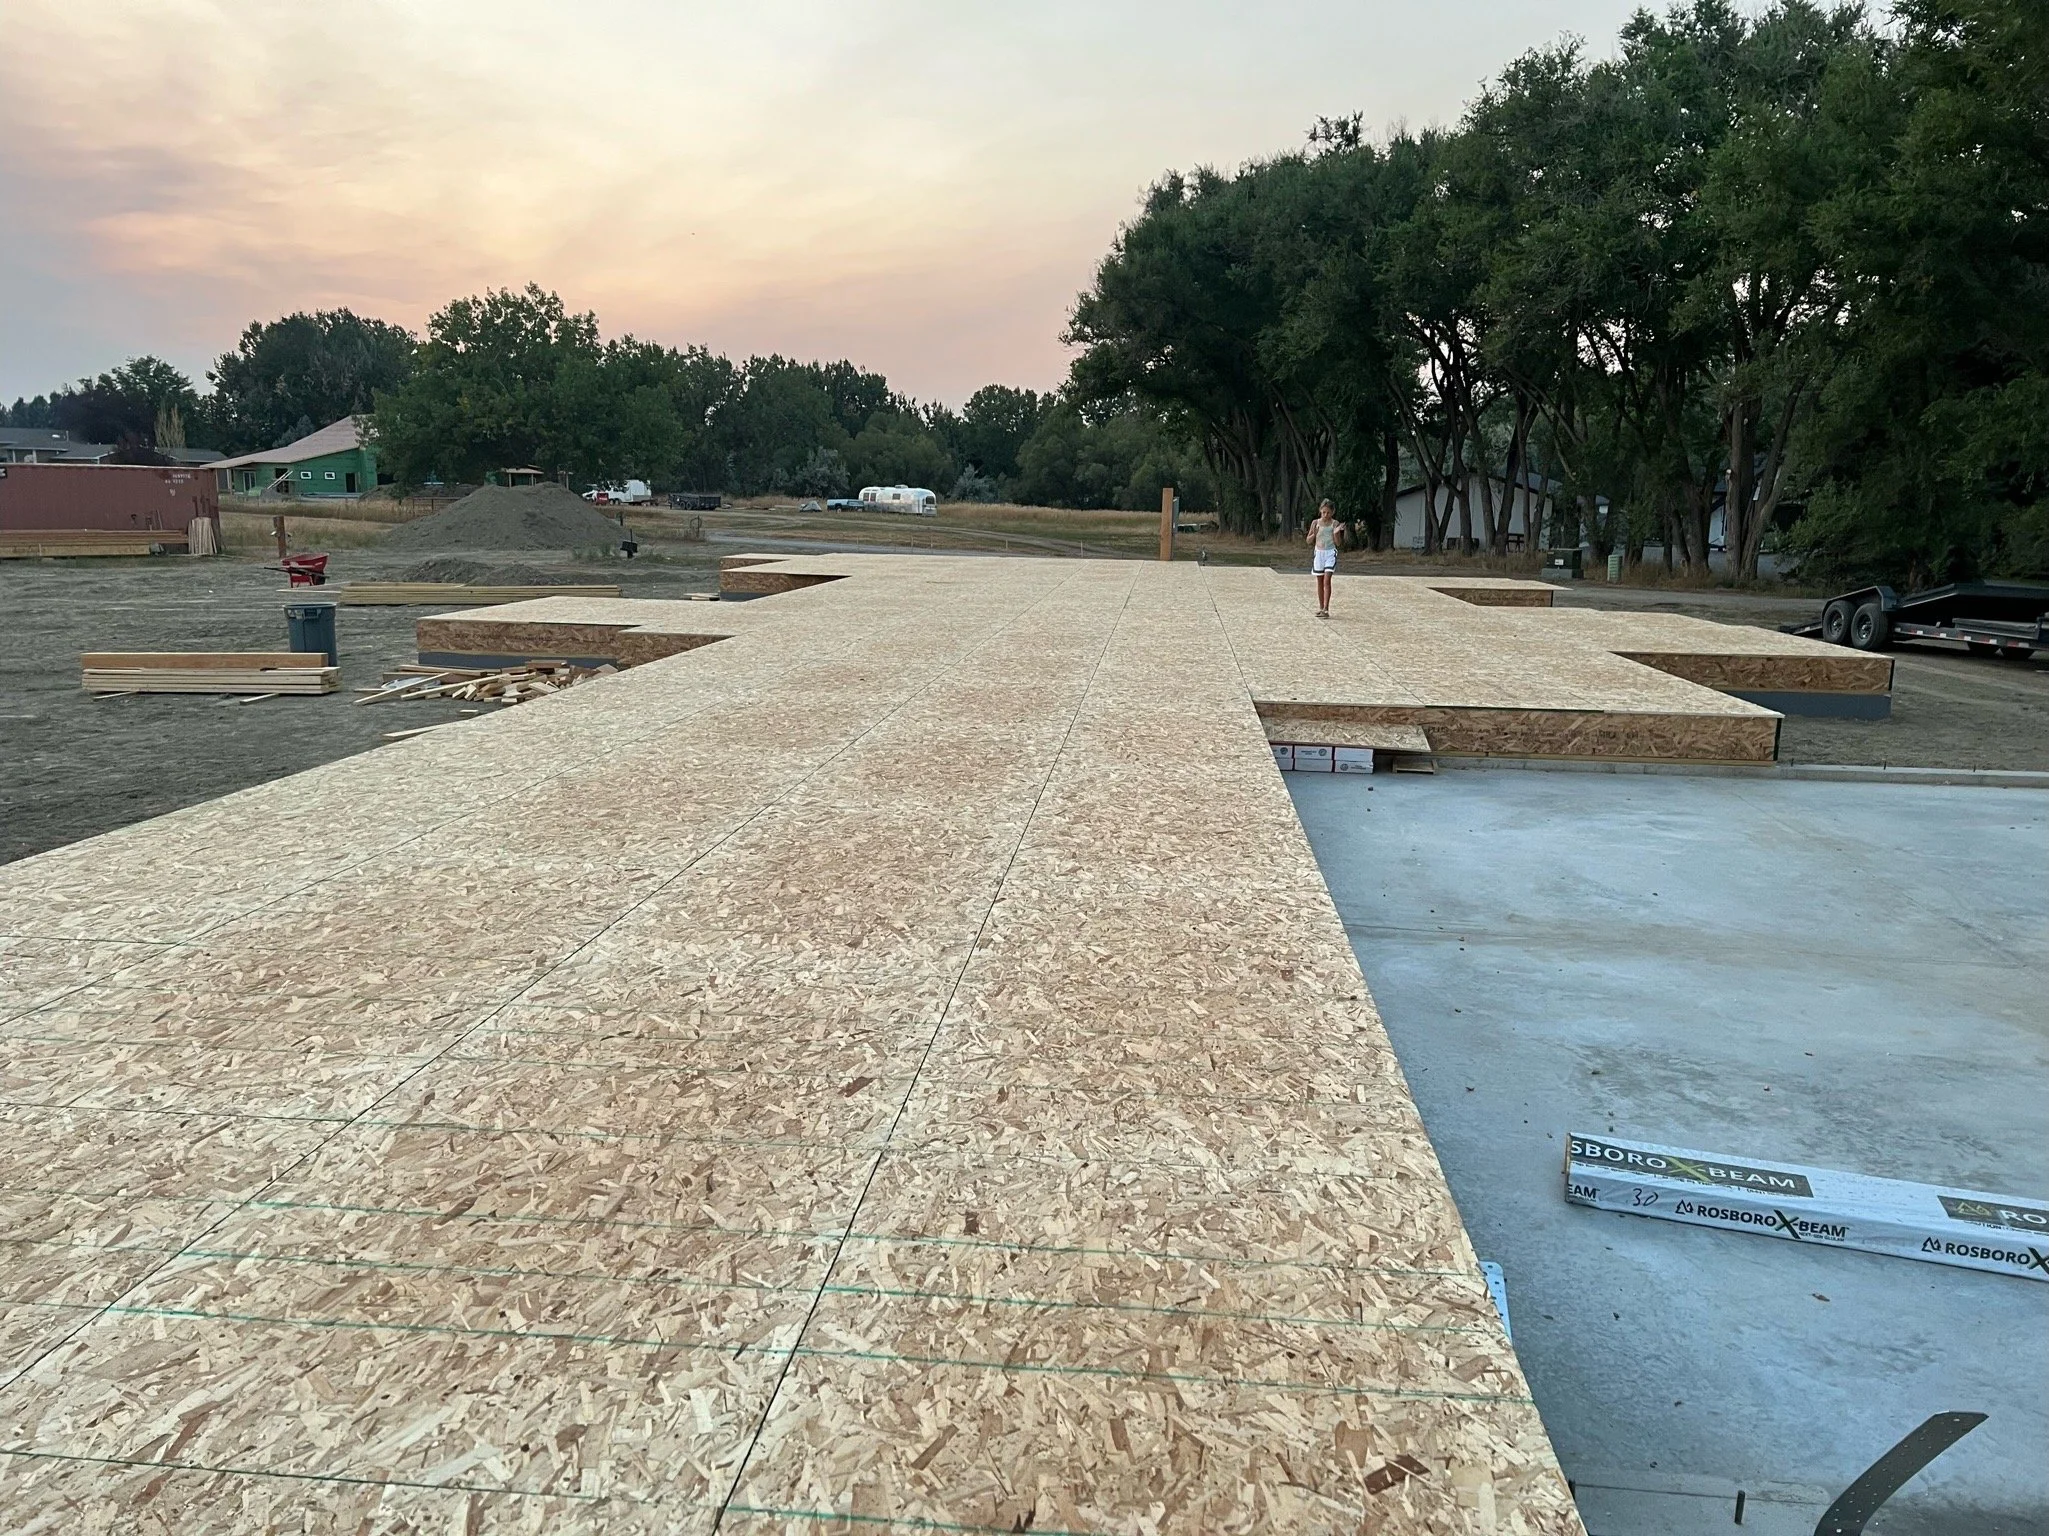
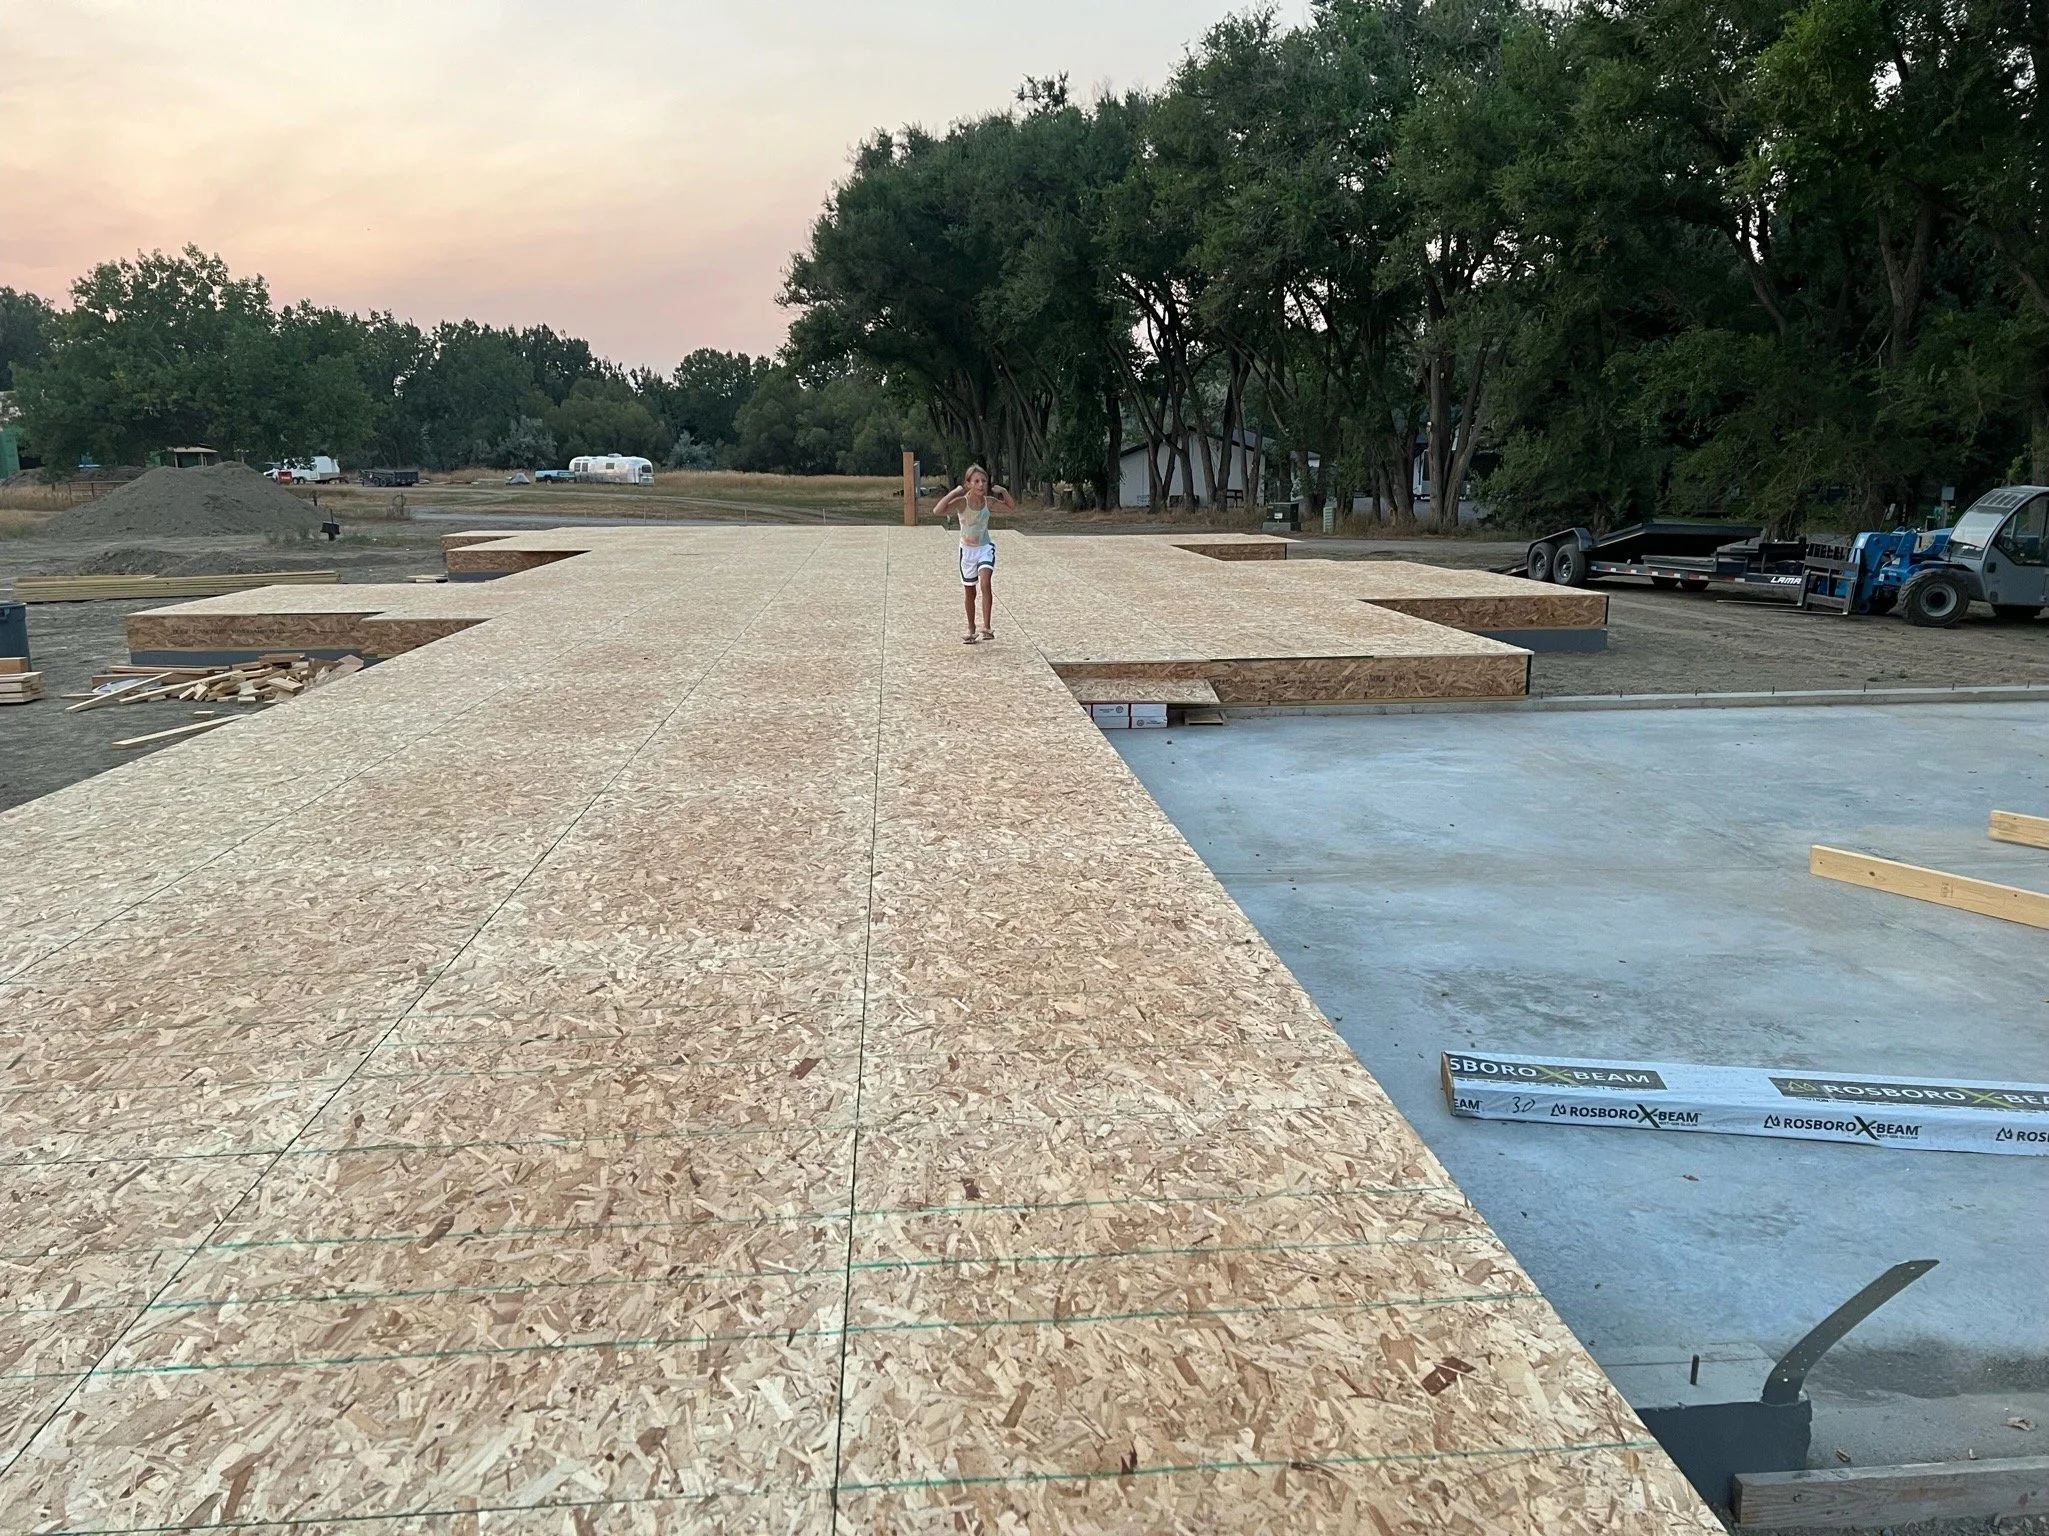
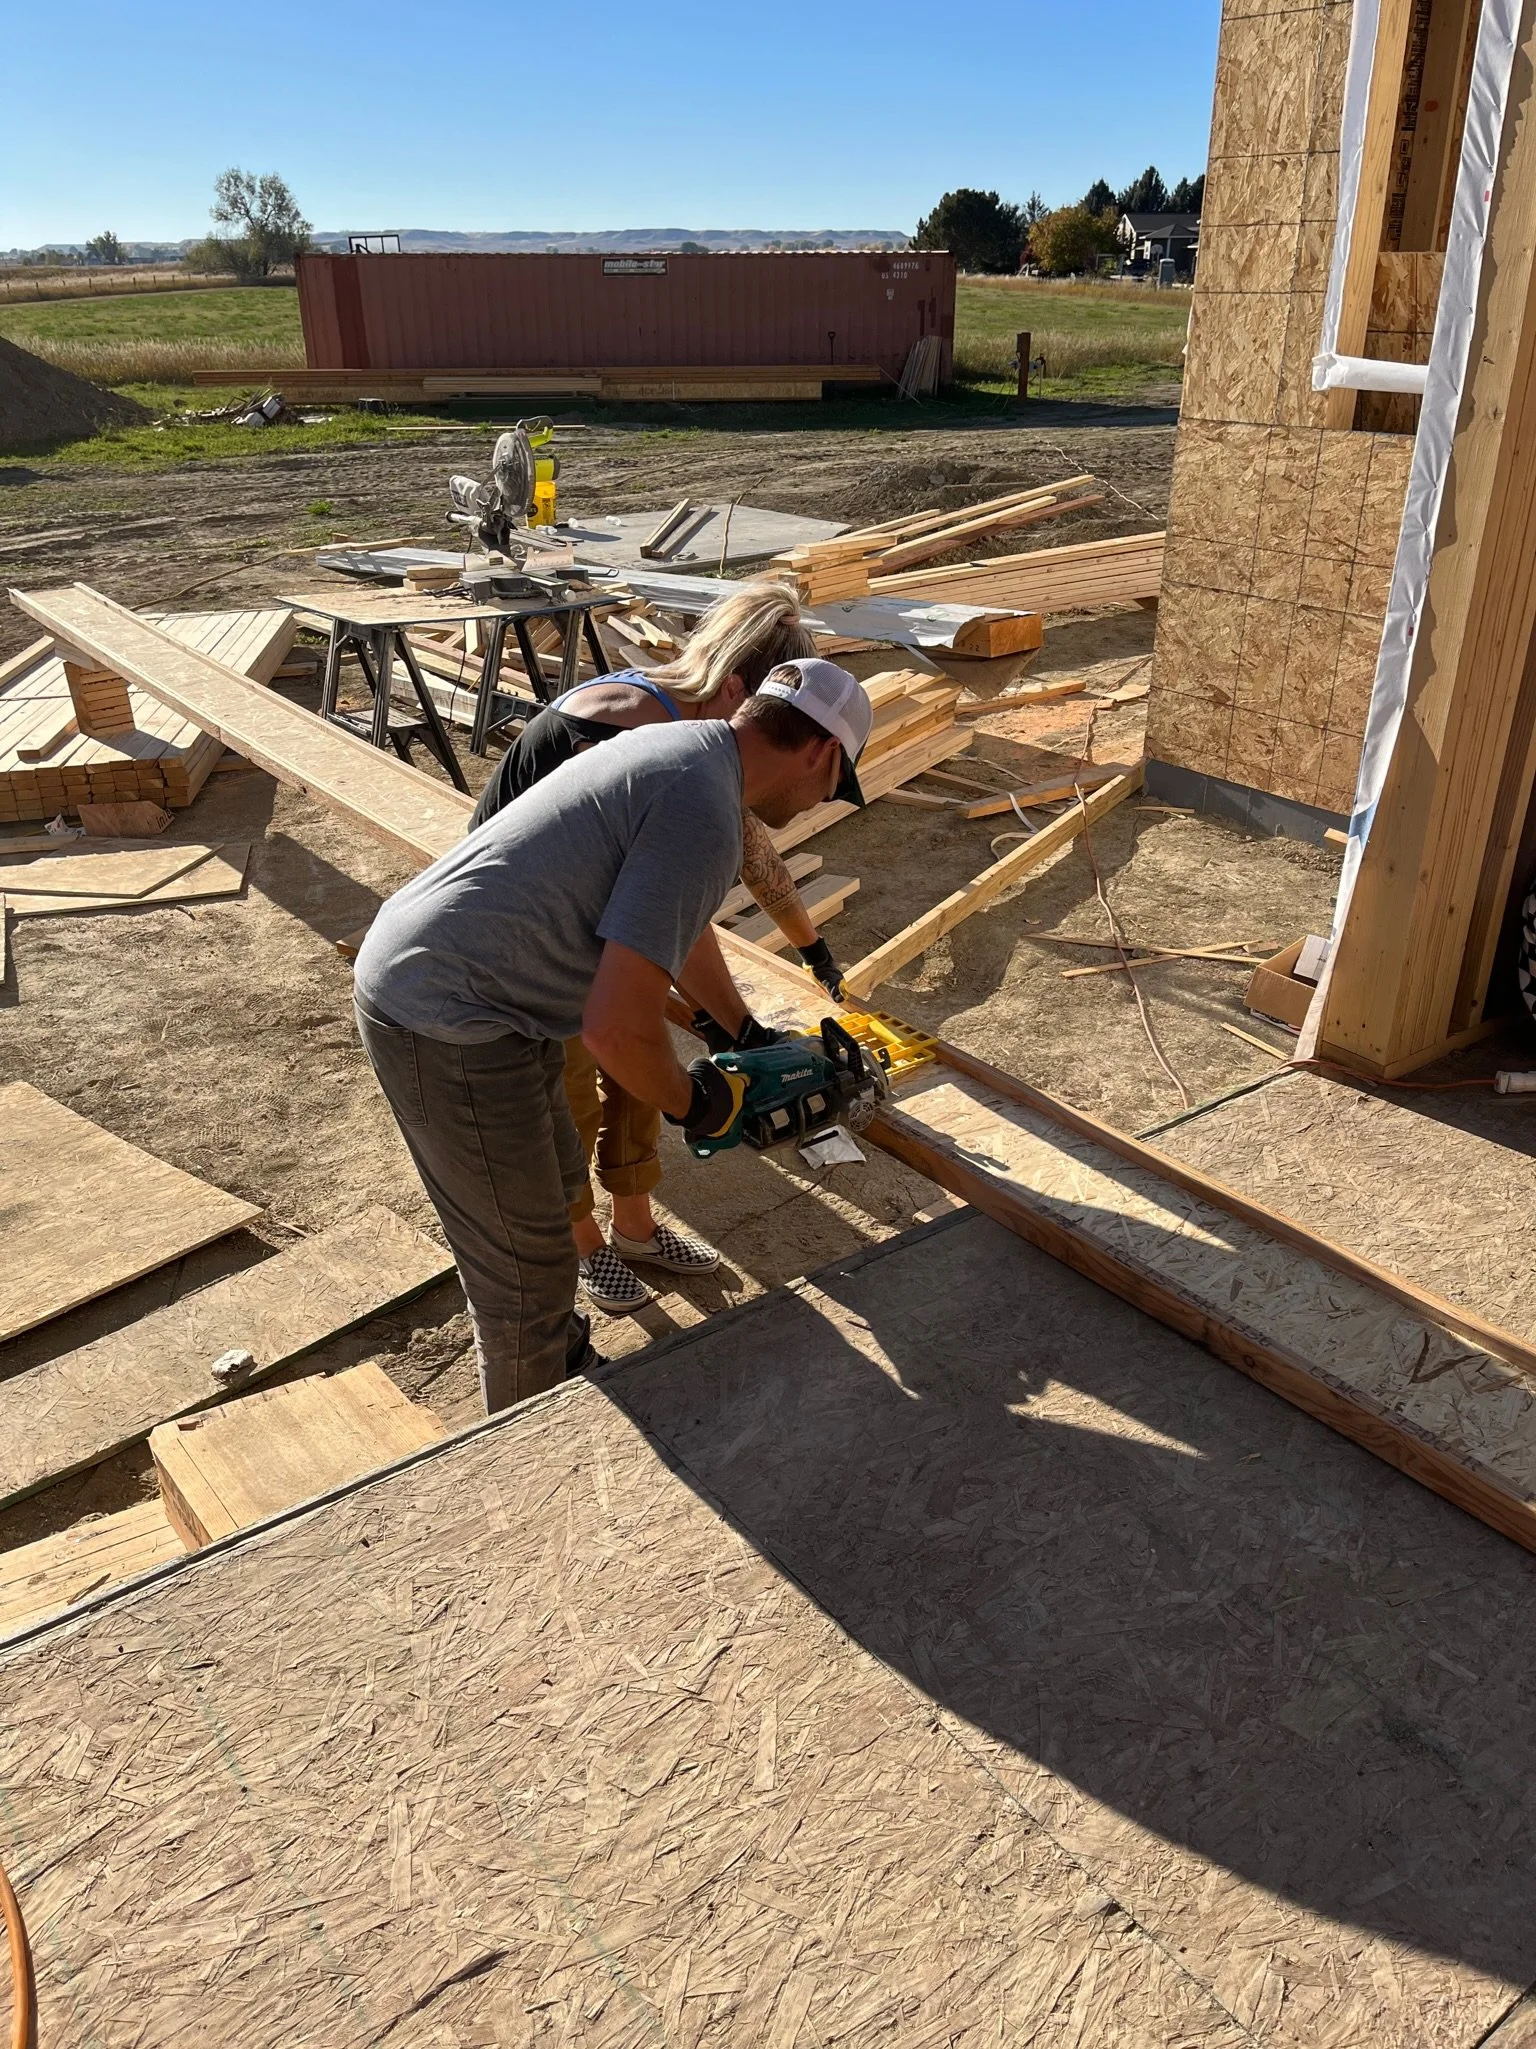
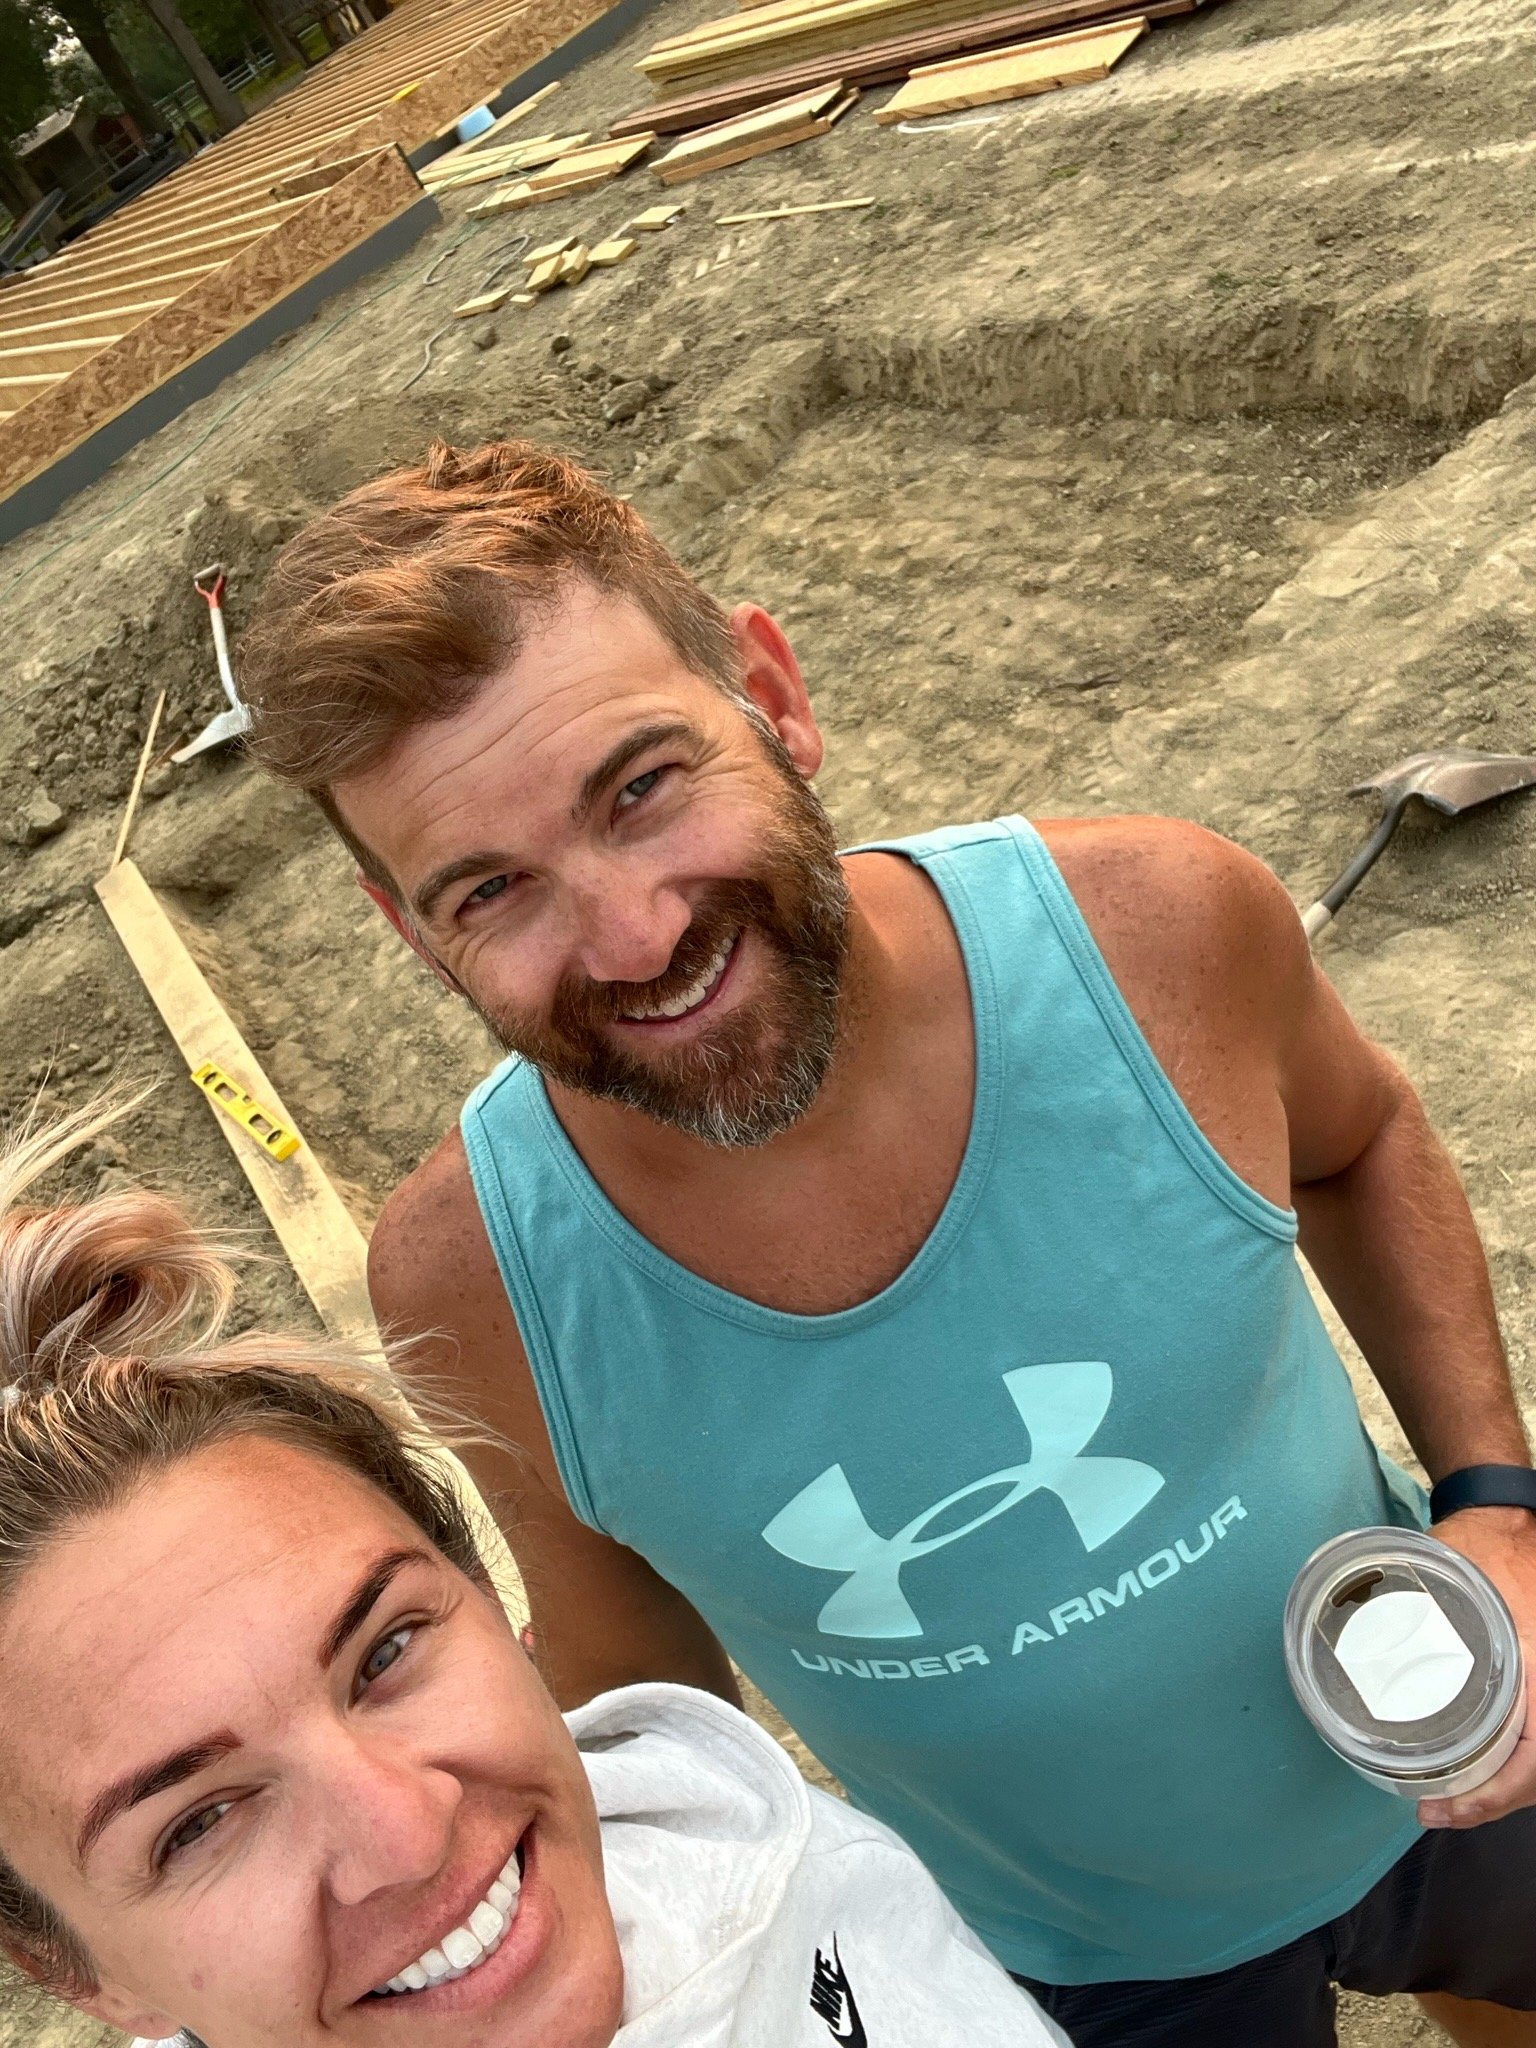
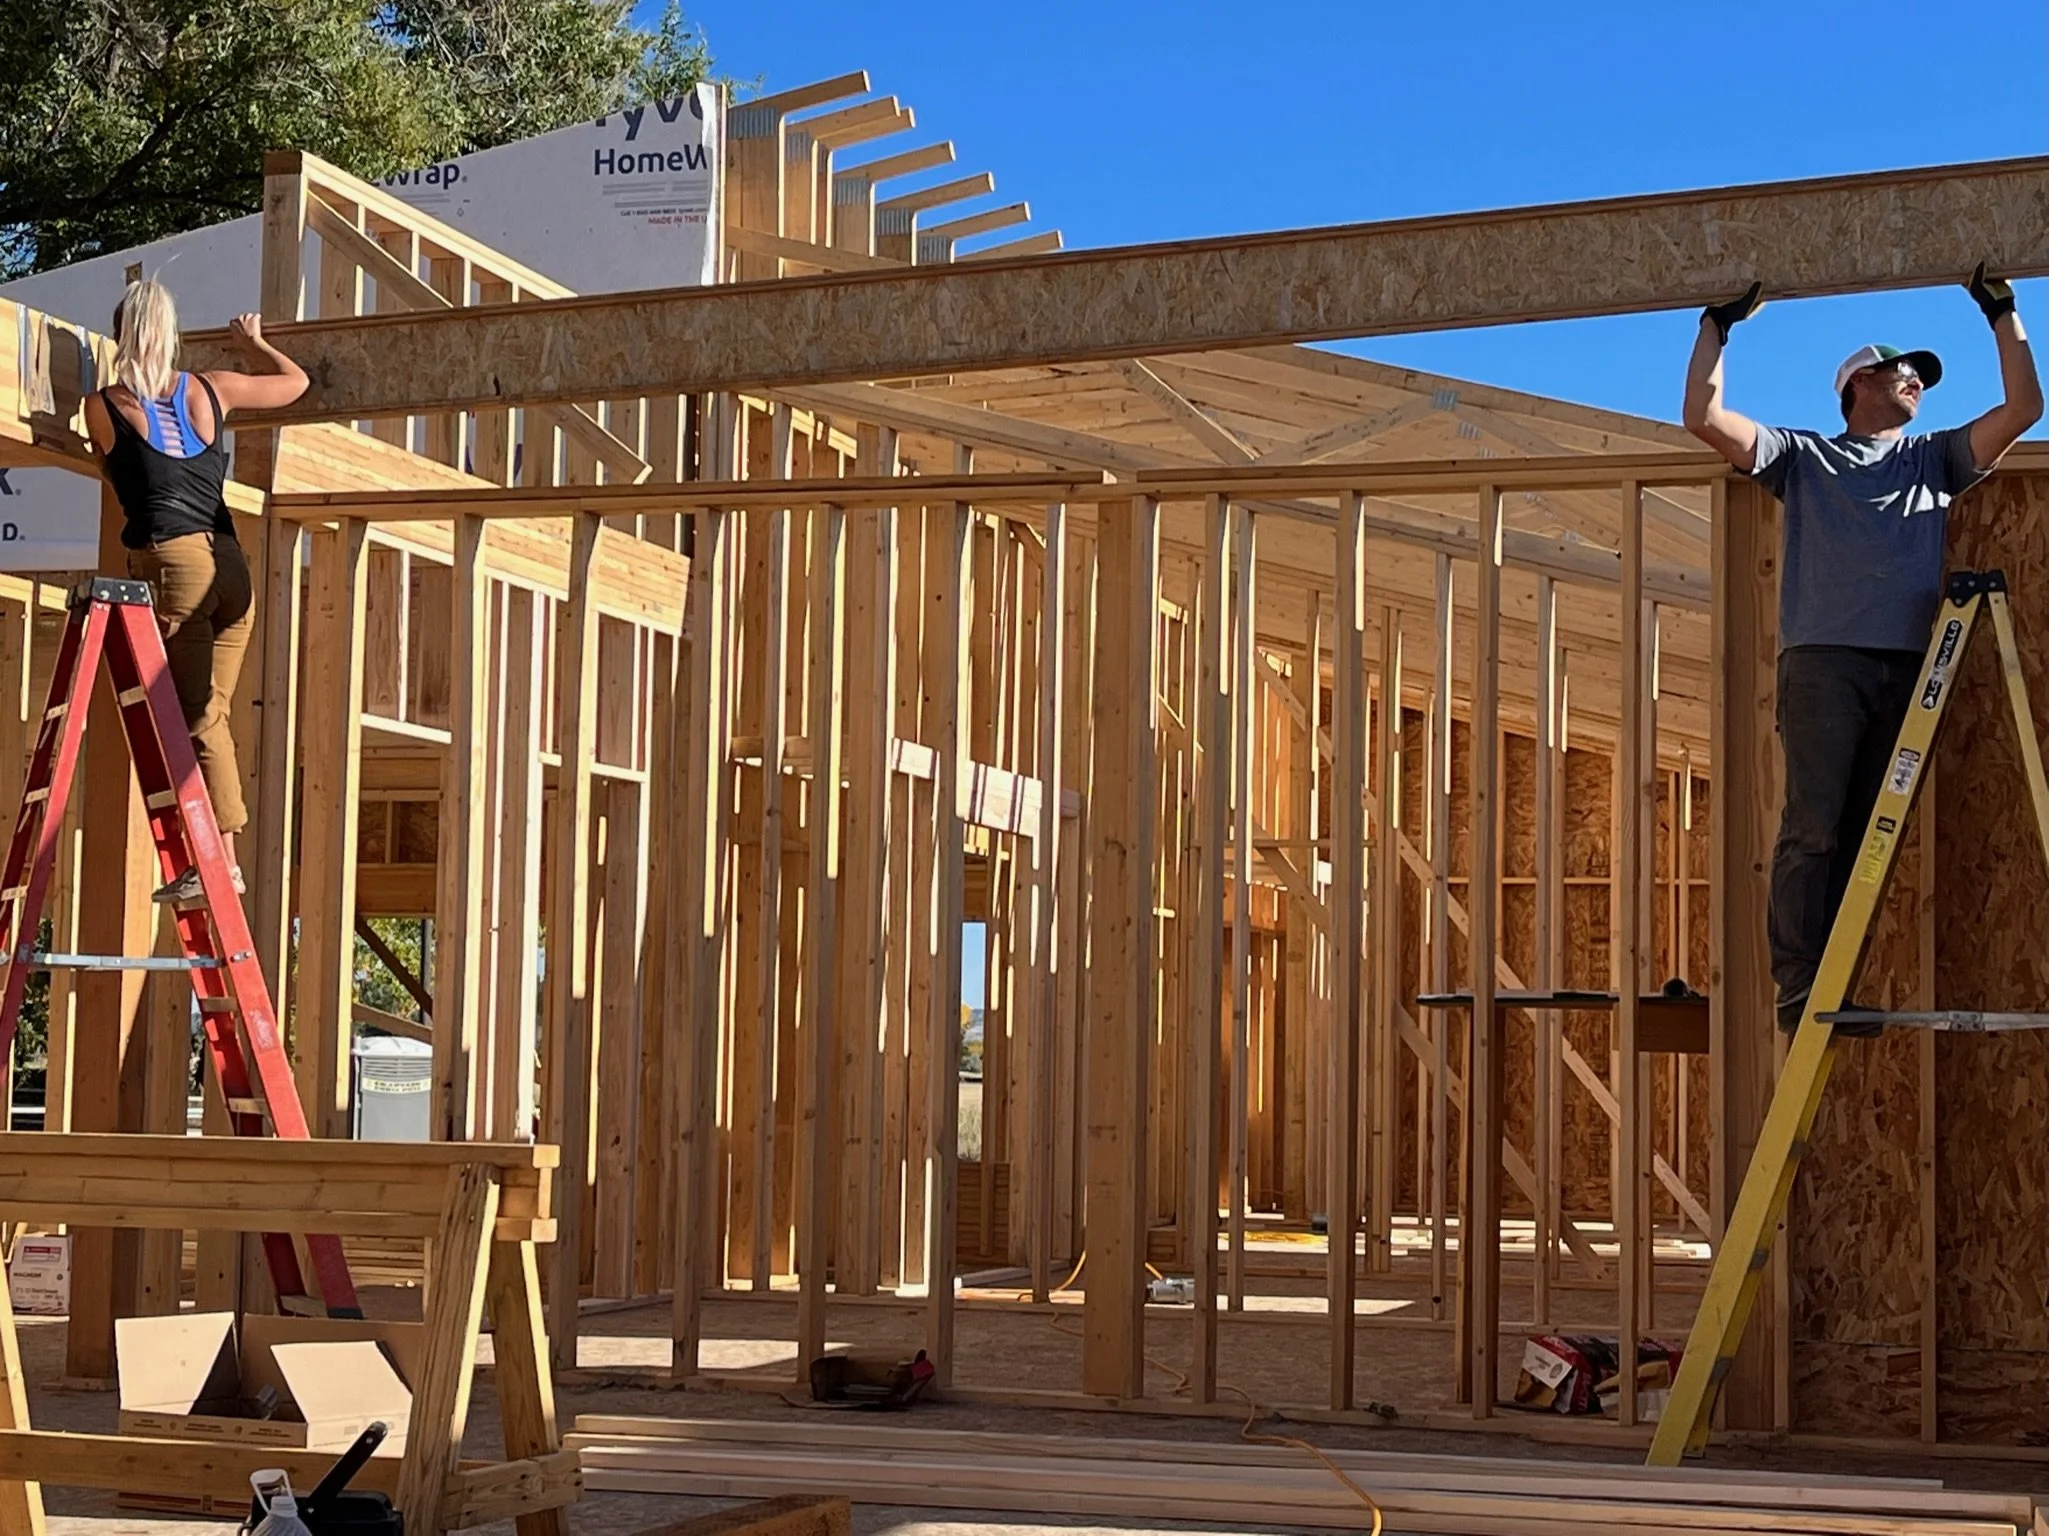
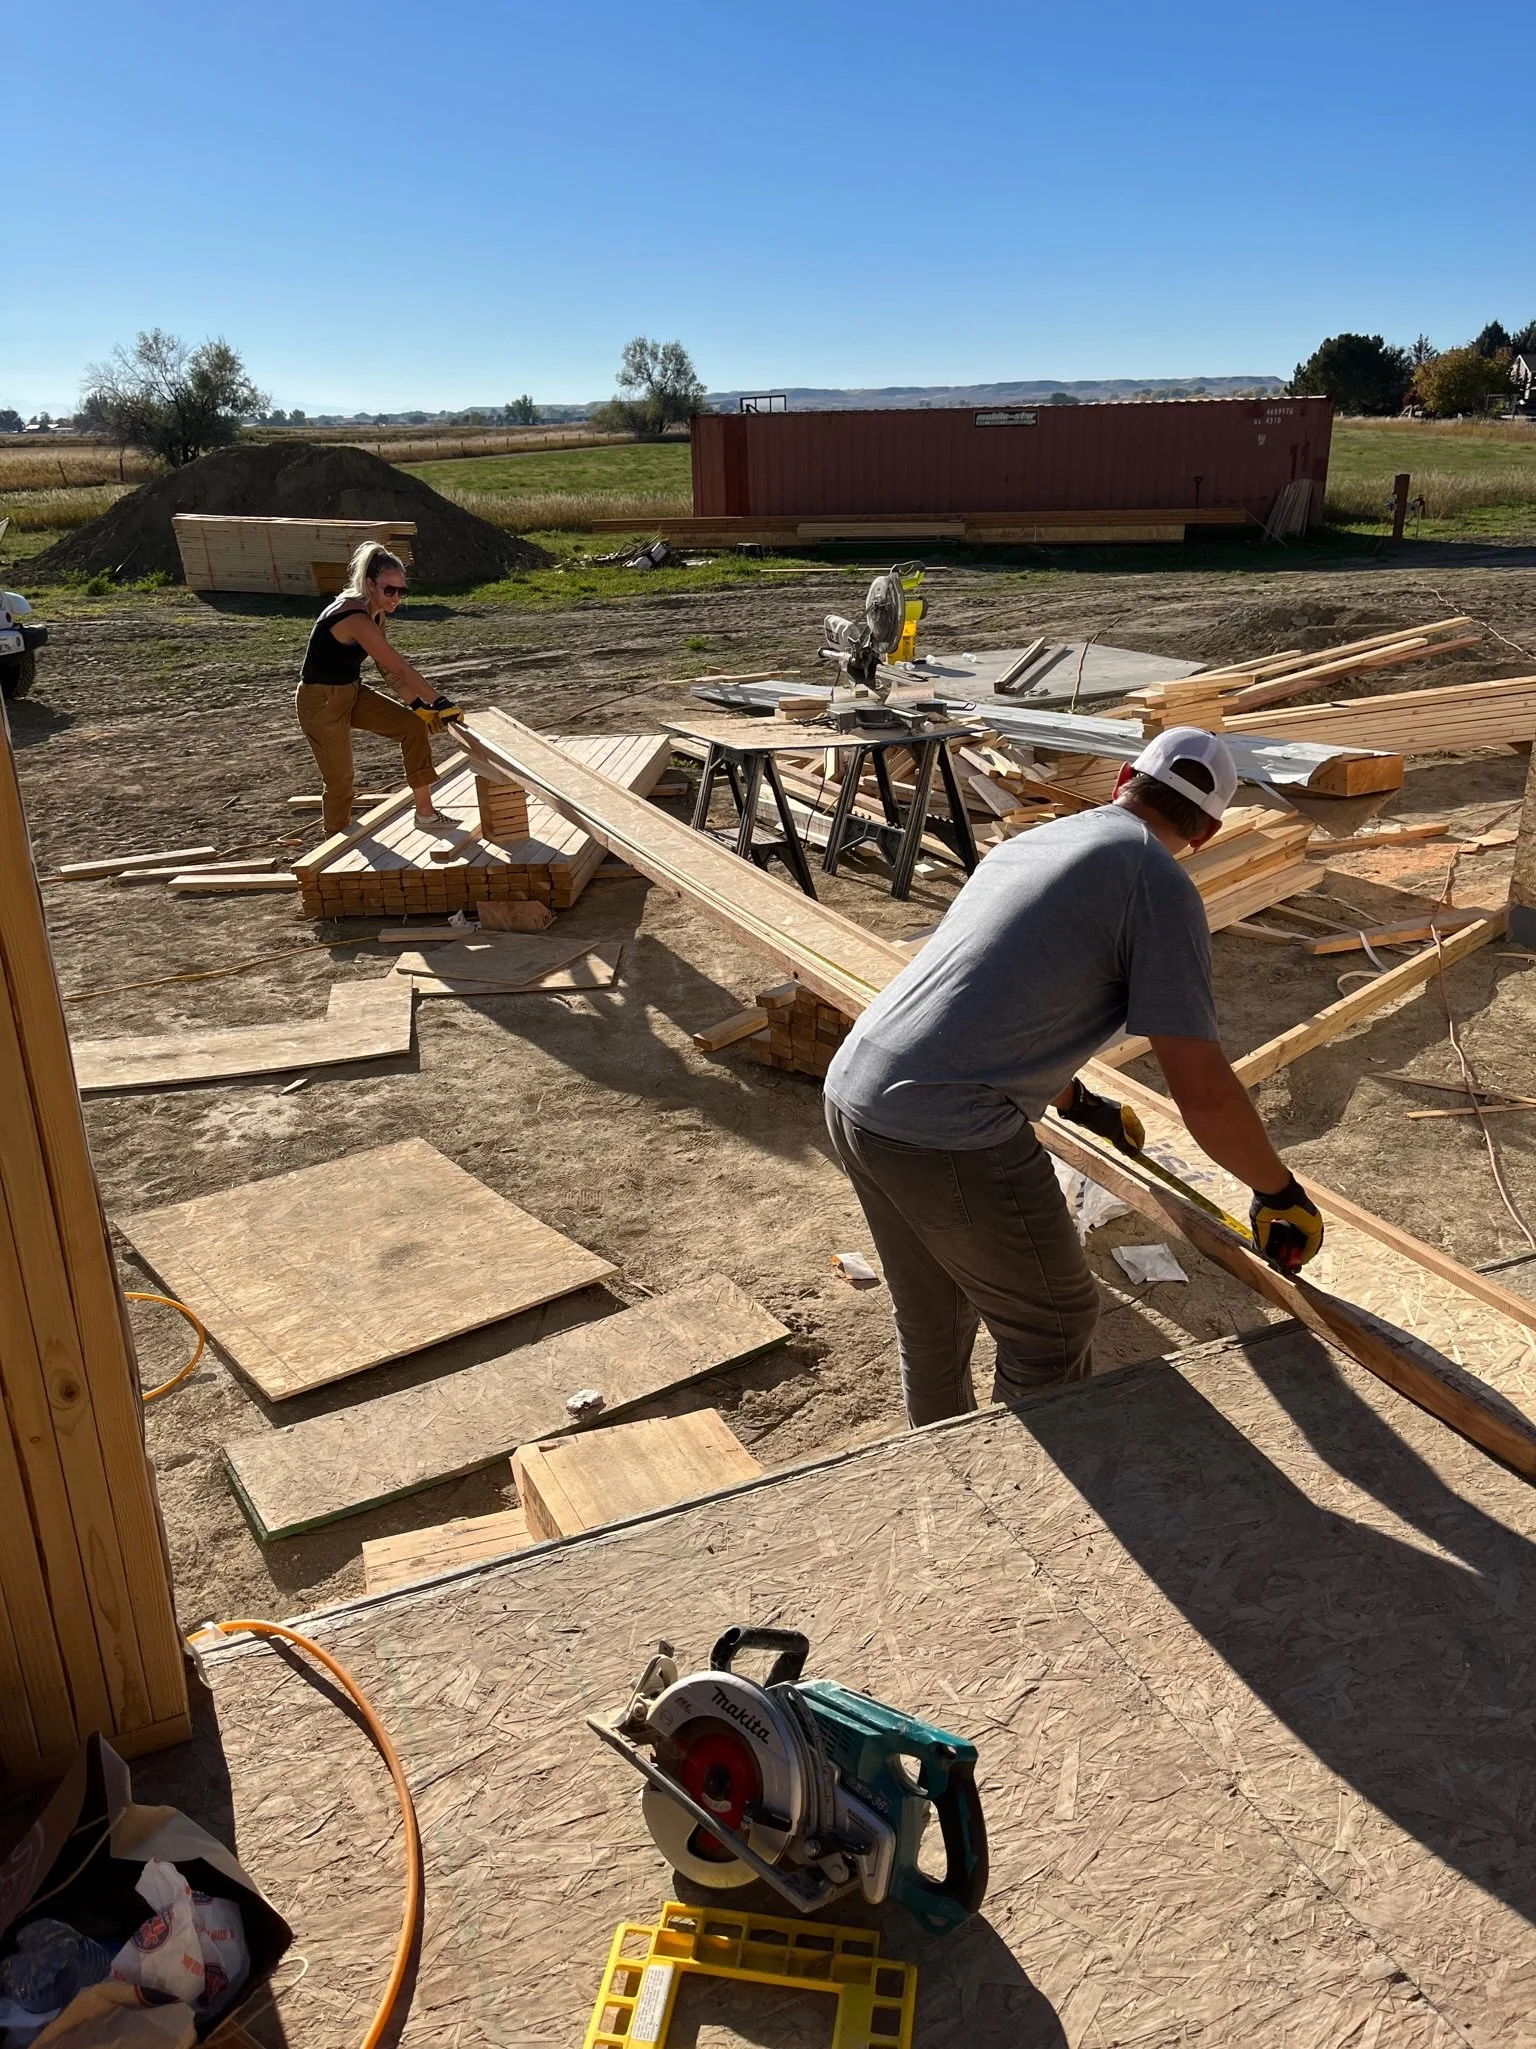
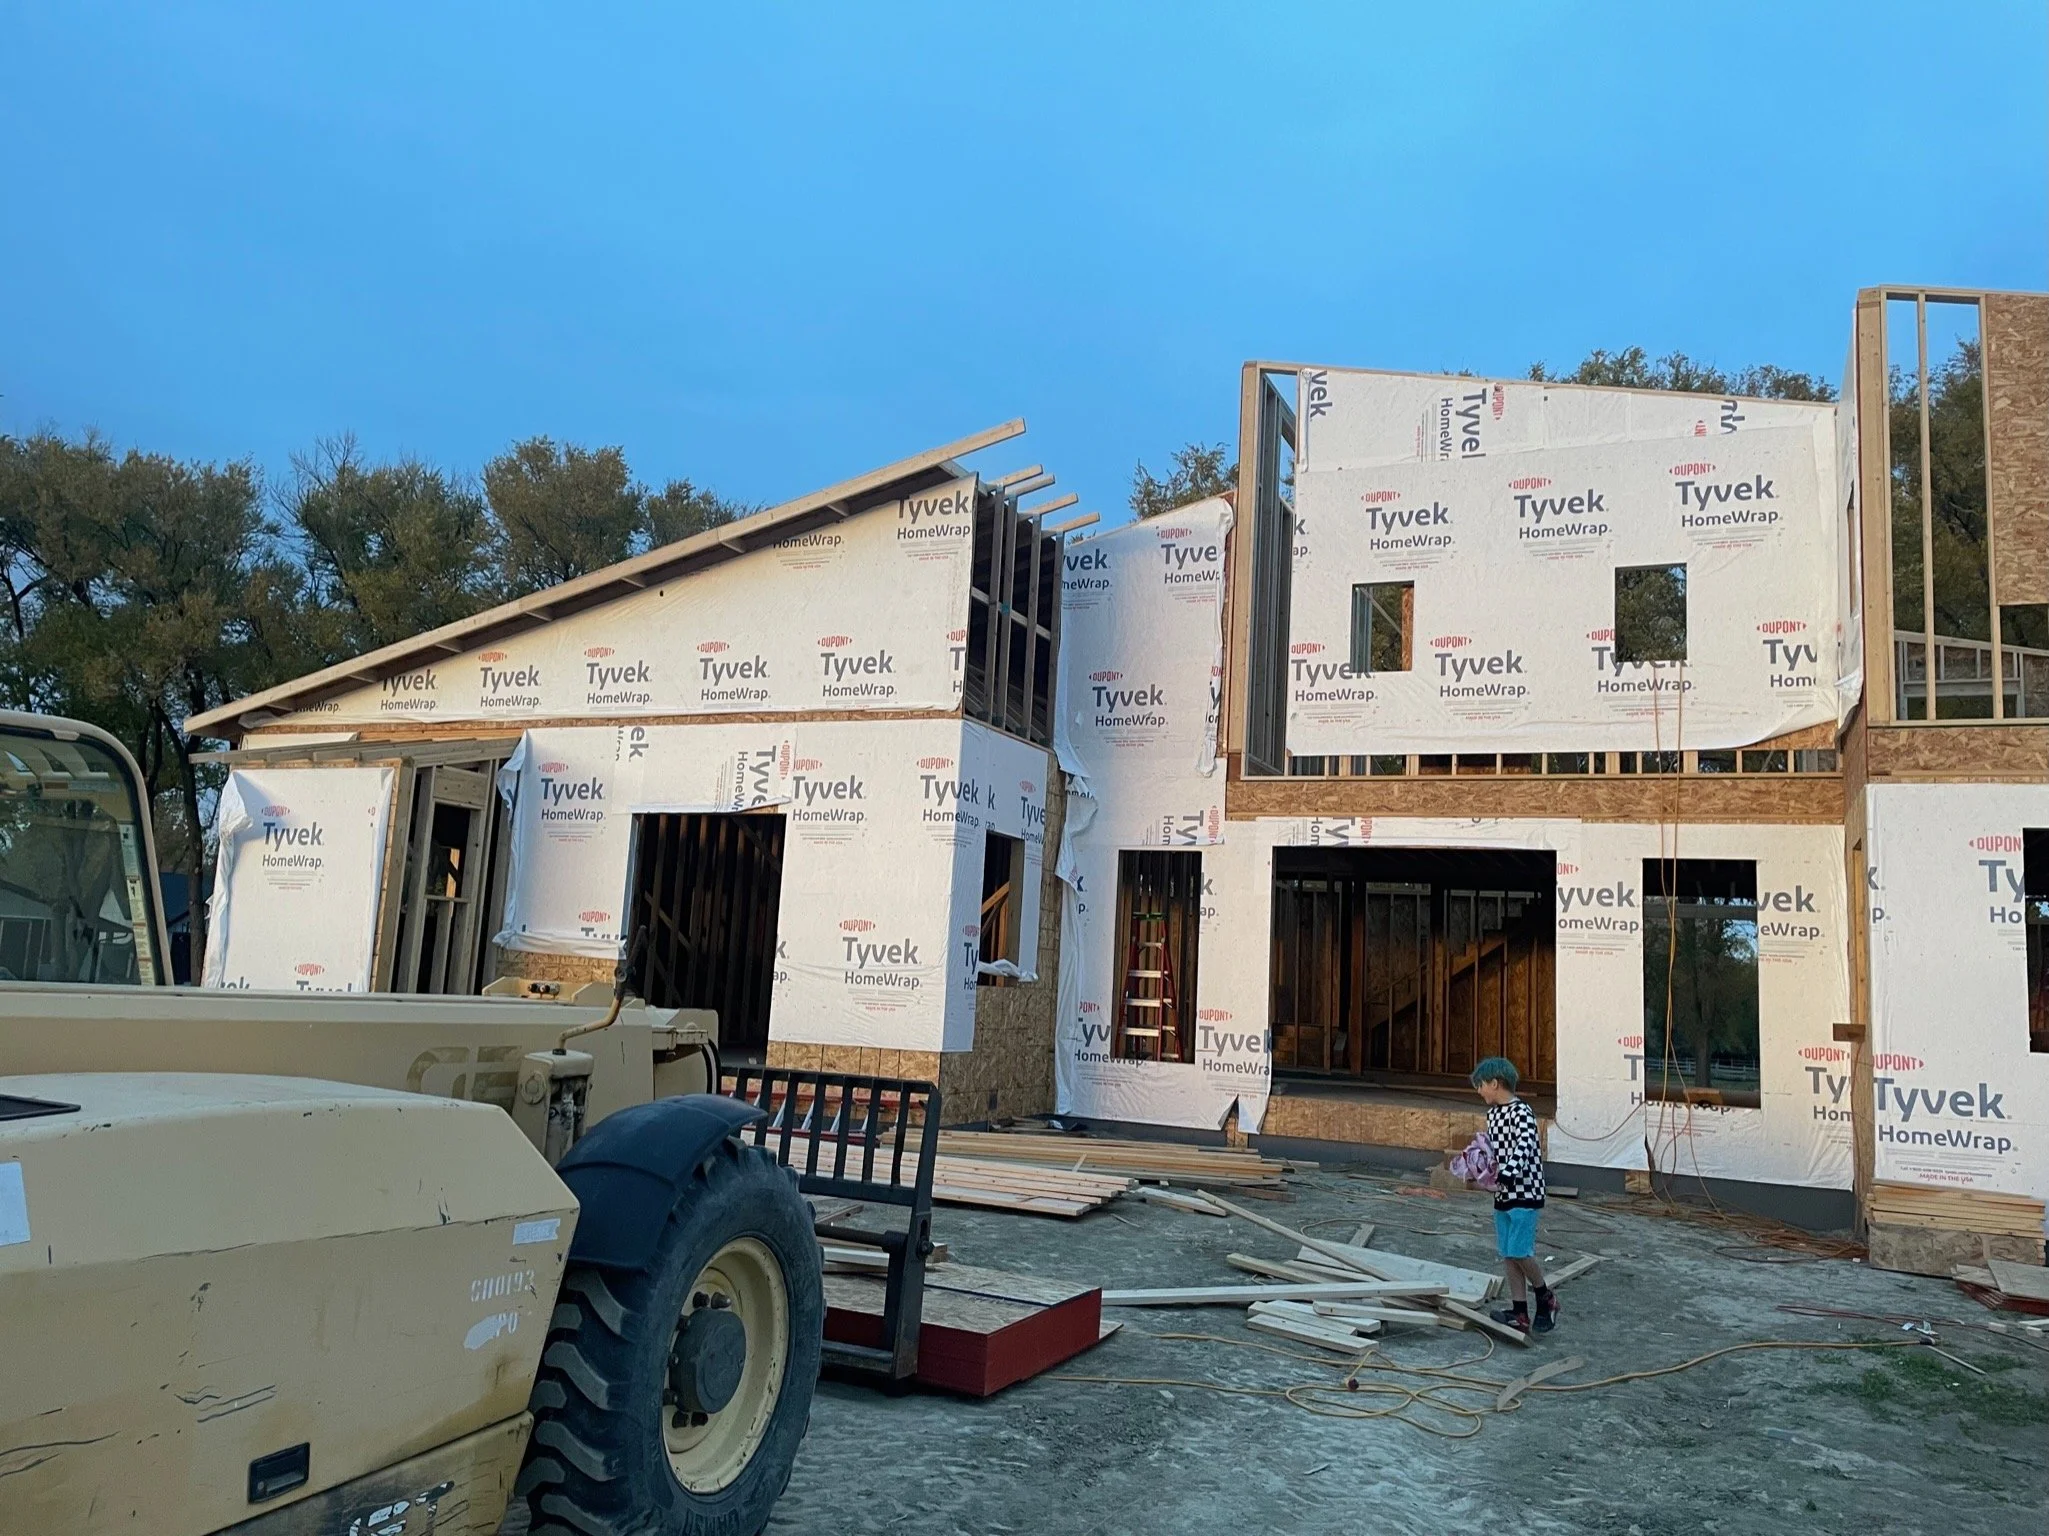
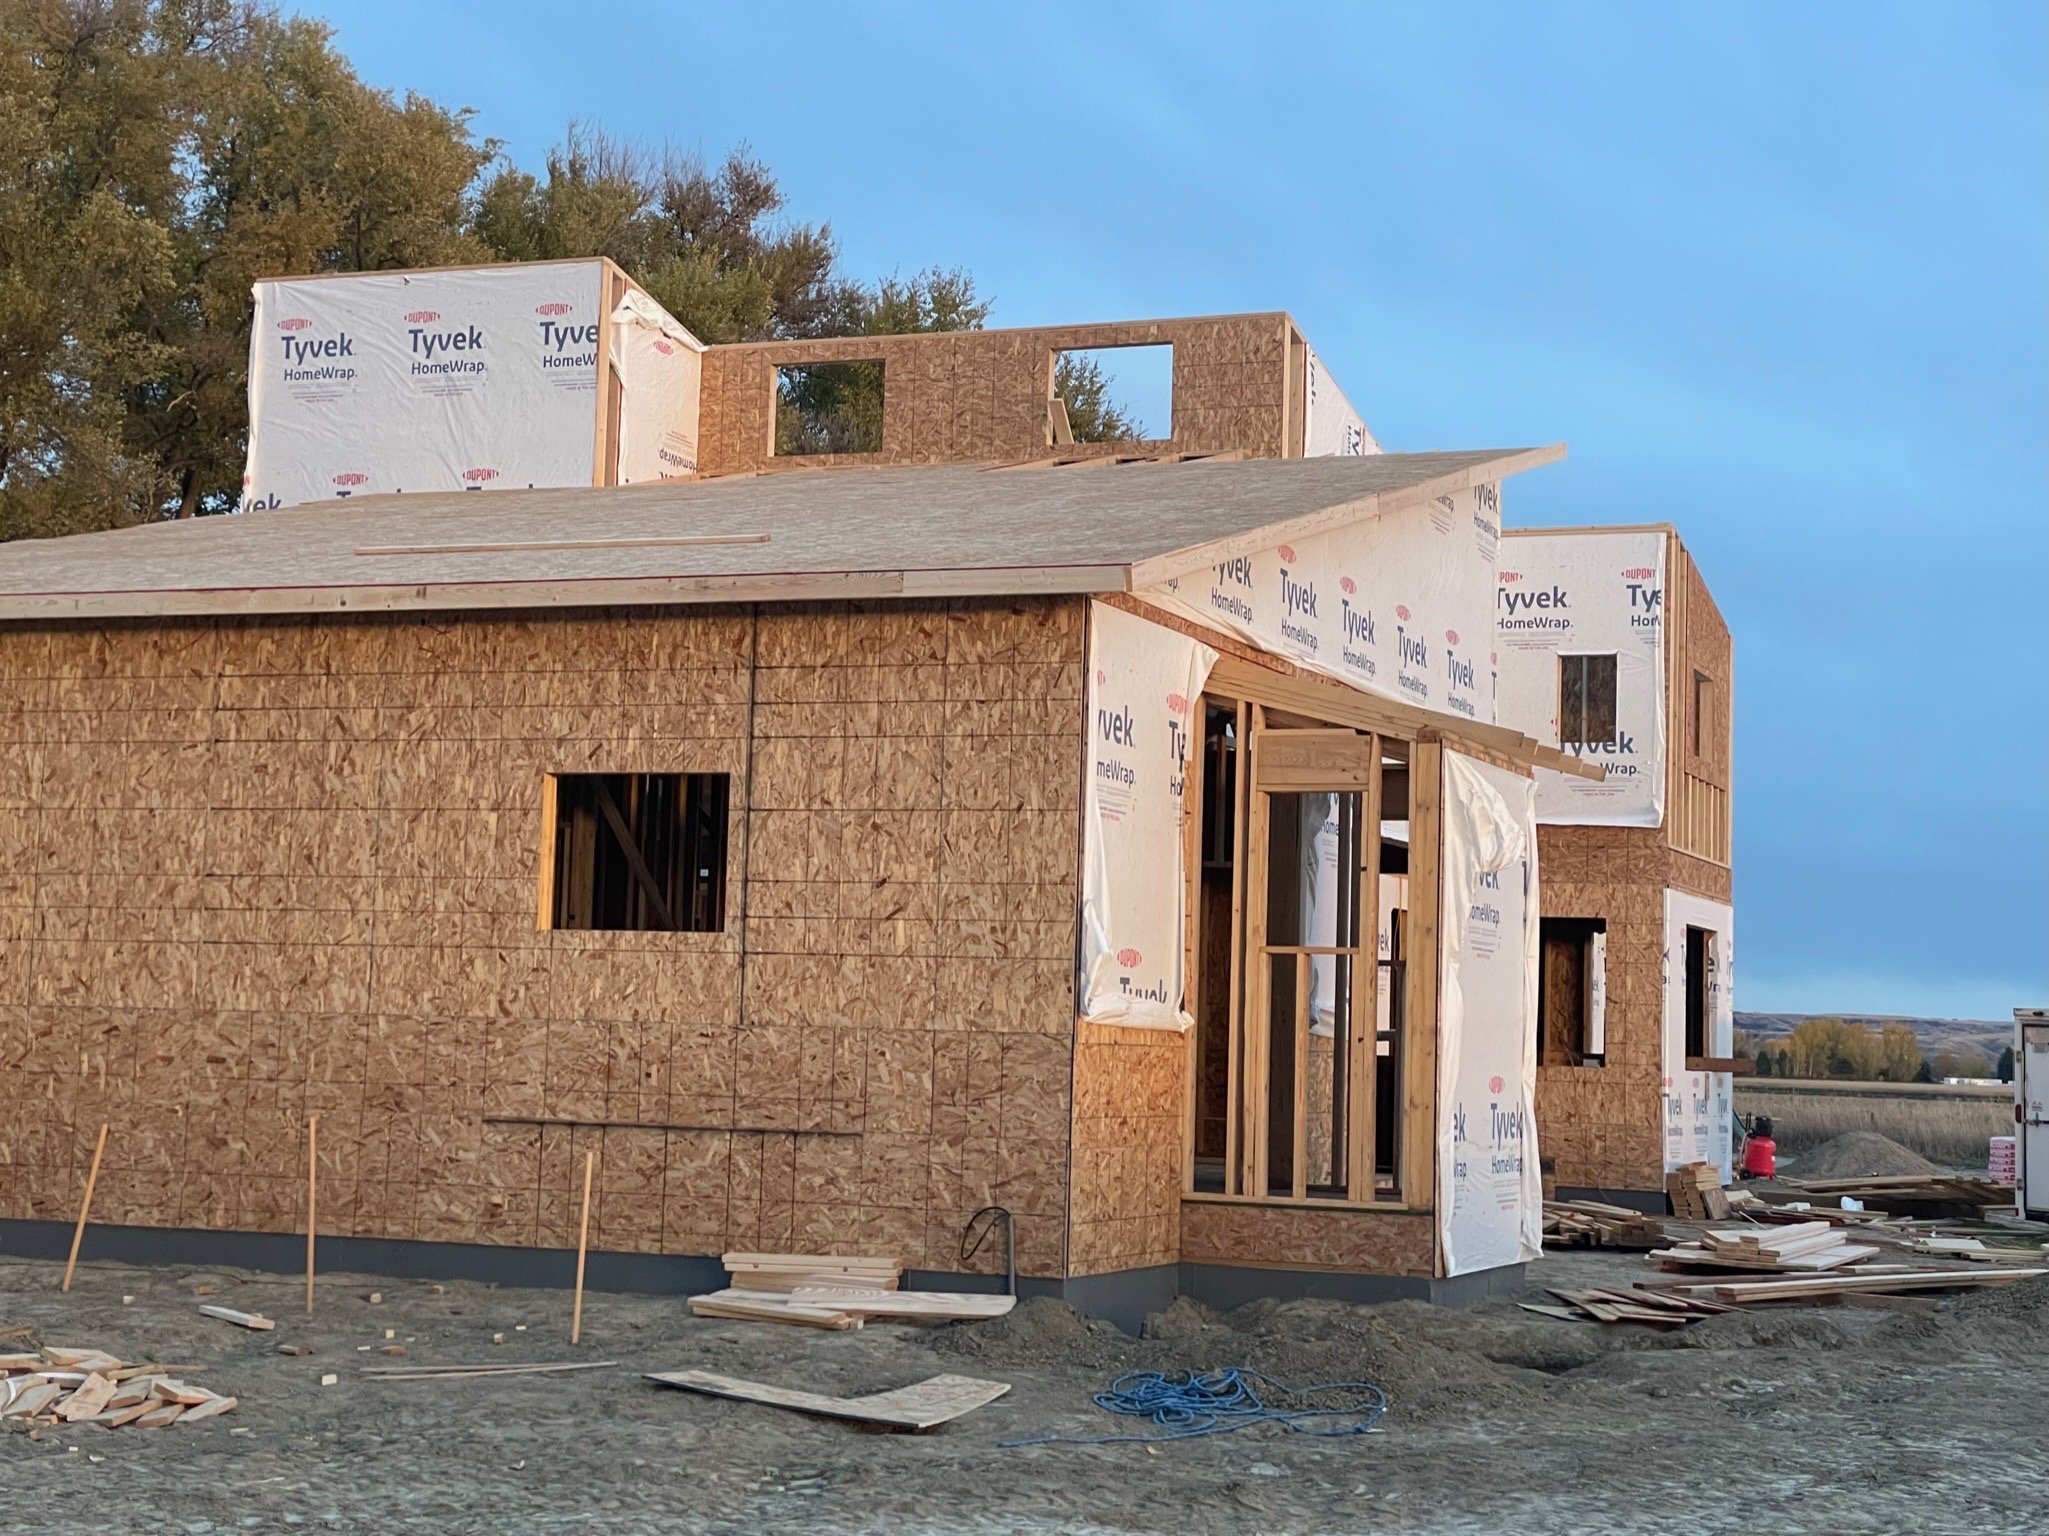
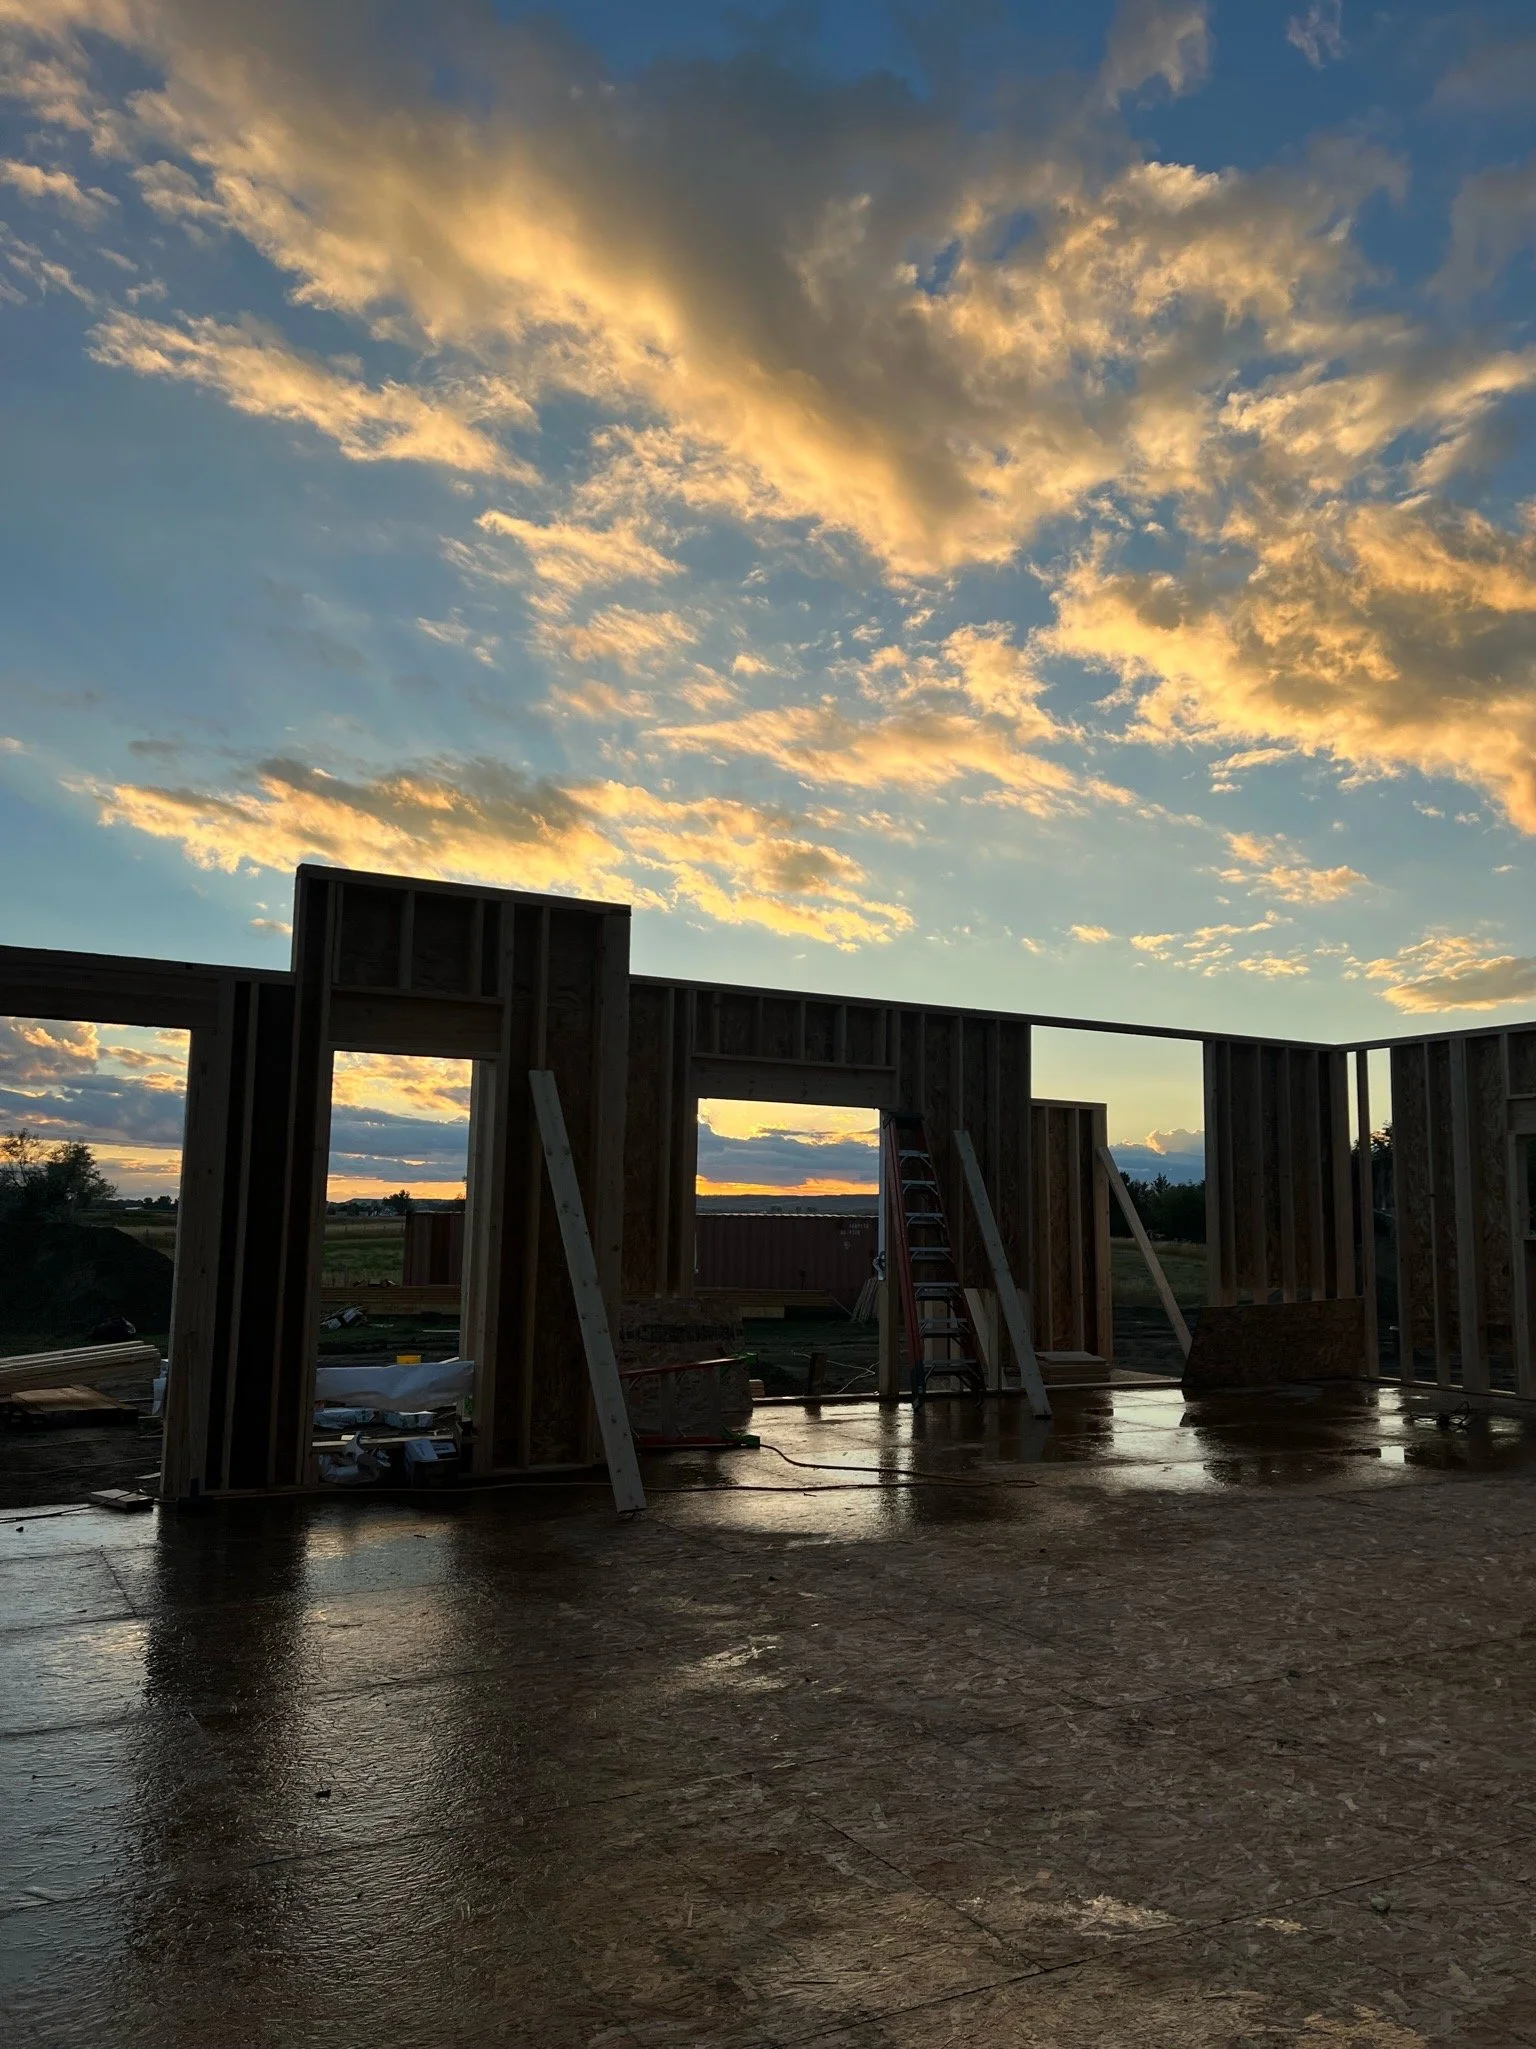
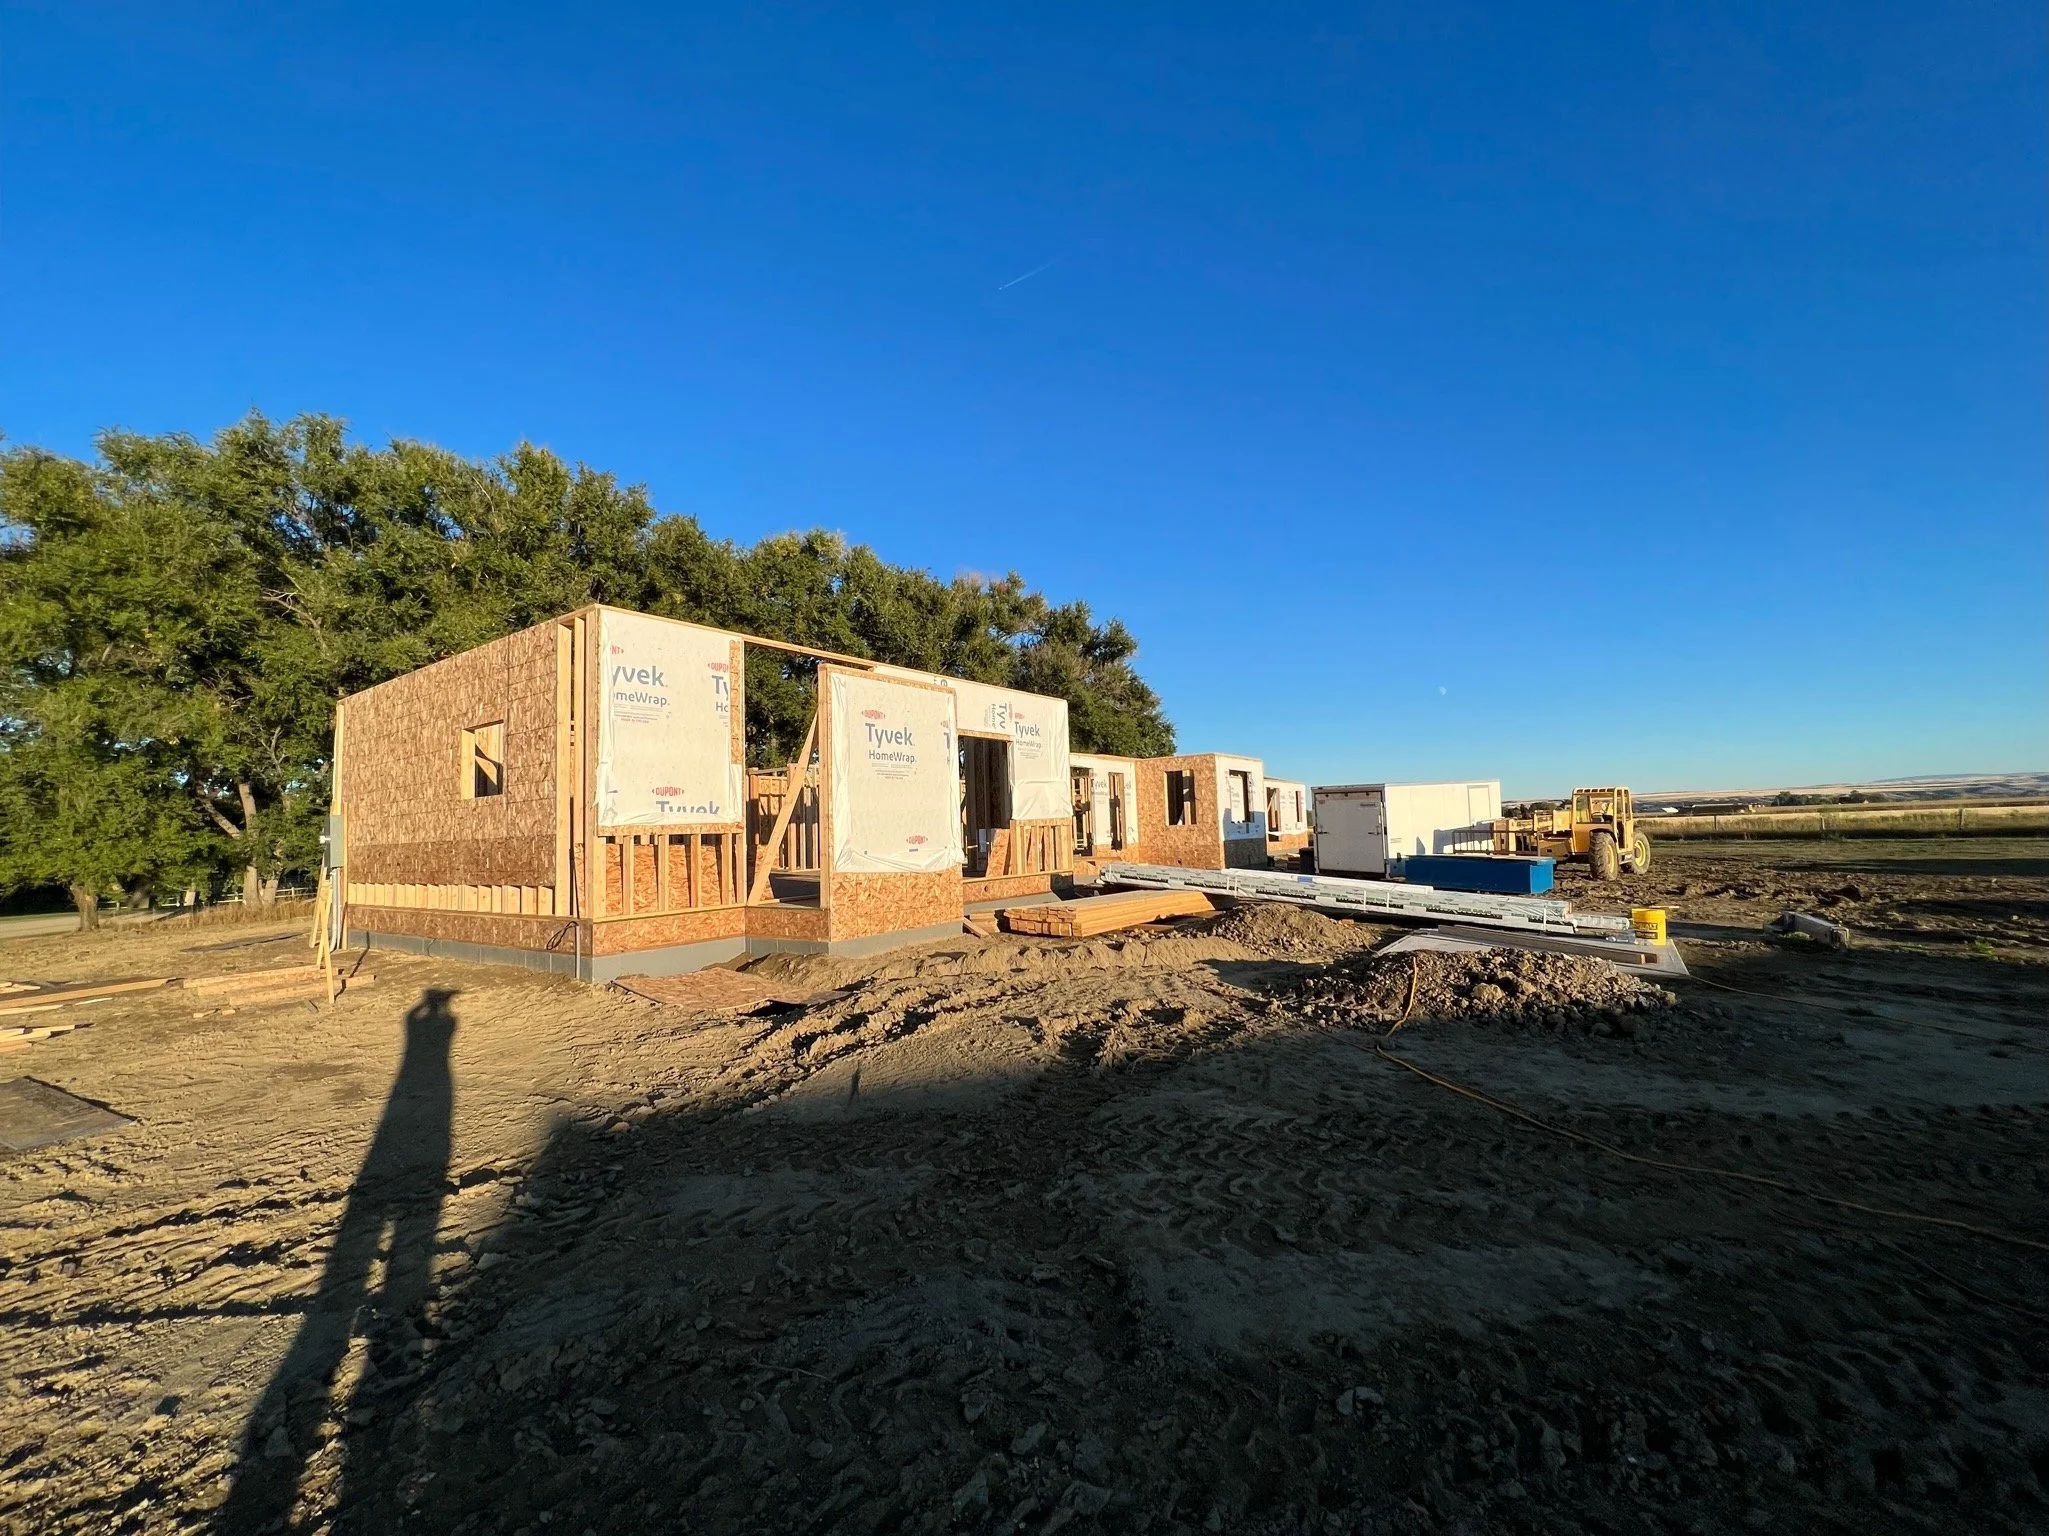
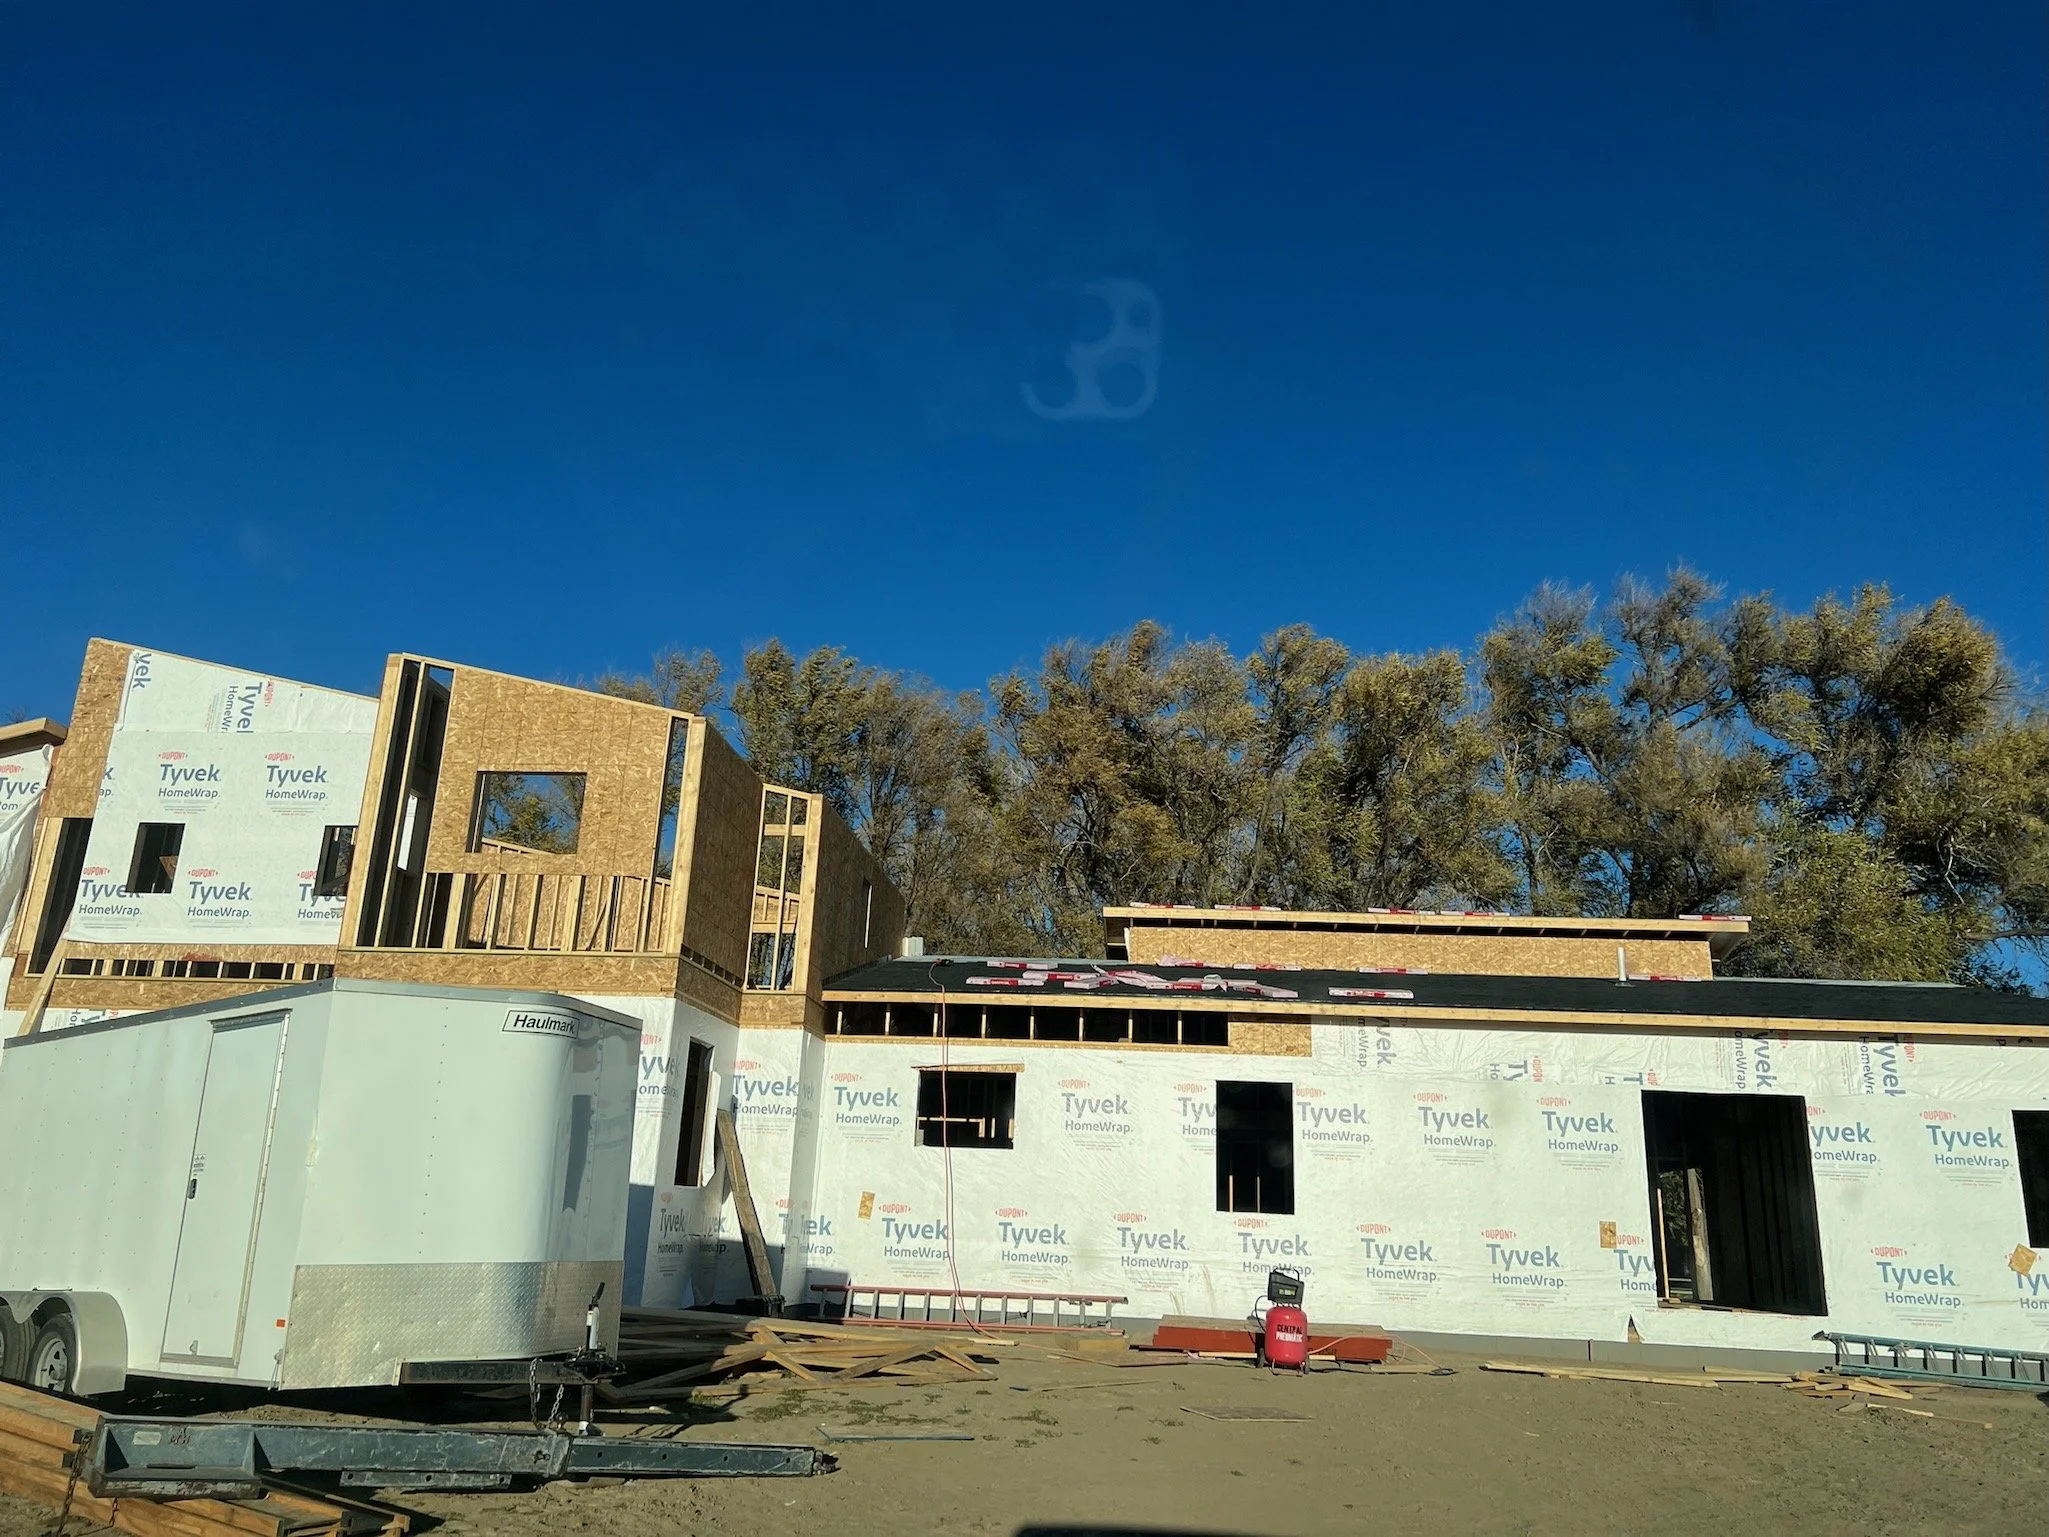
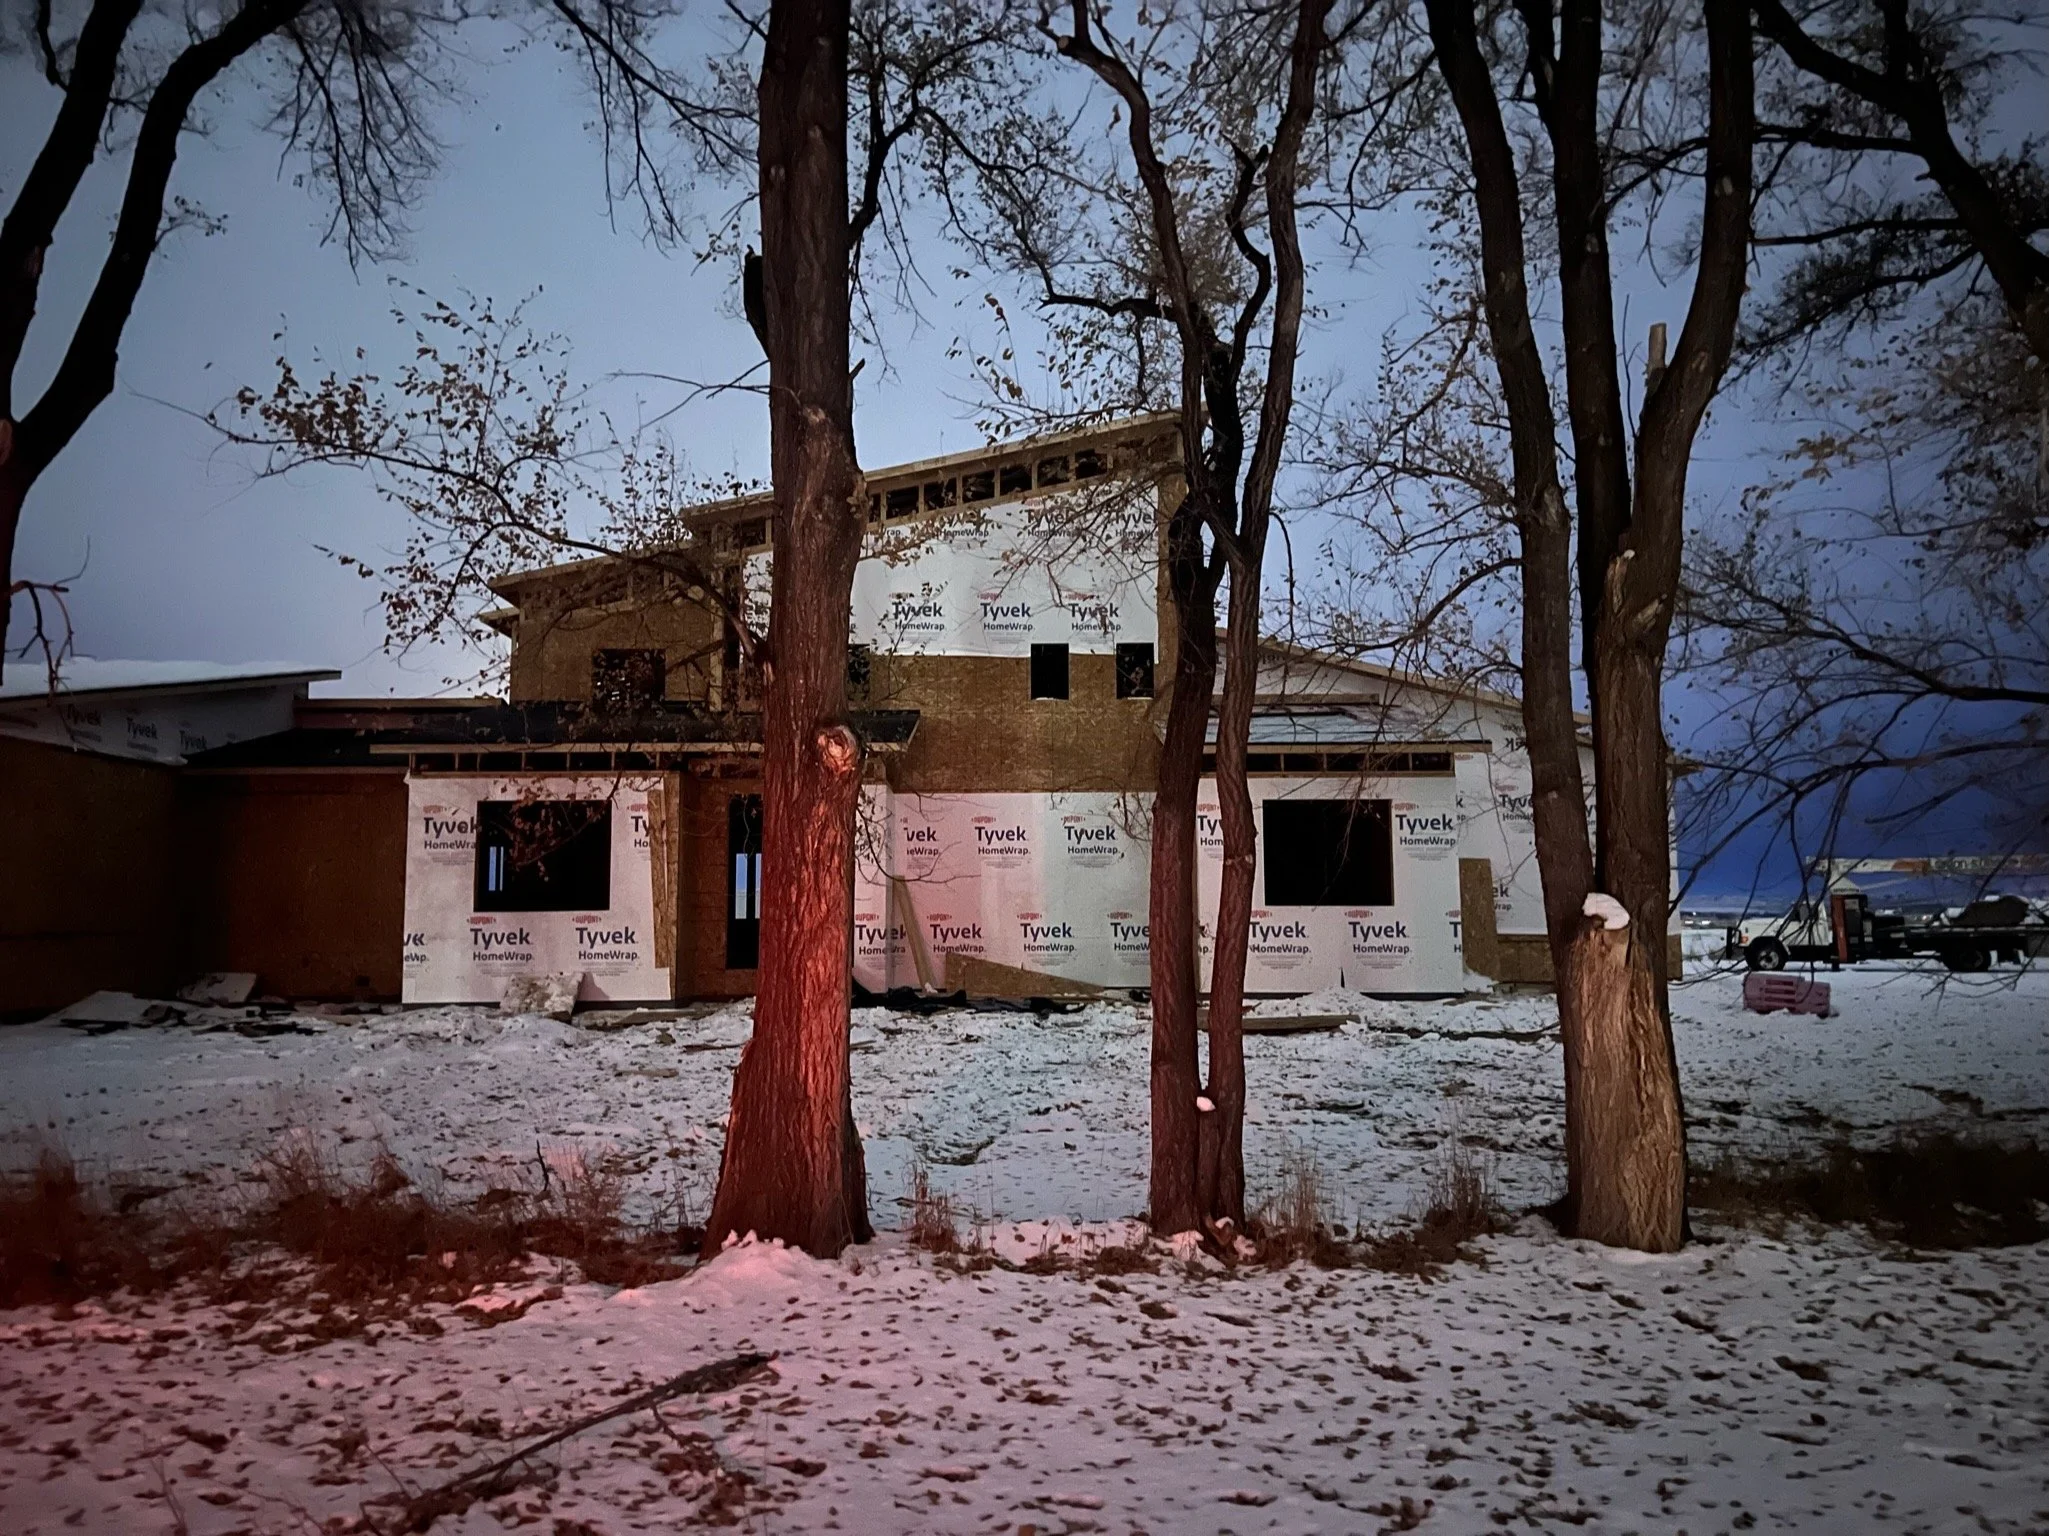
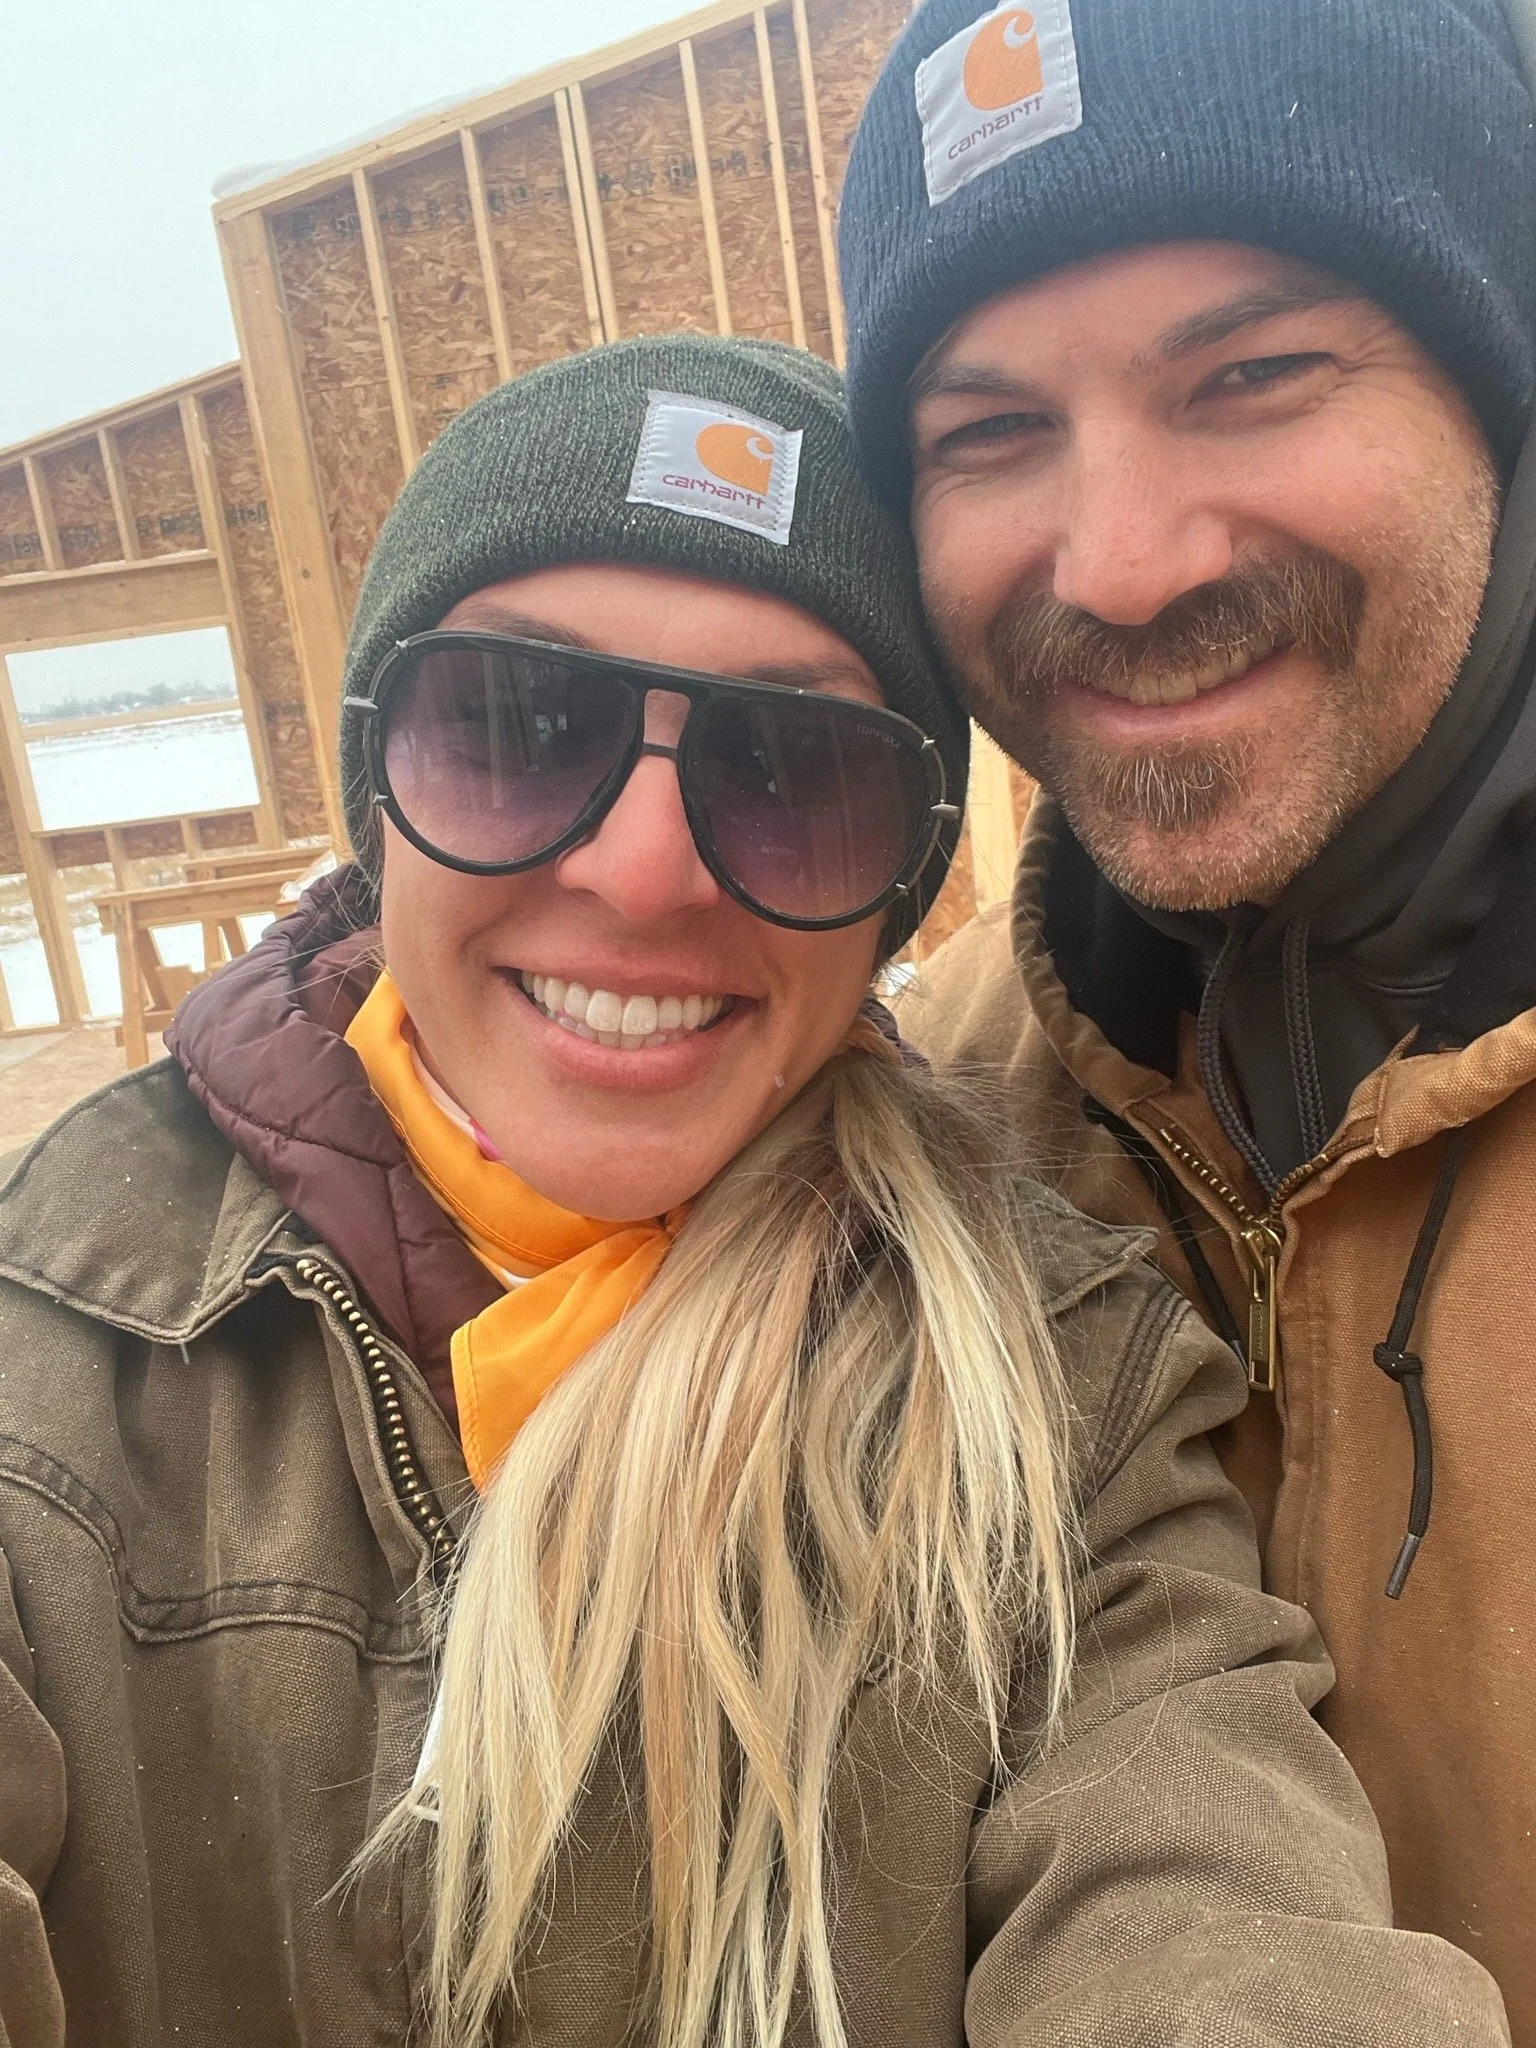
Here are some pictures to give you an idea of all the steps so far! Thanks for following along on our new build journey!


